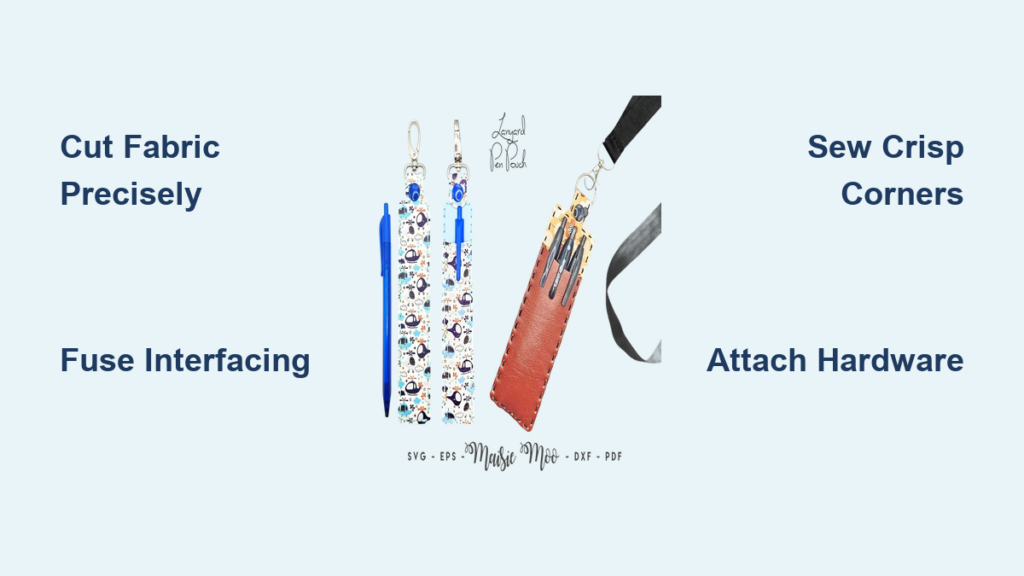
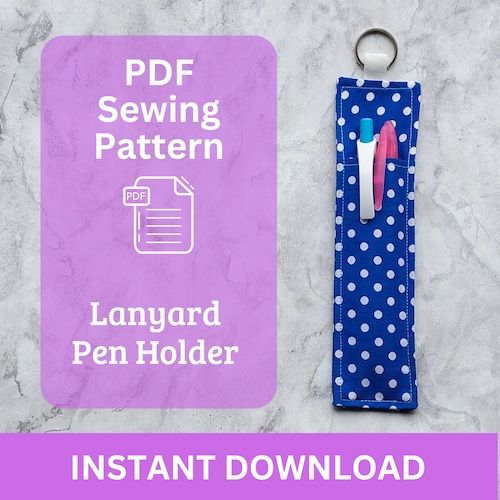
Few things are more frustrating than digging through a tote bag mid-meeting, searching for a pen when you need it most. A handmade lanyard pen holder solves this everyday annoyance by keeping your favorite writing tool attached to your badge, lanyard, or keychain at all times. Teachers, nurses, students, and busy professionals love this compact organizer because it puts pens, markers, and even reading glasses within instant reach.
Below, you’ll find three complete sewing tutorials ranging from a spacious double-sided glasses-and-pen version to a beginner-friendly single-pen design and a quick scrap-buster strip. Each method includes exact cutting measurements, hardware recommendations, and expert finishing techniques to help you create a durable, professional-looking accessory in under an hour.
Pick the Right Lanyard Pen Holder Design
Double-Sided Glasses and Pen Holder
This larger design suits professionals who switch often between reading glasses and writing instruments, such as teachers grading papers or nurses reviewing charts. It features two separate compartments and finishes at roughly 7.5″ x 3″. A centered ribbon loop at the top allows attachment to any standard lanyard clip.
Materials for Design A
- Two 12″ x 3.5″ pocket pieces in cotton fabric
- Two 8″ x 3.5″ back pieces
- Fusible interfacing: two 8″ x 3.5″ pieces for backs and two 6″ x 3.5″ pieces for pocket bottoms
- One 1.5″ ribbon loop
Standard Beginner Pen Holder
This compact version works well for first-time sewists or anyone wanting a quick, functional project. It holds a single pen and includes a reinforced fabric tab with a D-ring for easy attachment. The finished size measures about 7″ x 2.5″.
Materials for Design B
- Two 2.5″ x 7.5″ body pieces
- One 2.5″ x 10″ pocket piece
- One 2″ x 2.5″ tab piece
- Fusible interfacing: two 2.5″ x 7.5″ pieces for body
Quick Scrap-Buster Lanyard Strip
Turn leftover fabric scraps into a no-fuss pen sleeve in minutes. Cut a strip at least 2″ wide, fold it lengthwise, and stitch along the edge while leaving room to turn. Slide a swivel clip onto the strip before closing the ends. This minimalist approach integrates the pen holder directly into your existing lanyard strap.
Best Uses
- Using up small fabric remnants
- Making multiple holders quickly
- Creating lightweight, temporary solutions
Select Quality Materials for a Durable Pen Holder
Choose the Right Fabric
Tightly woven 100% cotton or quilting cotton provides the best structure and easiest sewing experience. These fabrics hold their shape well and accept fusible interfacing cleanly. Avoid stretchy knits or slippery silks, which distort during construction.
- Main Fabric: Pick fun prints for personality or solid colors for a professional appearance
- Lining Fabric: Optional for double-sided designs; match or contrast with the main fabric
- Fat Quarters: One fat quarter yields several pen holders, making it ideal for batch crafting
Add Fusible Interfacing for Structure
Interfacing is essential for giving your pen holder body and preventing sagging over time. Without it, the fabric stretches and looks floppy.
- Recommended Type: SF101 or any medium-weight fusible woven interfacing
- Key Functions: Adds stiffness, reduces stretch, and creates a polished finish
- Pro Tip: Always pre-wash fabric and interfacing if you plan to machine-wash the finished product
Pick Reliable Attachment Hardware
Choose hardware based on how you plan to carry the holder throughout your day.
- Swivel Clip (½”): Perfect for clipping directly to lanyards or badge reels
- D-Ring Plus Lobster Claw: Offers a secure, detachable connection
- Keyring: Simple alternative for attaching to bags or keys
Use 1.5″ ribbon or a self-fabric tab to create the hanging loop. Seal synthetic ribbon ends with a lighter to prevent fraying.
Cut Fabric and Interfacing to Exact Dimensions
Follow the Cutting Charts Carefully
Precision cutting ensures clean seams and professional results. Use a rotary cutter, quilting ruler, and cutting mat for the most accurate lines.
Design A Measurements
| Piece | Quantity | Size |
|---|---|---|
| 2 | 12″ x 3.5″ | |
| Back | 2 | 8″ x 3.5″ |
| Interfacing (Back) | 2 | 8″ x 3.5″ |
| Interfacing (Pocket) | 2 | 6″ x 3.5″ |
Design B Measurements
| Piece | Quantity | Size |
|---|---|---|
| Body | 2 | 2.5″ x 7.5″ |
| 1 | 2.5″ x 10″ | |
| Tab | 1 | 2″ x 2.5″ |
| Interfacing | 2 | 2.5″ x 7.5″ |
Trim Interfacing Slightly Smaller
Cut interfacing pieces about 1/8″ smaller than the fabric when possible. For example, cut interfacing at 7.875″ x 3.375″ instead of 8″ x 3.5″. This prevents stiff edges from showing through the finished seams after washing.
Mark Folding Lines
For Design A’s pocket, fold the 12″ x 3.5″ piece in half lengthwise and press firmly at the 6″ mark to create a center crease. This line guides where to apply interfacing only to the bottom half, keeping the top flexible for easy pen insertion.
Fuse Interfacing for a Sturdy Pen Holder

Press Back Pieces First
Place each back fabric piece wrong-side up on the ironing board. Position the interfacing with the bumpy adhesive side down onto the wrong side of the fabric.
- Set your iron to the cotton setting without steam
- Press firmly for 8 to 10 seconds per section using an up-and-down motion
- Avoid sliding the iron, which can shift the interfacing
- Flip and press from the right side to lock the bond
Excessive heat can melt the adhesive and create bubbles, so work in short bursts.
Reinforce Pocket Bottoms for Design A
Open the folded pocket piece flat. Apply interfacing only to the bottom 6″ half on the wrong side of the fabric.
- Align all edges precisely
- Fold the fabric back along the crease and press to fuse
- This creates a sturdy base while leaving the top soft and pliable
Skip Interfacing Near the Pocket Opening
Never apply interfacing close to the pocket opening. A flexible top allows pens and glasses to slide in smoothly without resistance or wear on delicate coatings such as anti-glare lenses.
Form the Pocket and Attachment Tab
Stitch the Pocket Top Edge
For Design A, stitch across the folded edge of the pocket piece 1/8″ (3 mm) from the fold.
- This line defines the pen and glasses entry point
- Backstitch at both ends for durability
For Design B, fold the 10″ pocket piece in half with right sides out, press the top edge, then topstitch across using the inner edge of the presser foot as a guide. This reinforces the opening and prevents stretching over time.
Create a Clean Fabric Tab for Design B
Fold the 2″ x 2.5″ tab piece in half lengthwise with right sides together.
- Stitch along the long open edge using a ¼” seam allowance
- Turn right-side out using the safety pin inchworm method
- Insert the pin into the tube, grab the fabric with the pin tip, and pull through
- Press flat, rolling the seam to the center for a neat profile
Assemble Layers Before Sewing
Position the Pocket on the Back
Lay one back piece right-side up on your work surface. Place the pocket on top, aligning raw edges at the bottom and both sides.
- For Design A: Position the folded top of the pocket about 2″ below the top edge of the back piece
- Clip or pin securely to prevent shifting during sewing
Install the Hanging Loop or Tab
Ribbon Loop for Design A
Fold a 1.5″ ribbon in half and seal the cut ends with a lighter. Align the raw ends with the top raw edge of the back piece, centered.
- Ensure the loop points downward into the project so it becomes accessible after turning
- Baste in place with a narrow 1/8″ seam, backstitching for security
Fabric Tab for Design B
Fold the finished tab in half and place it on the top center of the body piece with raw edges aligned. Clip firmly because this tab will anchor your D-ring later.
Stitch the Perimeter With Sharp Corners
Sandwich All Layers Together
Place the second body piece right-side down over the layered back, pocket, and loop or tab.
- Match all raw edges carefully around the perimeter
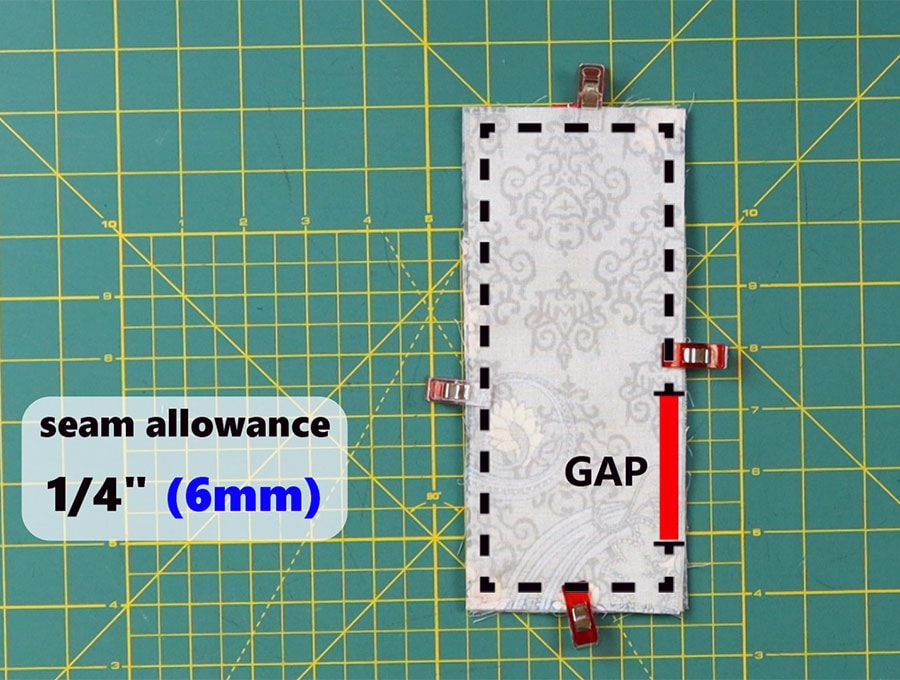
- Pin or clip around the edges, avoiding the 2″ turning gap on one side
Use the Red and Green Clip Method
Place a green clip at your starting point and a red clip at your endpoint. This visual marker helps you leave a consistent 1″ to 2″ opening for turning the project right-side out.
Sew With Crisp Corner Technique
Stitch around the rectangle using a ¼” seam allowance. At each corner, follow these steps:
- Stitch to within ¼” of the corner edge
- Lower the needle into the fabric
- Lift the presser foot and rotate the fabric 90 degrees
- Lower the foot and continue stitching along the next side
This pivot technique creates crisp, professional corners every time. Backstitch at the start and finish, but avoid sewing across the turning gap.
Trim, Turn, and Shape the Holder
Trim Corners to Reduce Bulk
Cut diagonally across all four corners, getting close to but not cutting through the stitch line. This reduces fabric bulk and allows corners to turn out sharply. For extra-heavy layers, grade the seams by trimming one layer shorter than the other.
Turn Right-Side Out
Reach through the turning gap and pull the entire piece right-side out.
- If a D-ring is attached, gently tug it to help pull the fabric through
- Use a blunt chopstick or turning tool to push out corners gently without puncturing the fabric
Press for a Crisp Finish
Iron the entire holder flat, paying special attention to these areas:
- Turning Gap: Tuck raw edges inward so they meet perfectly with the stitched edge
- Corners: Open seams fully inside before pressing
- Overall Shape: Press seams toward the back side for a clean exterior
Topstitch for Durability and a Clean Closure
Close the Gap and Finish Edges
Topstitch around the entire perimeter approximately 1/8″ from the edge.
- This single line closes the turning gap and secures all layers
- Keep stitching consistent and slow near hardware
Lock Hardware in Place
When stitching over the ribbon loop or fabric tab, position stitches as close to the D-ring or clip base as possible. Backstitch forward and backward across the attachment point to lock it securely. Ensure the top of the ribbon loop remains unstitched so your swivel clip can pass through freely.
Maintain a Smooth Seam
Start stitching slightly off the corner (about 1/8″) to prevent thread bunching. This small adjustment results in a cleaner look and more even tension throughout the seam.
Attach Final Hardware to Your Pen Holder

Choose Your Clip Style
- Swivel Clip: Thread directly through the ribbon loop or D-ring
- Lobster Claw Hook: Attach to the D-ring for quick detachment
- Keyring: Slide through the loop for use on bags or belts
Ensure the hardware moves freely and you haven’t over-stitched or trapped the ring.
Test the Functionality
Insert a pen and glasses if applicable. Verify smooth insertion and removal, no snagging on stitching or hardware, and that the holder hangs straight when clipped to a lanyard.
Prevent Fraying and Extend the Life of Your Holder
Seal Ribbon Ends Immediately
Synthetic ribbons fray easily, so after cutting each piece, pass the ends quickly over a lighter flame. Let them cool before handling. For cotton ribbon, apply fray check or zig-zag stitch the ends instead.
Machine Wash With Care
Your lanyard pen holder is machine washable when made with cotton and fusible interfacing.
- Use cold water and a gentle cycle
- Tumble dry on low heat to prevent degrading the interfacing bond over time
Pre-washing fabric before construction prevents future shrinkage and keeps your finished project looking sharp.
Repair and Refresh Over Time
If the pocket stretches with use, add a new topstitch line 1/8″ below the original to tighten the opening. If the ribbon loop wears out, unpick the top bar tack, replace the loop, and re-stitch in place.
Expert Tips for Professional Results
Avoid Interfacing Bubbles
Test your iron temperature on a fabric scrap first. Press in short, firm bursts without sliding. If bubbles appear, lift the fabric and re-press from the wrong side.
Guide Stitching With the Presser Foot
Use the inner edge of the presser foot as a consistent guide for 1/8″ topstitching. This ensures even spacing without constant measuring.
Use Wonder Clips for Layer Control
Wonder clips hold thick layers better than pins and won’t distort fabric. They are especially helpful when managing the pocket, back, and loop together during assembly.
Optimize Corner Turning
If corners resist turning, double-check that seam allowances are trimmed close to the stitch line. Use a safety pin inserted through the gap to grab and pull stubborn fabric sections through.
Frequently Asked Questions About Lanyard Pen Holders
What fabric works best for a lanyard pen holder?
Tightly woven 100% cotton or quilting cotton provides the best structure and easiest sewing experience. These fabrics hold their shape well, accept fusible interfacing cleanly, and withstand daily use. Avoid stretchy knits or slippery silks that distort during construction.
How long does it take to sew a lanyard pen holder?
Most designs take 30 to 60 minutes from cutting to final topstitching. The quick scrap-buster strip can be completed in about 15 minutes, while the double-sided glasses-and-pen version may take closer to one hour due to additional layering and steps.
Can I wash a handmade lanyard pen holder in the washing machine?
Yes, holders made with cotton fabric and fusible interfacing are machine washable. Use cold water on a gentle cycle and tumble dry on low heat. Always pre-wash your fabric before construction to prevent future shrinkage.
What hardware should I use to attach the holder to my lanyard?
A ½” swivel clip works well for direct attachment to standard lanyards or badge reels. A D-ring paired with a lobster claw hook offers a secure, detachable option. A simple keyring works for attaching to bags or belt loops.
Do I really need fusible interfacing?
Yes, interfacing is essential for structure and durability. Without it, the fabric stretches, sags, and looks floppy. SF101 or similar medium-weight fusible woven interfacing adds stiffness, prevents stretching, and creates a polished, store-bought finish.
How do I prevent ribbon ends from fraying?
Seal synthetic ribbon ends by passing them quickly over a lighter flame, then let them cool. For cotton ribbon, apply liquid fray check or finish the edges with a zig-zag stitch before construction.
Key Takeaways for Sewing Your Own Lanyard Pen Holder
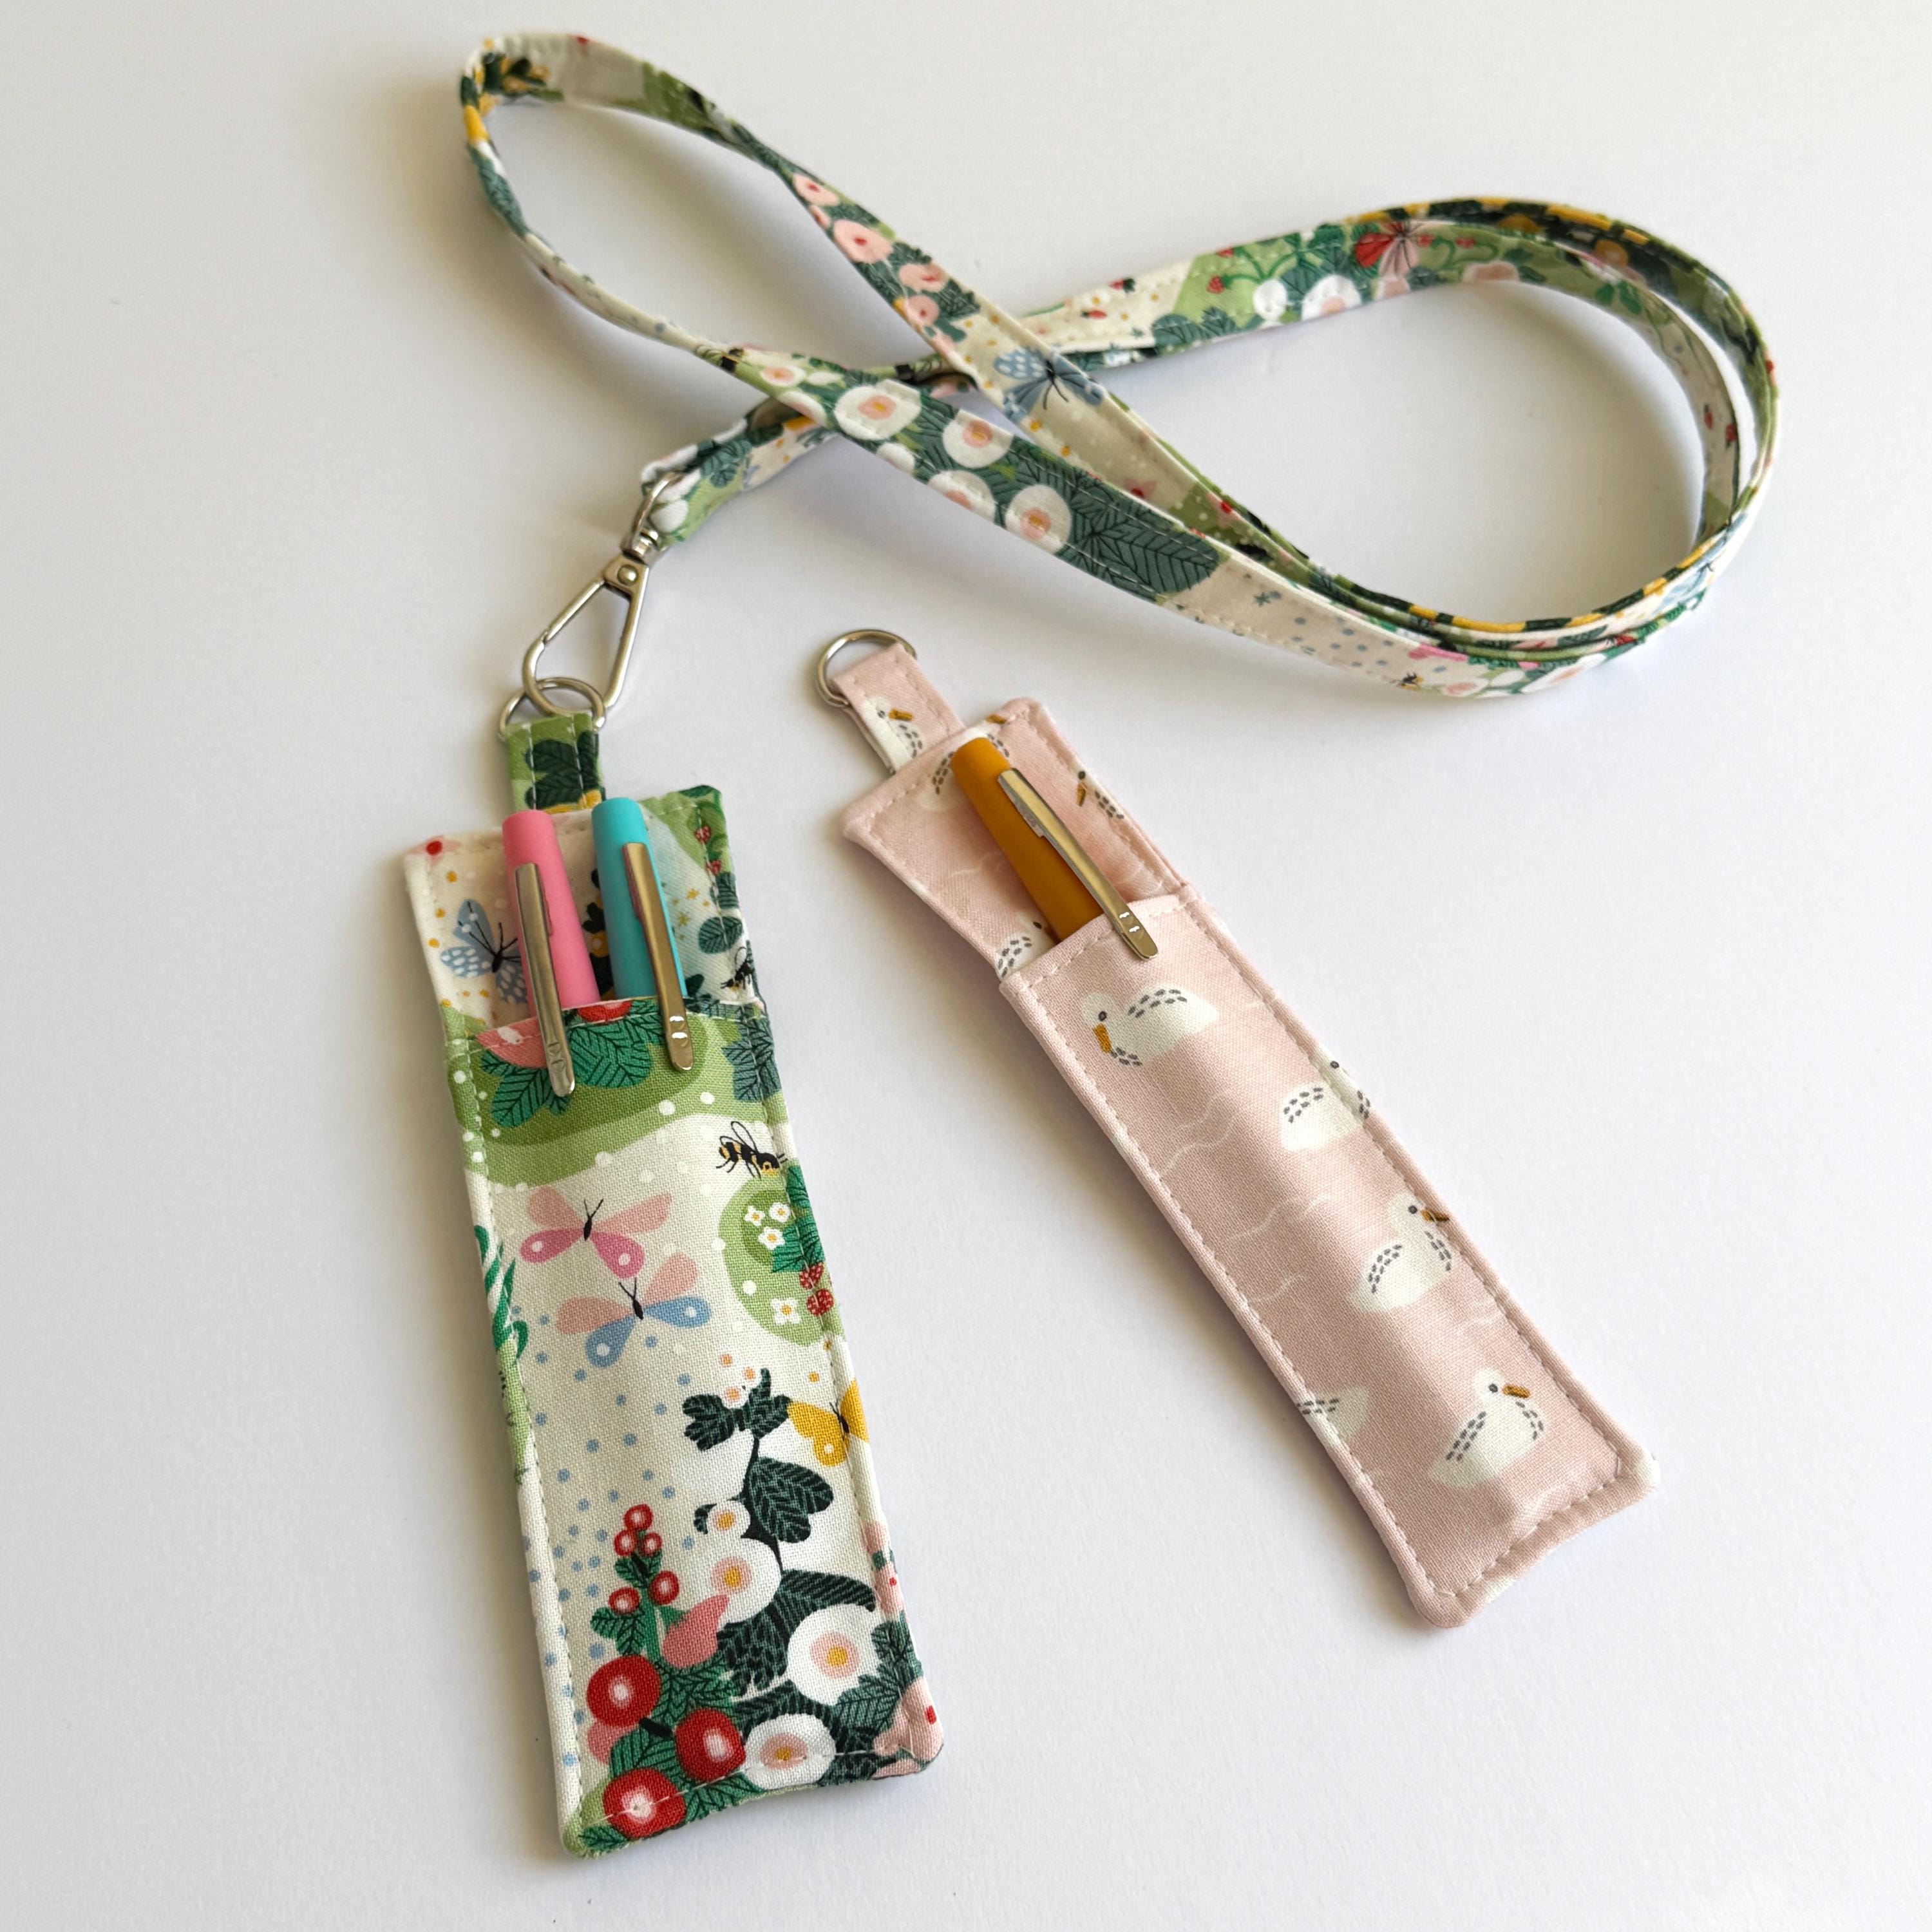
Crafting a lanyard pen holder is a practical sewing project that pays off every time you reach for a pen without rummaging through your bag. The three designs covered here offer flexibility for every skill level, from the spacious double-sided glasses-and-pen model to the quick scrap-buster strip for beginners.
Focus on precise cutting, proper fusible interfacing application, and clean topstitching for the most professional results. Choose hardware that matches how you plan to carry the holder, and always seal ribbon ends to prevent fraying over time.
Pick your favorite fabric, gather your supplies, and set aside one hour this weekend to sew a lanyard pen holder you’ll use every single day.