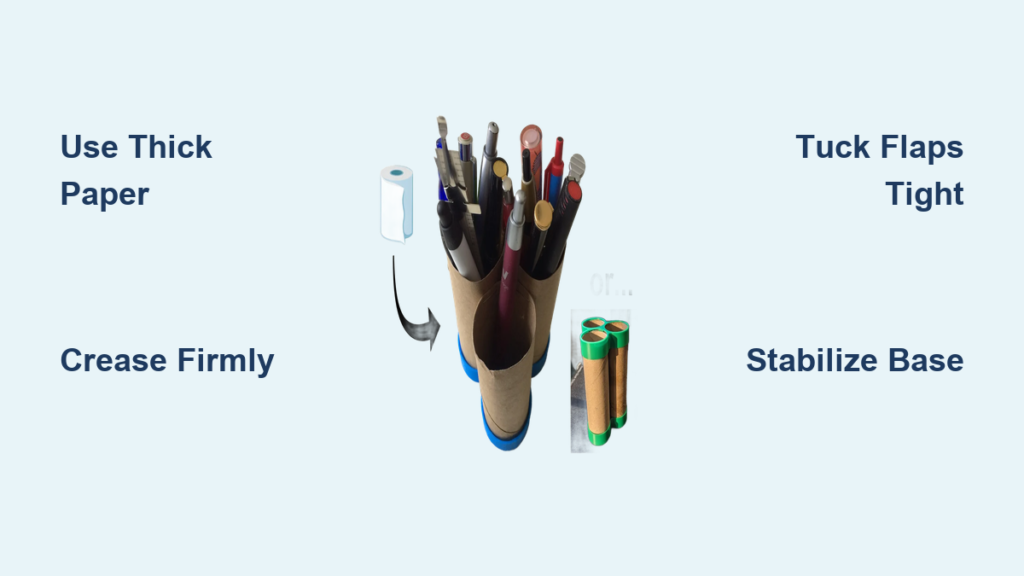
A cluttered desk slows you down, but buying organizers can be expensive and wasteful. The good news is that you can make a pen holder using just one square sheet of paper and a few precise folds. This simple origami project transforms plain paper into a sturdy, stylish container in under ten minutes.
In this guide, you will learn how to make a pen holder step by step, from creating the first creases to locking the final shape. You will also discover troubleshooting tips, customization ideas, and care instructions so your handmade organizer lasts for months of daily use.
Gather Materials for Your DIY Pen Holder
Before you start folding, collect everything you need to build a pen holder that actually stands up to daily use.
Choose the Right Paper
The paper you select determines how stable your finished holder will be.
– Square paper measuring at least 6×6 inches (15×15 cm) works best for beginners
– Larger sheets around 8×8 inches (20×20 cm) create deeper holders for full-sized pens
– Cardstock, origami paper, or laminated sheets offer the best rigidity
– Thin printer paper should be avoided because it lacks structure
Pro tip: Heavier paper holds shape better, and doubling layers adds extra durability for heavier pen collections.
Optional Supplies for Better Results
These extras are not required but improve the final product:
– Double-sided tape for securing final flaps
– A ruler or bone folder for sharpening creases
– Decorative washi tape for reinforcing edges
– Clear adhesive sheets for laminating before folding
📌 Note: This design requires no glue or cutting, making it perfect for classrooms, craft sessions, or quick office projects.
Create the Base Creases
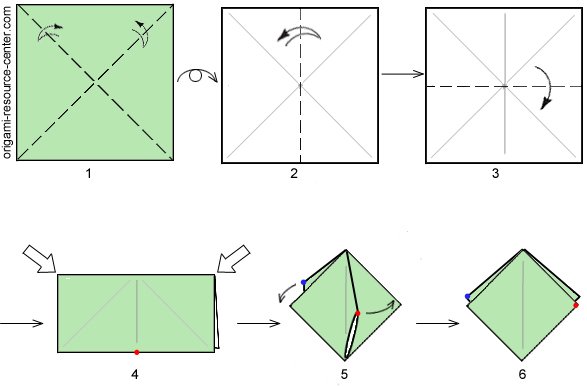
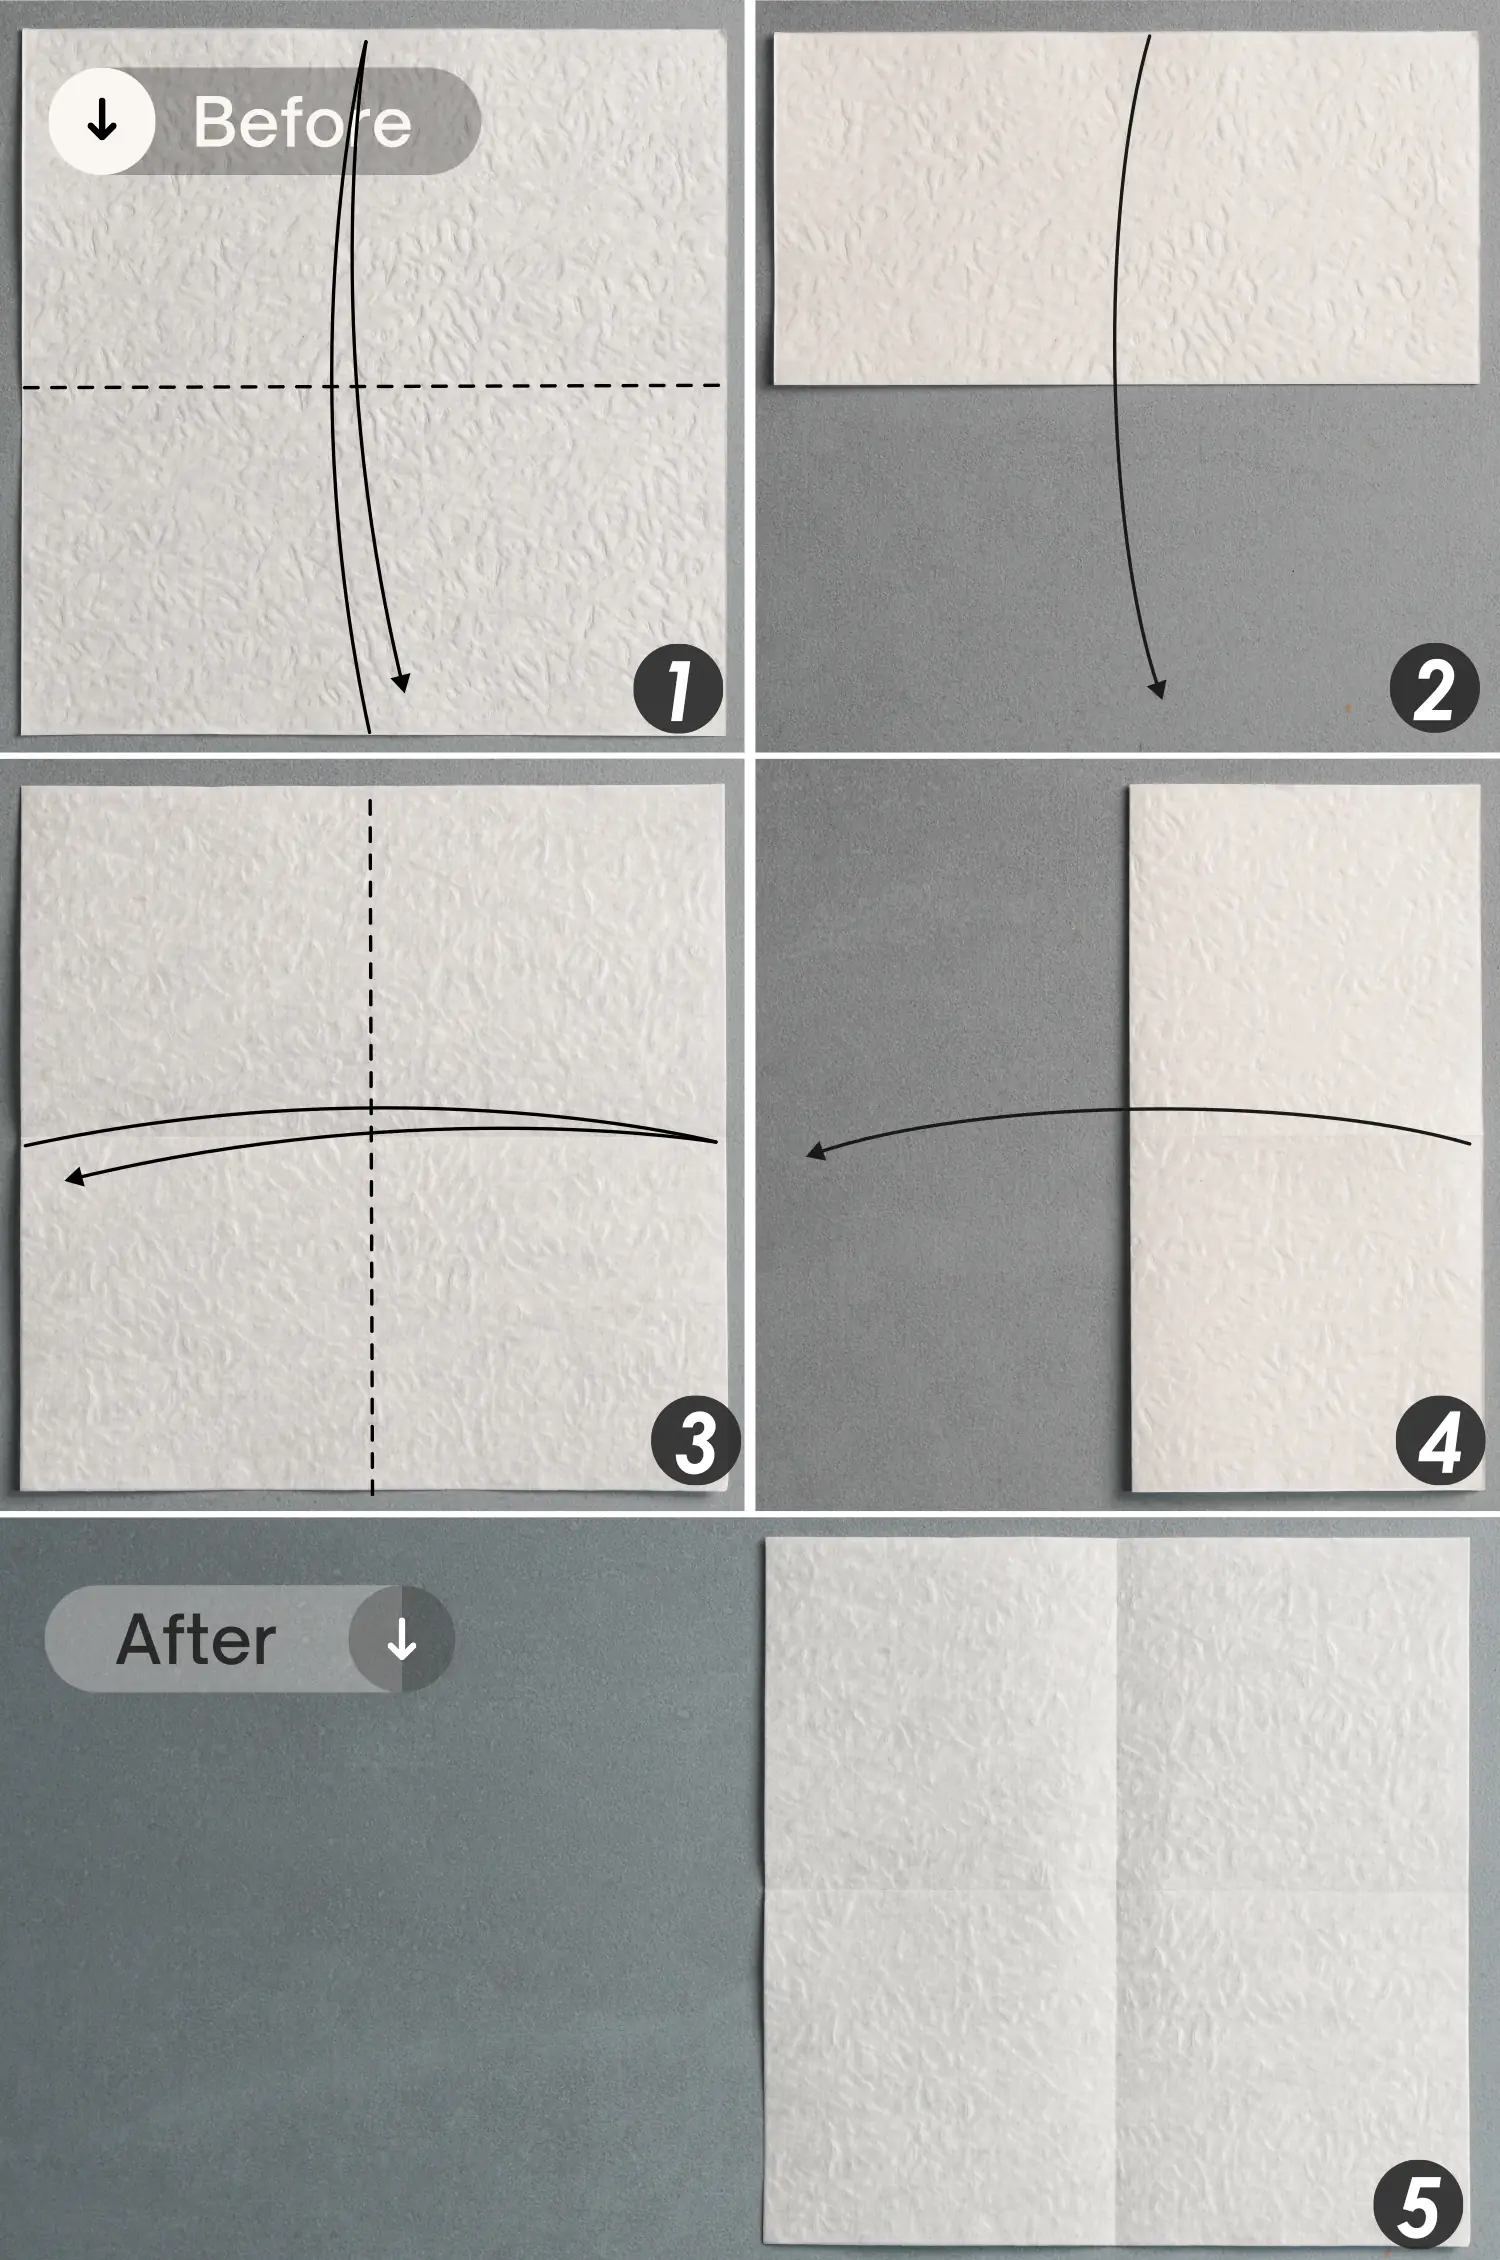
Accurate creasing is the foundation of a symmetrical, stable pen holder. Take your time with these first folds.
Make Diagonal and Center Creases
- Place the paper with the colored or decorative side facing down
- Fold diagonally from corner to corner, then unfold completely
- Repeat with the opposite diagonal to form an X-shaped crease
- Fold horizontally through the center, then unfold
- Fold vertically through the center, then unfold
🔍 Visual cue: After this step, you should see eight triangular sections meeting at the center point.
Collapse Into a Square Base
- Push all four corners toward the center point at the same time
- Flatten the paper to form a smaller square (called a “preliminary base” in origami)
- Flip the model over to expose the other side
- Repeat the corner-to-center fold on the reverse side
✅ Result: A compact square with four open flaps and a diamond pattern visible on both sides.
Shape the Inner Layers
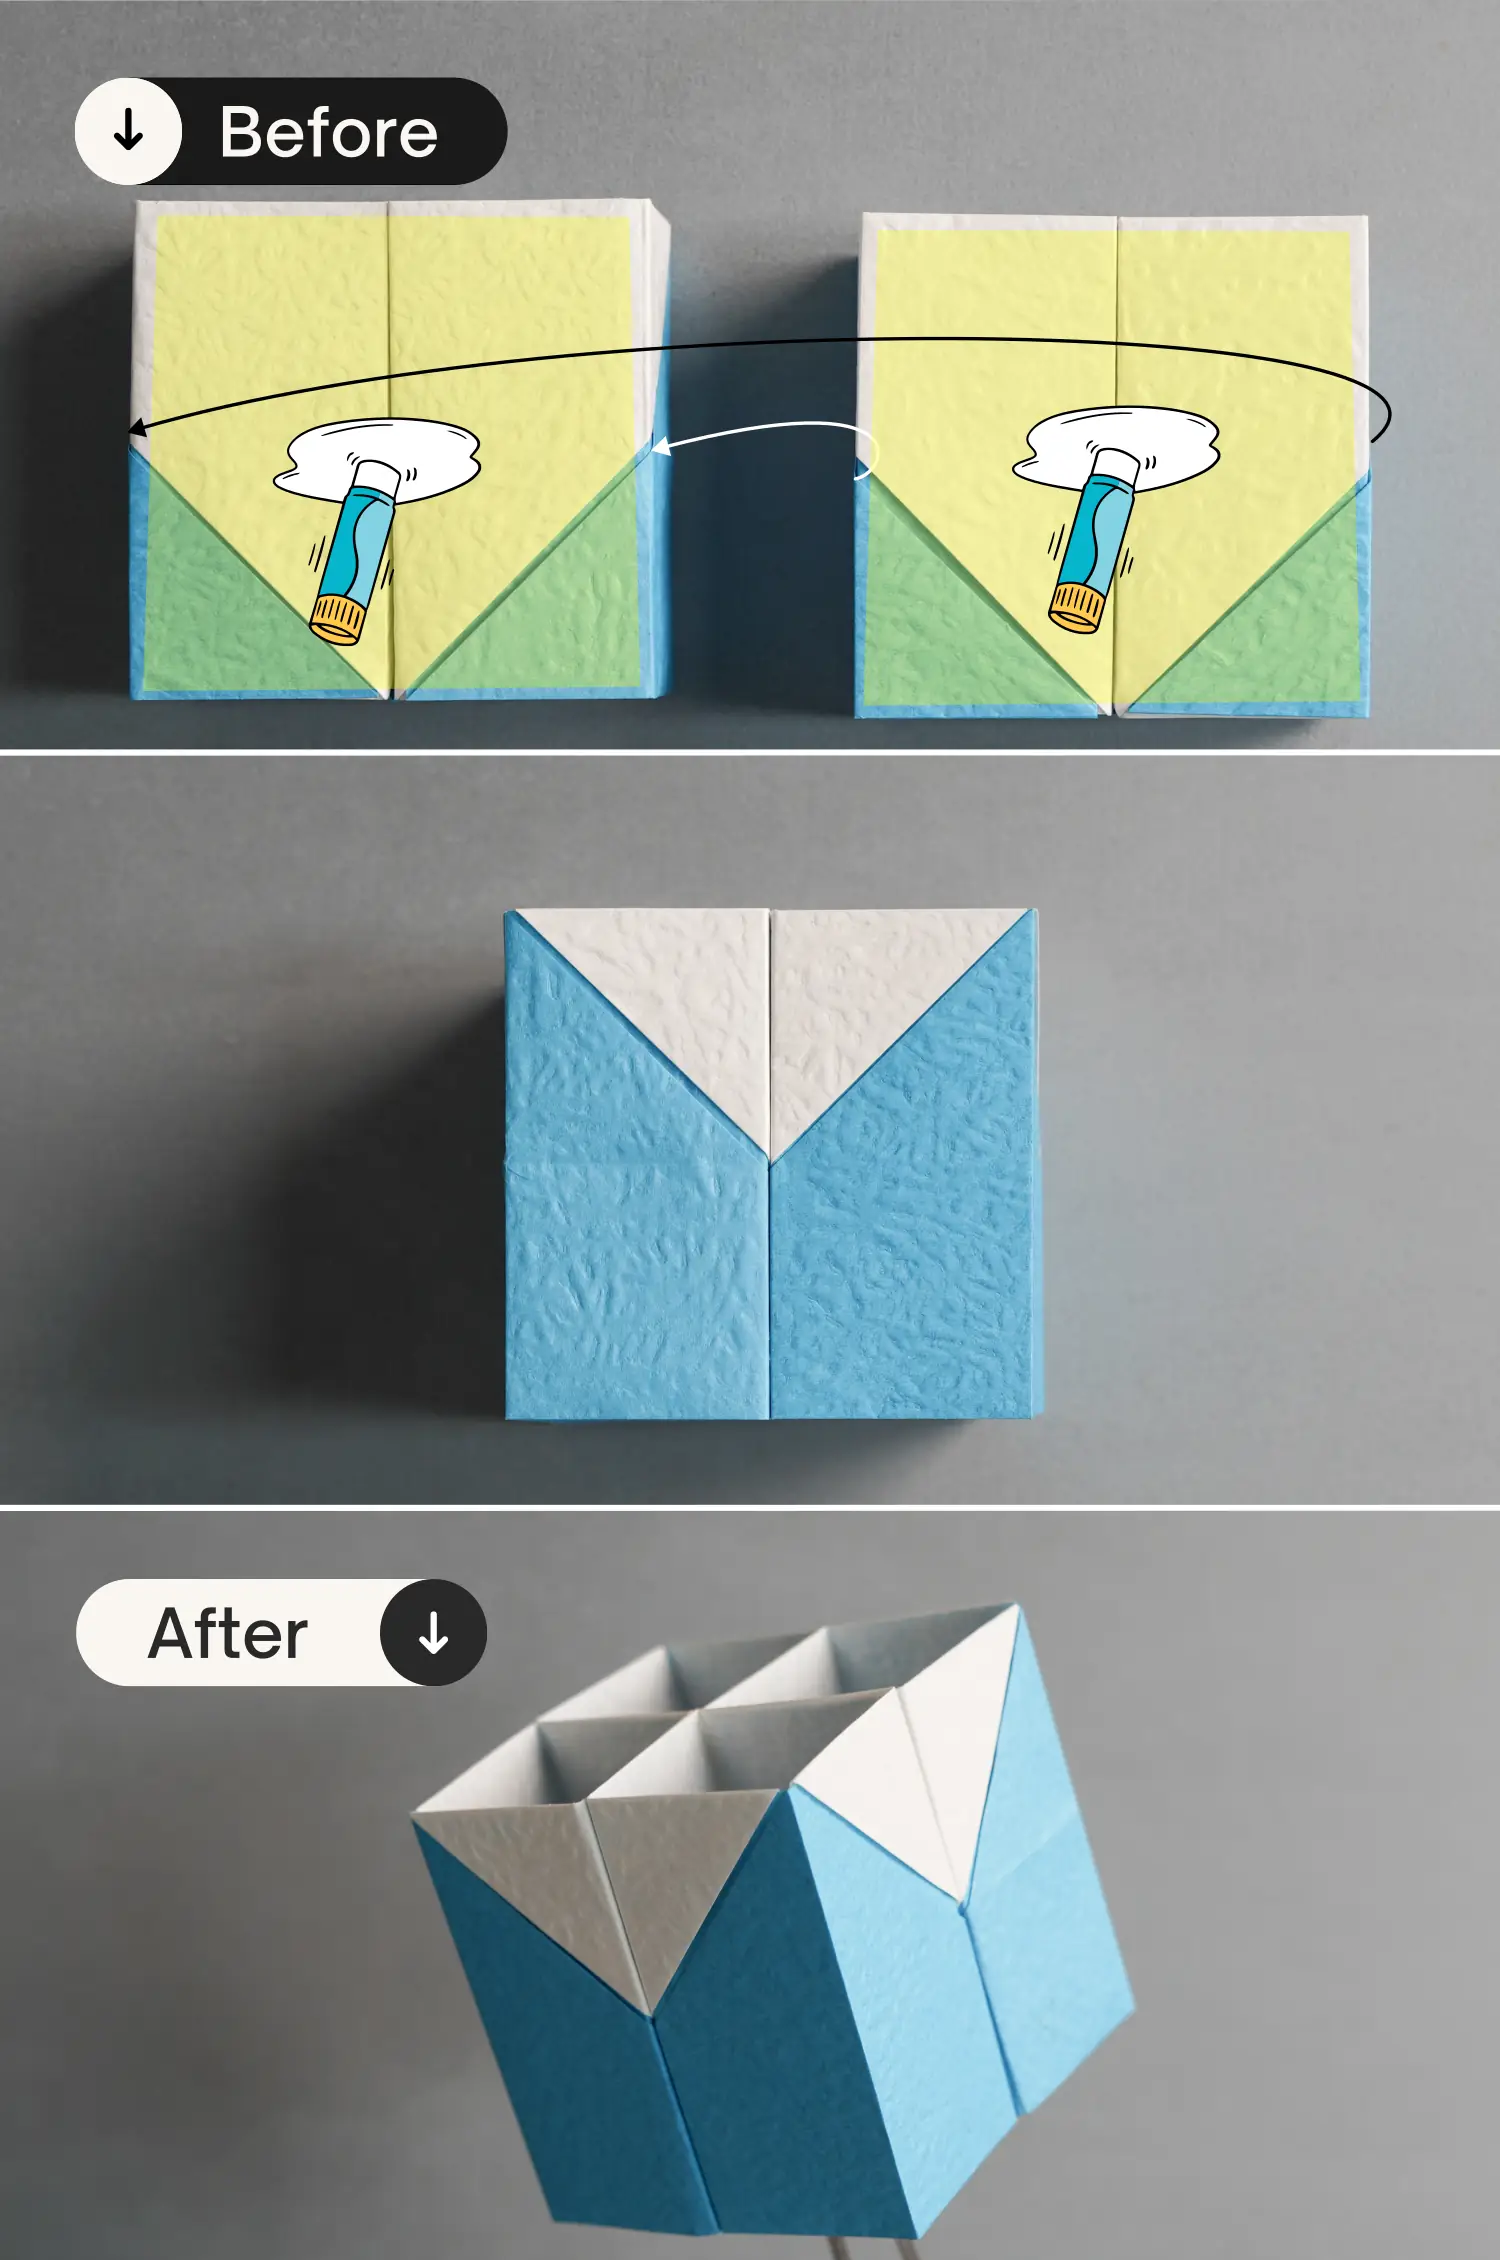
These folds build thickness and prepare the structure for three-dimensional expansion.
Fold Edges Toward the Center
- With one side facing you, fold the top edge to meet the vertical center line
- Fold the bottom edge to meet the same vertical center line
- Fold the left edge to meet the horizontal center line
- Fold the right edge to meet the same horizontal center line
- Repeat this exact process on the reverse side
🛠️ Common mistake: Misaligned folds weaken the base. Use a ruler edge to keep creases straight and precise.
💡 Why this matters: These layers add structural support so the holder will not collapse under the weight of pens and pencils.
Build the Pocket Walls
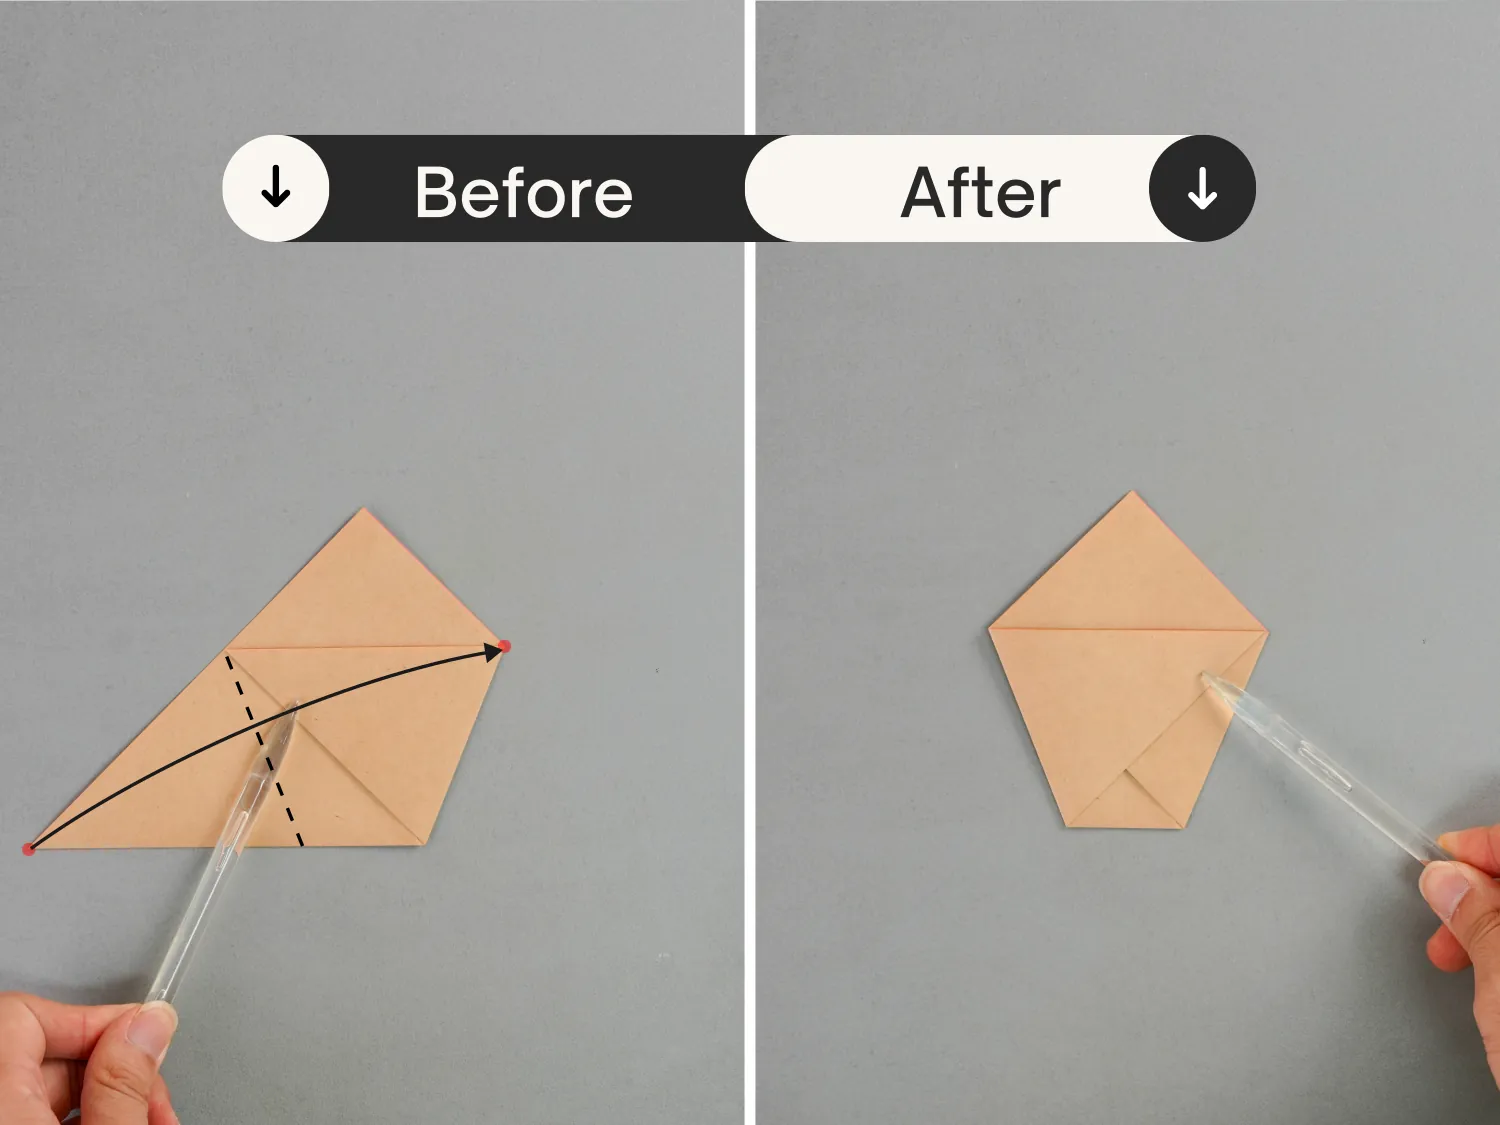
Now you will transform the flat square into a three-dimensional container ready to hold your supplies.
Fold Flaps Inward
- Turn the model over so the smooth side faces up
- Fold the top flap inward along the existing center line
- Fold the bottom flap inward along the same line
- Flip the model and repeat on the opposite side
Reinforce the Structure
- Fold the top edge toward the center again on both sides
- Fold the bottom edge toward the center again on both sides
- This doubles the wall thickness and creates hidden pockets for locking later
👀 What to look for: After this step, your piece should resemble a thick rectangular strip with layered ends.
Open and Form the Holder
This is where your flat paper becomes a functional pen holder.
Form the Side Walls
- Flip the model so the long edges are horizontal
- Locate the two outer flaps with loose corners
- Fold each flap upward at a 90-degree angle to create side walls
Expand the Base
- Gently pull the side walls apart
- Allow the bottom to open naturally into a square base
- Press the corners flat to stabilize the shape
⚠️ Troubleshooting tip: If the base will not open, check that all previous folds were fully creased. Refold any soft lines to restore structure.
Lock the Structure in Place
A secure fit prevents your pen holder from unfolding during daily use.
Tuck Flaps Into Pockets
- Each side wall contains small inner triangular flaps
- Slide these flaps into the opposing pockets formed during earlier folds
- Apply light pressure to snap them firmly in place
🔐 Pro move: For permanent use, add a small dot of glue or a piece of double-sided tape before tucking the final flaps.
✅ Final check: The holder should stand upright without wobbling and support three to five pens comfortably.
Customize Your Paper Pen Holder

Make your organizer uniquely yours with simple upgrades that boost both style and function.
Use Decorative Paper
- Patterned origami sheets create a vibrant, eye-catching look
- Music manuscript paper adds an artistic touch for musicians
- Pages from old books offer a vintage, eco-friendly aesthetic
- Company-branded or minimalist designs work well for office settings
- Plain paper lets kids draw custom designs before folding
Boost Durability
- Laminate the paper before folding for a wipeable, long-lasting finish
- Insert a cardboard liner inside the base for extra strength
- Apply clear nail polish to folded edges to prevent fraying
🎨 Design idea: Match your pen holder to your notebook or desk mat for a coordinated, polished workspace.
Fix Common Folding Problems
Even small errors can affect stability, but most issues are easy to correct.
Holder Will Not Stand Upright
- Cause: Uneven folds or weak creases
- Fix: Re-crease all lines firmly using a bone folder, spoon edge, or your fingernail
Base Closes When Pens Are Inserted
- Cause: Insufficient layering or loose flap tucks
- Fix: Redo the inner layer folds and ensure all flaps are fully tucked into their pockets
Sides Bulge Outward
- Cause: Paper too thin or holder overfilled
- Solution: Use thicker paper or limit contents to four pens maximum
🔄 Quick test: Fill the holder with pencils first because they are lighter and help shape the structure before adding heavier pens.
Care and Maintenance Tips
Keep your paper pen holder looking sharp and functional for months.
Clean Gently
- Wipe the surface with a dry cloth to remove dust
- Avoid water because moisture warps paper quickly
Store Properly
- Keep away from humid areas like bathrooms or open windows
- If the holder loses shape, carefully unfold and re-crease, then refold
🔁 Refresh trick: Place the holder under a heavy book overnight to flatten and restore its shape after extended use.
Frequently Asked Questions About Making a Paper Pen Holder
What size paper works best for a pen holder?
Square paper measuring at least 6×6 inches (15×15 cm) works well for beginners. Larger sheets around 8×8 inches (20×20 cm) create deeper holders that fit full-sized pens comfortably.
Can I make a pen holder without glue?
Yes, this origami design requires no glue or cutting. The structure locks together through precise folds and tucked flaps. You can add glue or double-sided tape only if you want extra durability.
How many pens can a paper pen holder support?
A properly folded paper pen holder can support three to five standard pens. Using thicker paper or limiting contents to four pens helps prevent bulging or collapse.
Is this project suitable for kids?
Absolutely. With adult supervision for younger children, this is an excellent project for developing fine motor skills and patience. Kids can also decorate plain paper before folding for a personalized result.
What type of paper is strongest for this project?
Cardstock and laminated sheets offer the best rigidity and durability. Thin printer paper tends to collapse under weight, so it should be avoided for functional pen holders.
Can I reuse the paper if I make a mistake?
Yes. If you fold incorrectly, simply unfold the paper carefully and start again. Using a bone folder or your fingernail to flatten old creases helps prepare the paper for a fresh attempt.
Key Takeaways for Making a Pen Holder from Paper
Learning how to make a pen holder from a single sheet of paper combines simplicity, sustainability, and creativity. The project requires no special tools, costs almost nothing, and produces a functional organizer in under ten minutes. Heavy paper, precise creases, and properly tucked flaps are the three keys to a sturdy finished product.
Once you master this basic fold, you can experiment with larger sizes, themed papers, and multi-tier desk sets. Grab a square sheet of paper, follow the steps above, and create your first handmade pen holder today to bring both order and personality to your workspace.