

Building a wall-mounted desk is a smart solution for small spaces, home offices, or minimalist interiors. With the right planning and materials, you can create a sturdy, floating workspace that looks professional and lasts for years. This guide walks you through every phase of construction, from locating wall studs to applying the final finish. You’ll learn how to build a desk that supports monitors, laptops, and heavy equipment while maintaining clean, modern lines.
Choose the Right Desk Height
Setting your desk at the correct height prevents back strain and ensures comfortable typing. The standard ergonomic desk height is 29 to 30 inches above the finished floor. If using a 1.5-inch thick desktop, mark your wall at 27.5 inches to account for the material thickness. Always measure from the finished floor, accounting for carpet height or baseboard thickness.
Measure for Ergonomic Comfort
Use a tape measure to find the ideal height for your body. Sit at a chair and ensure your elbows rest at a 90-degree angle when typing. Mark several test points on the wall and use a temporary shelf or cardboard strip to simulate the desk surface. This lets you confirm comfort before committing to the final height.
Adjust for Baseboards and Obstructions
Clearance issues can ruin an otherwise perfect installation. Trim baseboards if necessary, or raise the desk slightly to avoid awkward gaps. Use a laser level or long bubble level to draw a continuous horizontal line across the wall. This ensures your supports stay perfectly aligned and prevents a crooked appearance.
Locate and Mark Wall Studs
Mounting into wall studs is essential for safety and strength. Drywall anchors alone cannot support the weight of a desk with equipment. Most interior walls have wooden studs spaced 16 inches on-center, though some modern constructions use 24-inch spacing.
Use a Reliable Stud Finder
A high-quality stud finder like the Franklin Sensors ProSensor detects stud edges and centers accurately. Run the device across the wall slowly, marking each stud’s location as you find it. For准确性, scan the same area multiple times to confirm your findings.
Mark Stud Centers Clearly
Once found, mark each stud’s center with a pencil “X.” These points guide where you install brackets, ledgers, or frame supports. For desks longer than 4 feet, plan to anchor into 4 to 6 studs depending on the total length.
Pick a Support System
Your support system determines the desk’s appearance, load capacity, and installation complexity. Three main options exist, each with distinct advantages.
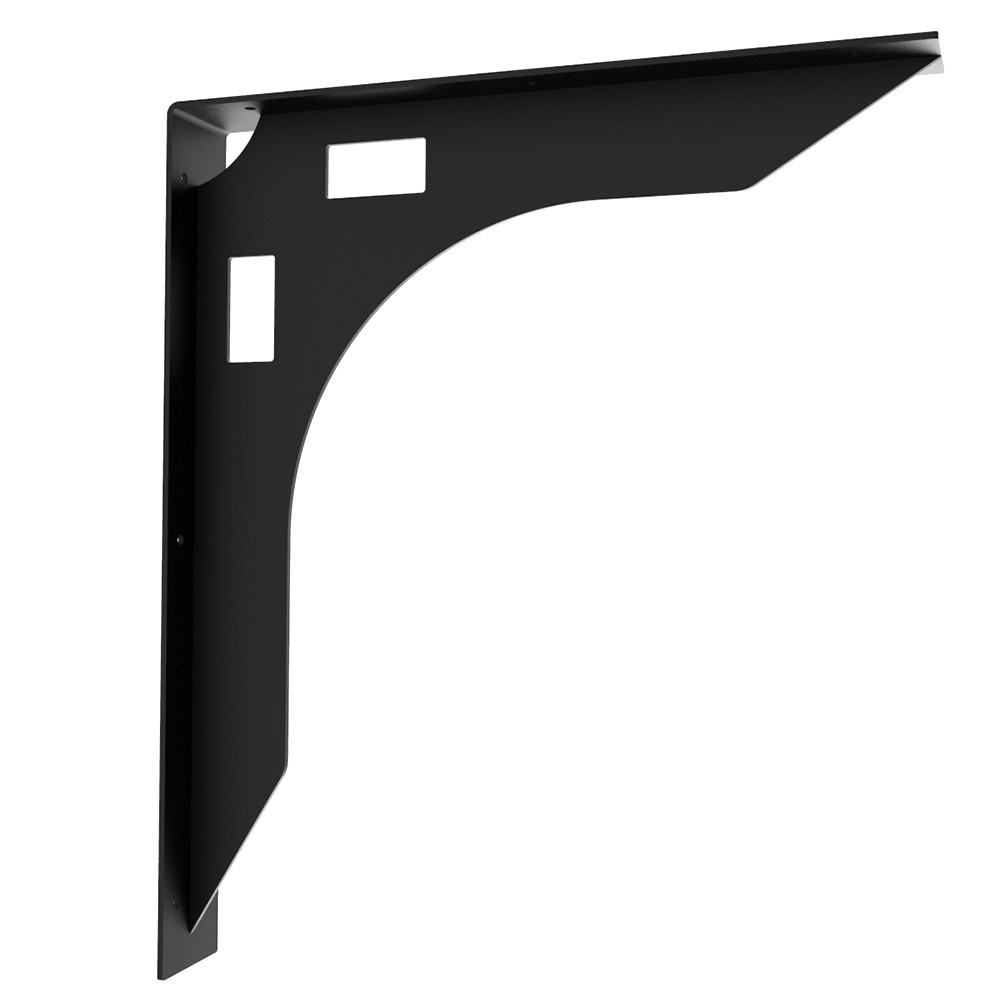
Use Heavy-Duty Brackets
Commercial steel brackets offer the best balance of strength and simplicity for most DIYers. Options like Rockler 1000-lb brackets or FastCap SpeedBraces provide robust support with clean lines. Install one bracket every 32 inches for long desks, always securing into stud centers with 3-inch deck screws or lag bolts.
Build a Hidden Wooden Frame
For a true floating look, construct a 2×4 frame with triangular supports. Mount vertical 2×4s into each stud, then add diagonal braces from the wall to the front edge. This creates a rigid triangular structure that hides completely under the desktop. It requires more labor but delivers a seamless aesthetic.
Install a Back Wall Ledger
A horizontal 2×4 or 1×2 ledger screwed into every stud provides full rear support. This method eliminates visible brackets entirely. You can double-stack the ledger to raise the desk height or leave small gaps between sections for cable routing.
Select and Size the Desktop

Your desktop material affects weight, cost, durability, and final appearance. Choose based on your budget and aesthetic goals.
Choose from Durable Materials
Consider these common options when selecting your desktop. Butcher block at 1.5 inches thick offers exceptional strength but weighs over 100 pounds. Plywood at 3/4 inch is lightweight and affordable but may sag without reinforcement. Engineered wood like IKEA Pinnarp provides durability at a moderate weight of 65 to 80 pounds for a 98-inch length. Solid wood slabs offer a premium look but require flattening and finishing.
Limit Depth and Overhang
Stick to 24 to 26 inches deep for knee clearance and structural safety. Never exceed a 12-inch overhang beyond the front edge of your support. For a 26-inch deep desk, use brackets or frame members that are at least 14 inches deep, with 18 inches or more being ideal.
Reinforce Against Sagging
Long desk spans and heavy loads can cause unwanted flex over time. Reinforcement prevents this common issue and keeps your desk feeling solid.
Add Internal Braces Underneath
Glue 3 to 4 straight wood strips to the underside of the desktop, running front to back. This triples the thickness and dramatically reduces flex. Use 1×2 or 2×4 strips, clamping them in place before mounting.
Laminate Plywood Layers
If using plywood, glue two 3/4-inch sheets together for a 1.5-inch thick top. This prevents a bouncy feel and resists warping. Clamp tightly and let cure for 24 hours before sanding.
Consider Steel Edge Reinforcement
For long spans or heavy loads, attach a flat steel bar along the front underside edge. This counters downward torque and keeps the desk rigid under monitors, computers, and equipment.
Build the Support Frame
The support frame carries the entire weight of your desk and its contents. Building it correctly ensures years of trouble-free use.
Cut and Assemble 2×4 Supports
Use a circular saw or miter saw to cut 2×4s to length. For hidden frames, cut vertical wall members and diagonal braces. Assemble with 3.5-inch deck screws or pocket-hole joinery using a Kreg Jig for strong, hidden connections.
Ensure the Frame Is Level
Before final tightening, check alignment with a 48-inch level. Even a slight tilt will make the desktop appear crooked. Shim behind the frame if needed, but aim for flush, stud-level mounting.
Cut and Prepare the Desktop
Accurate cuts ensure a professional appearance. Take your time with this phase to avoid costly mistakes.
Make Clean, Splinter-Free Cuts
Place large sheets on rigid foam insulation to reduce vibration when cutting. Use a track saw for straight, precise edges. For curved walls, create a cardboard template, trace it, then cut with a jigsaw and sand to fit.
Join Multiple Boards If Needed
For wide desks, glue up individual boards using a biscuit joiner, Festool Domino, or the tape-and-clamp method. Apply wood glue generously to joints and clamp every 8 inches. Let cure for 24 hours before proceeding.
Flatten and Sand the Surface
A smooth, flat surface is essential for both appearance and function. Take your time with the sanding process.
Remove Glue and High Spots
After curing, scrape off dried glue with a putty knife or card scraper. Use a drum sander or hand plane for rough flattening. On the underside, run a belt sander to ensure full contact with the support frame.
Sand Progressively
Follow this grit sequence for best results. Start with 80 grit to remove tool marks, move to 120 grit to smooth the surface, progress to 240 grit to prepare for finish, and finish with 400 grit for final polishing. Use pencil lines on the surface; when they disappear, you have sanded evenly.
Apply the Finish
The right finish protects your desktop and enhances its natural beauty. Choose based on your desired look and maintenance preferences.
Wipe On Danish Oil or Polyurethane
For a warm, natural look, apply Danish oil in thin, even coats. It is forgiving and enhances grain beautifully. For more protection, use wipe-on polyurethane, which applies quickly and dries in 24 hours.
Stain for Rich Color
Use Minwax Special Walnut with a foam applicator pad to avoid streaks. Wipe off excess immediately. Apply Minwax PolyShades Honey Tone for a deep, consistent finish, remembering that the first coat may look dark while the second evens it out.
Final Polish
After the last coat cures, sand lightly with 2000-grit paper for a silky feel. Wipe with a mineral spirits-soaked rag to remove dust, then apply a final topcoat for protection.
Mount the Desktop Securely
Proper mounting ensures your desk stays firmly in place while maintaining a clean appearance.
Attach with Hidden Screws
Drill Kreg pocket holes into the support frame from underneath. Place the desktop on the frame, press down firmly, then drive screws up through the frame into the desk. This leaves no visible fasteners on top.
Use Cleat or Bracket Mounting
Alternatively, screw the desktop directly to a back ledger from above, hiding holes under a monitor. Use L-brackets at the front if full framing is not possible. Always pre-drill to avoid splitting wood.
Hide the Frame and Fasteners
A seamless appearance elevates your desk from functional to professional.
Add a Fascia Board
Install a 1/2-inch shiplap or trim board along the front and sides to conceal the support structure. Nail it in place with finishing nails, fill holes, and paint to match the desk.
Leave a Wall Gap for Cables
Do not push the desk flush against the wall. Leave a 0.5 to 1 inch gap behind it to route power cords, Ethernet, and USB cables vertically. This works especially well with SpeedBrace or Kolossus brackets that have built-in cable cutouts.
Manage Cables Like a Pro
Clean cable management keeps your workspace organized and prevents tangling.
Route Cables Through the Frame
Build a hollow 2×4 frame so all cables run inside the structure. Feed them down through wall studs or into a power outlet below.
Cut an Under-Desk Cable Channel
Use a 3/4-inch router bit to carve a groove along the underside’s back edge. This hides power strips, monitor cables, and USB hubs neatly. Make it slightly oversized to fit thick cords.
Install Modular Cable Trays
Products like Handan’s system snap under the desk and keep everything organized. Choose one with removable covers for easy access during upgrades.
Boost Load Capacity
Understanding load dynamics helps you build a desk that handles heavy equipment safely.
Understand the Cantilever Effect
The farther the desk extends from the wall, the more torque it exerts on fasteners. A 12-inch overhang with 80 pounds of weight creates significant pull. Reduce risk by minimizing overhang and using deep supports.
Use Lag Bolts for Heavy Loads
While 3.5-inch deck screws work for most setups, use lag bolts when supporting heavy equipment or if someone might lean or stand on the desk. Pre-drill holes to prevent wood splitting.
Support Monitor Arms Separately
Monitor arms add dynamic load that can stress your desk over time. Reinforce with a double-thick ledger or mount the arm directly to a wall stud rather than just the desktop.
Build a Fold-Down Murphy Desk Optional
For tight spaces, a fold-down Murphy desk provides functionality without permanent floor presence.
Construct a Hinged Frame
Build a fold-down desk from 1×6 boards using pocket holes, glue, and nails for internal shelves. Frame a pegboard panel with 1×2s and attach with heavy-duty hinges.
Add Gas Struts for Smooth Operation
Install gas struts like those from cabinet doors to counterbalance the desk’s weight. This lets it stay open or close softly. Ensure all hardware is anchored into multiple wall studs.
Decorate the Closed Face
Paint the front with geometric tape designs or attach artwork. When closed, it looks like a wall display or cabinet, perfect for studio apartments.
Test and Finalize
Before declaring your project complete, perform thorough testing to ensure everything works correctly.
Do Multiple Fit Checks
Test-fit the desktop several times before final mounting. Sand the bottom edge more than expected because this helps it slide into place without binding.
Load Test Before Use
Place heavy items on the desk gradually. If you hear creaking or see movement, check fastener tightness and stud engagement. A properly built desk should support over 100 pounds and even light standing.
Frequently Asked Questions About Building a Wall-Mounted Desk
How high should a wall-mounted desk be?
Set your wall-mounted desk at 29 to 30 inches above the finished floor for standard ergonomic use. If using a 1.5-inch thick desktop, mark the wall at 27.5 inches to account for the material thickness.
Can I mount a desk to drywall without studs?
No, mounting into drywall alone is not recommended for wall-mounted desks. Drywall anchors cannot support the weight of the desk and equipment. You must anchor into wall studs for safety and stability.
What is the best material for a wall-mounted desktop?
Butcher block at 1.5 inches thick offers the best combination of strength and durability. IKEA engineered wood countertops provide good value, while solid wood slabs offer premium aesthetics but require more finishing work.
How do I prevent my desk from sagging?
Add internal braces underneath by gluing 1×2 or 2×4 strips running front to back. For plywood tops, glue two 3/4-inch sheets together for a 1.5-inch thick top. Limit overhang to 12 inches or less beyond your support structure.
How do I hide cables on a wall-mounted desk?
Leave a 0.5 to 1 inch gap between the desk and wall for vertical cable runs. Use brackets with built-in cable cutouts, build a hollow frame for internal routing, or install a routed channel underneath the desktop.
How much weight can a wall-mounted desk hold?
A properly built wall-mounted desk anchored into studs can support over 100 pounds. Using heavy-duty brackets rated for 1000 pounds provides significant margin for heavy monitors, computers, and equipment.
Key Takeaways for Building Your Wall-Mounted Desk
A well-built wall-mounted desk combines strength, function, and style. Always mount into wall studs rather than relying on drywall anchors, as this is the foundation of a safe installation. Limit overhang to 12 inches or less and use deep brackets or a hidden frame to prevent sagging and maintain stability. Reinforce your desktop with internal braces or laminated layers, and integrate cable management during the build rather than as an afterthought. Whether you choose simple commercial brackets or a custom floating frame, follow these steps to build a desk that lasts for years and enhances your space. Start by measuring carefully, planning your support system, and taking time with the finishing process for professional results.


