You reach for your pen during a critical moment in class or a meeting, only to find it has rolled off the desk or vanished into your bag. A notebook pen holder eliminates this daily frustration by keeping your writing tool securely attached to your journal at all times. This practical accessory is a favorite among students, bullet journalers, and professionals who want instant access to their pens.
This guide covers two reliable approaches to learning how to make a notebook pen holder. You will discover a no-sew paper version that takes under five minutes, plus a durable fabric version finished in about 15 minutes. Both methods use affordable supplies and require zero prior crafting experience.
No-Sew Paper Pen Holder in 5 Minutes

This method produces a functional pen holder using only paper and scissors. It works perfectly for temporary use, travel, or testing a design before committing to fabric.
Cut a Strip of Sturdy Paper
Select thick cardstock, recycled notebook cover, or heavyweight craft paper for best results. Cut a strip measuring 1 inch wide and 4 to 6 inches long for standard notebooks. For larger A4 journals, extend the length to 7 or 8 inches. Thin printer paper will bend under pen weight and should be avoided.
Fold and Cut the Tension Slot
Fold the strip in half lengthwise, then unfold to reveal a center crease. From one end, cut a slit approximately half an inch long, stopping just before the fold line. This slit creates the tension tab that grips your pen securely. Fold both ends inward toward the center crease to form a small pocket, keeping the folded edge opposite the slit.
Insert Your Pen and Start Using It
Slide the pen through the slit from the open end. The folded ends cradle the pen body while the slit provides friction-based resistance. Place the holder into your notebook like a bookmark and begin writing immediately. For added strength, reinforce the folds and slit with a strip of clear tape.
Pro Tip: Stick to fine-tip pens or standard pencils. Heavy markers add weight that causes paper holders to bend over time.
Sewn Fabric Pen Holder: Materials and Tools
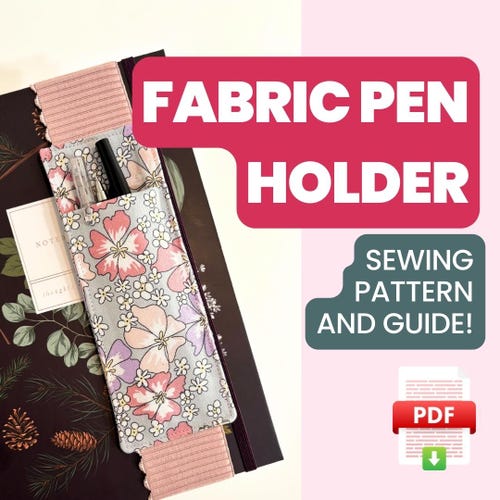
This version delivers a washable, long-lasting holder that withstands daily use. It is ideal for gifting, professional settings, and anyone wanting a polished finish.
Choose Your Fabric and Interfacing
Select cotton, quilting fabric, or canvas for easy sewing and reliable structure. Cut two pieces: a main body measuring 8 inches by 2.5 inches and a pocket piece measuring 10 inches by 2 inches. Always fuse light to mid-weight interfacing to the wrong side of both pieces. This step prevents sagging and gives the holder a professional stiffness.
Pick the Right Elastic
Use half-inch to 1-inch wide elastic for a secure fit around your notebook. Wider elastic grips thicker journals more reliably. Calculate the correct length using this formula:
- A5 notebook (8.5 inches long): Use 9 inches of elastic
- A4 notebook (12 inches long): Use 16 inches of elastic
- Quick formula: Multiply notebook length by 2, then subtract 8
Flat or fold-over elastic works best. Avoid stretchy braided varieties that lose tension quickly.
Gather Your Sewing Tools
You will need the following supplies:
- Sewing machine
- Iron and pressing board
- Scissors or rotary cutter
- Acrylic ruler and cutting mat
- Fabric chalk or marking pen
- Pins or quilting clips
- Turning tool or chopstick
- Coordinating thread
Quilting clips outperform pins when holding elastic, since they prevent shifting during stitching.
Cut and Prepare Your Fabric Pieces
Accurate cutting creates clean seams and a polished final product.
Measure and Cut with Precision
Lay your fabric flat on a cutting mat. Use an acrylic ruler and rotary cutter for straight, professional edges. Cut the following pieces:
- Main backing piece: 8 inches by 2.5 inches
- Pocket piece: 10 inches by 2 inches
- Interfacing pieces: Match the dimensions of each fabric piece
Label each piece with chalk to avoid confusion during assembly.
Fuse the Interfacing Correctly
Peel the backing from your interfacing and place the adhesive side against the wrong side of each fabric piece. Press with a hot iron (no steam) for 10 to 15 seconds per section. Lift and repress any areas that fail to bond fully. Repeat for both the main and pocket pieces.
Warning: Skipping interfacing causes your holder to sag under pen weight within days of use.
Construct the Pen Pocket
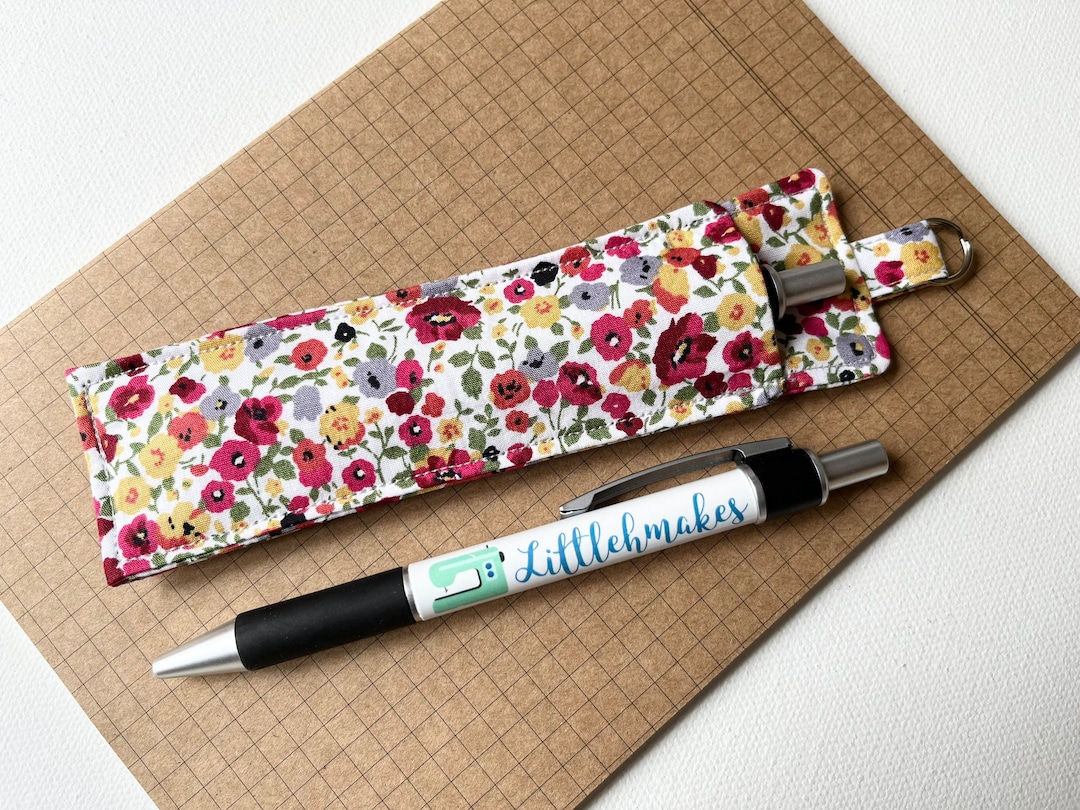
The pocket keeps your pens upright and secure. Customize it for single or multiple writing tools.
Fold and Stitch the Pocket
Fold the pocket piece in half with wrong sides together and press flat with an iron. Topstitch along the open edge using a 1/8-inch seam allowance. This creates a clean, durable pocket opening that resists fraying.
Add Multiple Slots for More Pens
For holders designed to carry two or more pens, mark vertical lines every 0.75 inches from the top edge. Sew straight lines down to the base to form individual compartments. This setup works well for color-coded pens, pencils, and highlighters.
Design Tip: Choose contrasting thread for the topstitching to add visual flair without extra effort.
Attach the Elastic Loop
The elastic anchors your holder to the notebook. Proper attachment ensures a snug, slip-free fit.
Align the Elastic with Center Marks
Locate the center of the short edges on both the backing and pocket pieces. Mark these points with fabric chalk. Place the backing piece right side up on your work surface. Lay the pocket on top, aligning raw edges and center marks. Position the elastic across the center with ends flush against the raw edges.
Lock the Elastic in Place
Pin or clip the elastic ends to prevent shifting during sewing. Stitch a stay stitch 1/8 inch from the edge across both ends to secure them. Keep the elastic taut but not stretched during this step. Over-tensioning warps the final shape of your holder.
Common Mistake: Twisted elastic. Always verify alignment before stitching to avoid this frustrating issue.
Assemble and Sew the Holder
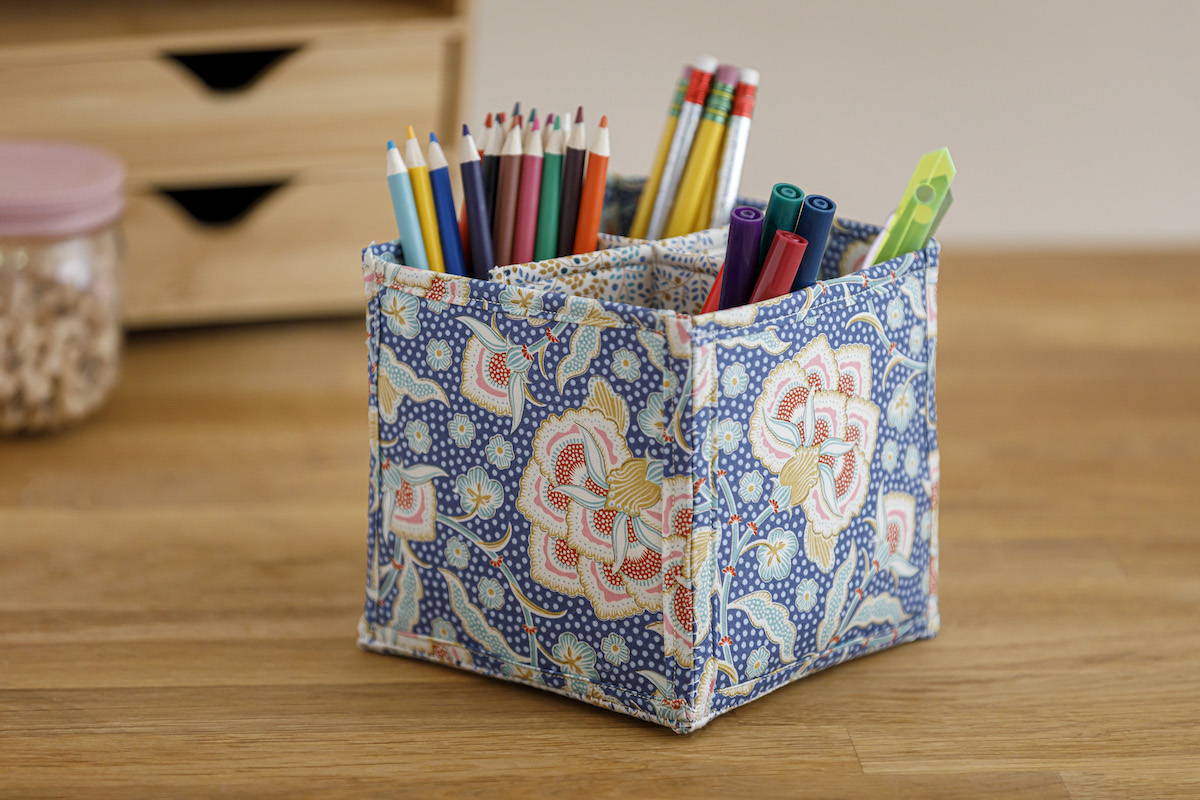
Layer all components and stitch them together for a clean, professional build.
Layer the Pieces in Order
Stack your materials in this sequence from bottom to top:
- Backing piece (right side up)
- Elastic (centered)
- Pocket piece (right side down)
- Front piece (right side down)
This arrangement forms a “quilt sandwich” with right sides facing inward.
Pin and Sew Around the Perimeter
Secure all layers with clips, tucking the loose elastic loop toward the center to keep it out of the side seams. Sew around all edges using a 1/4-inch seam allowance, leaving a 2 to 4 inch gap on one side for turning. Backstitch at the start and end of your seam. At each corner, stop with the needle down, lift the presser foot, rotate 90 degrees, then continue sewing.
Pro Move: A walking foot prevents fabric shifting when sewing through thick layers.
Turn, Press, and Finish Your Holder
Transform the stitched piece into a polished, functional accessory.
Clip Corners and Turn Right Side Out
Trim excess fabric at each corner diagonally, taking care not to cut through the stitches. This reduces bulk and creates sharp points. Turn the holder right side out through the gap using a chopstick or turning tool to gently push out the corners.
Press Flat and Add Final Topstitch
Iron the holder flat, folding the gap edges inward to align with the seam line. Never iron directly on the elastic, since heat degrades its stretch over time. Sew a final topstitch 1/8 inch from all edges to close the gap and reinforce the seams.
Advanced Option: A blind stitch creates an invisible closure, though topstitching is faster and equally durable.
Customize Your Pen Holder
Personalize your creation with style upgrades and functional tweaks.
Add Storage for Multiple Pens
Sew vertical dividers inside the pocket to create dual, triple, or quad slots. Space your marks 0.75 inches apart. This works perfectly for color-coded writing kits or full stationery sets.
Decorate with Personal Flair
Consider these creative options:
- Use patterned fabric or mix coordinating prints
- Add embroidery with names, quotes, or simple doodles
- Attach charms or ribbons to the front panel
- Use decorative confetti thread for playful topstitching
Gift Idea: Pair a handmade pen holder with a notebook and favorite pen for a thoughtful, affordable present.
Adapt for Special Requirements
- Wider pockets: Cut the pocket piece up to 4 inches wide for thick markers
- Leather version: Use cotton canvas or genuine leather with a heavy-duty needle
- Invisible closure: Fold edges inward and hand-stitch with a blind stitch
Troubleshooting Common Problems
Solve typical issues quickly with these expert-backed fixes.
Elastic Twists Inside the Holder
This occurs when the loop is not secured before sewing. Prevent it by pinning the elastic center firmly and tucking the loop toward the middle during assembly.
Corners Appear Bulky or Rounded
Trim corners diagonally close to the stitch line before turning. This reduces fabric bulk and produces sharp, professional points.
Interfacing Peels or Bubbles
Ensure your iron is hot enough and press for 10 to 15 seconds per section. Allow the fabric to cool before handling. Re-press any areas where adhesion fails.
Holder Does Not Fit the Notebook
Elastic too tight? Recalculate using the formula: multiply notebook length by 2, then subtract the finished holder length. For an A5 notebook: (8.5 × 2) minus 8 equals 9 inches. Too loose? Shorten the elastic by 1 inch and reattach.
Maintenance and Care Tips
Keep your pen holder looking new with simple, consistent care.
Clean Without Causing Damage
Fabric holders respond well to spot cleaning with mild soap and a damp cloth. For deeper cleaning, hand-wash gently and air dry flat. Avoid machine washing if the elastic is exposed to prevent damage.
Protect Elastic from Heat Damage
Never press a hot iron directly over elastic. Always iron around it or use a pressing cloth as a barrier. High heat breaks down elasticity and shortens the lifespan of your holder.
Store Flat to Prevent Creasing
Keep your holder flat in a drawer or tucked inside your notebook when not in use. Avoid folding it tightly, especially if you used interfacing for structure.
Why Make Your Own Pen Holder?

Save Time and Reduce Daily Clutter
No more digging through bags or desk drawers searching for pens. Your writing tool stays attached and ready whenever inspiration strikes.
Repurpose Scrap Materials
This is a true zero-waste project. Use leftover fabric scraps or old notebook covers. A single fat quarter produces 10 or more holders, making it one of the most efficient scrap-busting crafts available.
Create Meaningful, Affordable Gifts
Students, teachers, and writers appreciate personalized pen holders. Make a batch in different prints and pair them with journals for thoughtful, budget-friendly gifts that show genuine care.
Finish in Under 15 Minutes
Beginners complete the fabric version in 10 to 15 minutes. The paper version takes less than 5 minutes. No prior experience is necessary for either method.
Frequently Asked Questions About Notebook Pen Holders
What is the best material for a DIY notebook pen holder?
Cotton fabric with fusible interfacing is the top choice for durability and structure. For a quick, no-sew option, thick cardstock or recycled notebook covers work well. Avoid thin printer paper, which bends under pen weight.
How long does it take to make a fabric pen holder?
Most beginners finish a fabric pen holder in 10 to 15 minutes. Experienced sewers complete the project in under 10 minutes. The paper version takes less than 5 minutes from start to finish.
Can I make a pen holder without a sewing machine?
Yes. The no-sew paper method requires only scissors and cardstock. For fabric holders, you can hand-sew using a simple running stitch or backstitch, though a sewing machine produces faster, more durable results.
How do I calculate the right elastic length?
Use this formula: multiply your notebook length by 2, then subtract the finished holder length. For an A5 notebook (8.5 inches), the calculation is (8.5 × 2) minus 8, which equals 9 inches of elastic. For A4 notebooks (12 inches), use 16 inches.
Will a fabric pen holder fit any notebook size?
Yes, with proper elastic calculation. The standard 8-inch finished holder fits A5 notebooks with 9 inches of elastic. For A4 notebooks, use 16 inches of elastic. Adjust the formula based on your specific notebook dimensions for a custom fit.
How do I clean a fabric pen holder?
Spot clean with mild soap and a damp cloth for everyday maintenance. For deeper cleaning, hand-wash gently in cool water and air dry flat. Avoid machine washing if the elastic is exposed, and never iron directly over elastic components.
Key Takeaways for Making Your Own Notebook Pen Holder
Learning how to make a notebook pen holder opens the door to a practical, customizable project that solves a daily annoyance. The no-sew paper method delivers instant results for temporary needs, while the sewn fabric version provides a durable, washable accessory built to last for years. Both approaches use affordable supplies and require minimal time investment.
Start with the paper version today to test the concept, then graduate to fabric once you feel confident. Gather your materials, follow the steps carefully, and enjoy the satisfaction of crafting something both useful and personal. Your notebooks will never feel complete without a handmade pen holder attached.