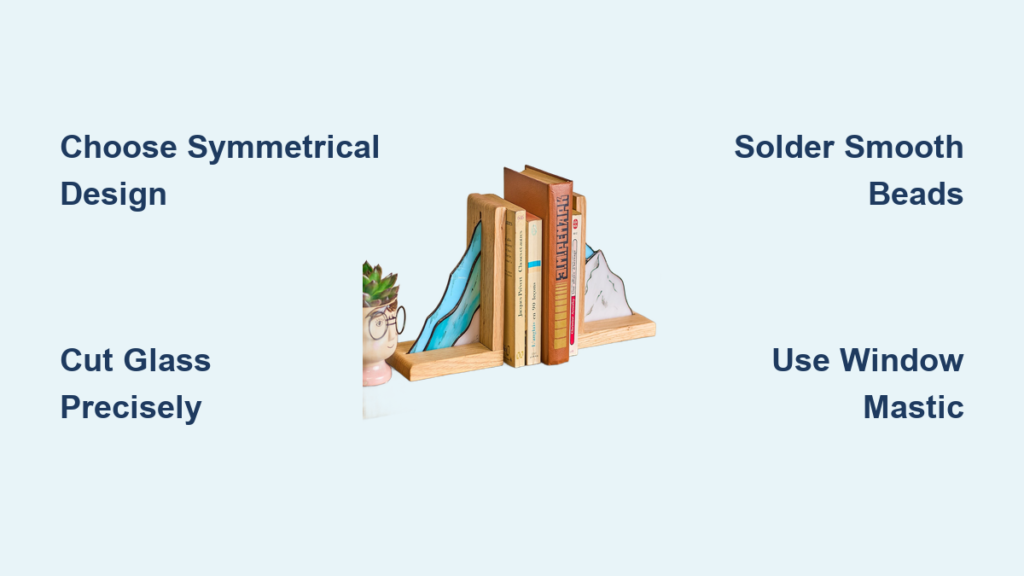
Have you ever admired a colorful stained glass piece and wondered if you could make one yourself? Learning how to make stained glass bookends transforms a traditional craft into a practical, beautiful object that holds your favorite reads. This project blends artistry with function, using time-tested stained glass methods adapted for durability and weight.
In this guide, you’ll discover how to choose a symmetrical pattern, cut and solder glass with confidence, and mount your finished piece so it lasts for years. We’ll cover essential tools, foolproof assembly techniques, and pro tips for handling tricky materials like iridescent glass.
Pick a Symmetrical Design for Visual Balance
Choose a Theme That Matches Your Style
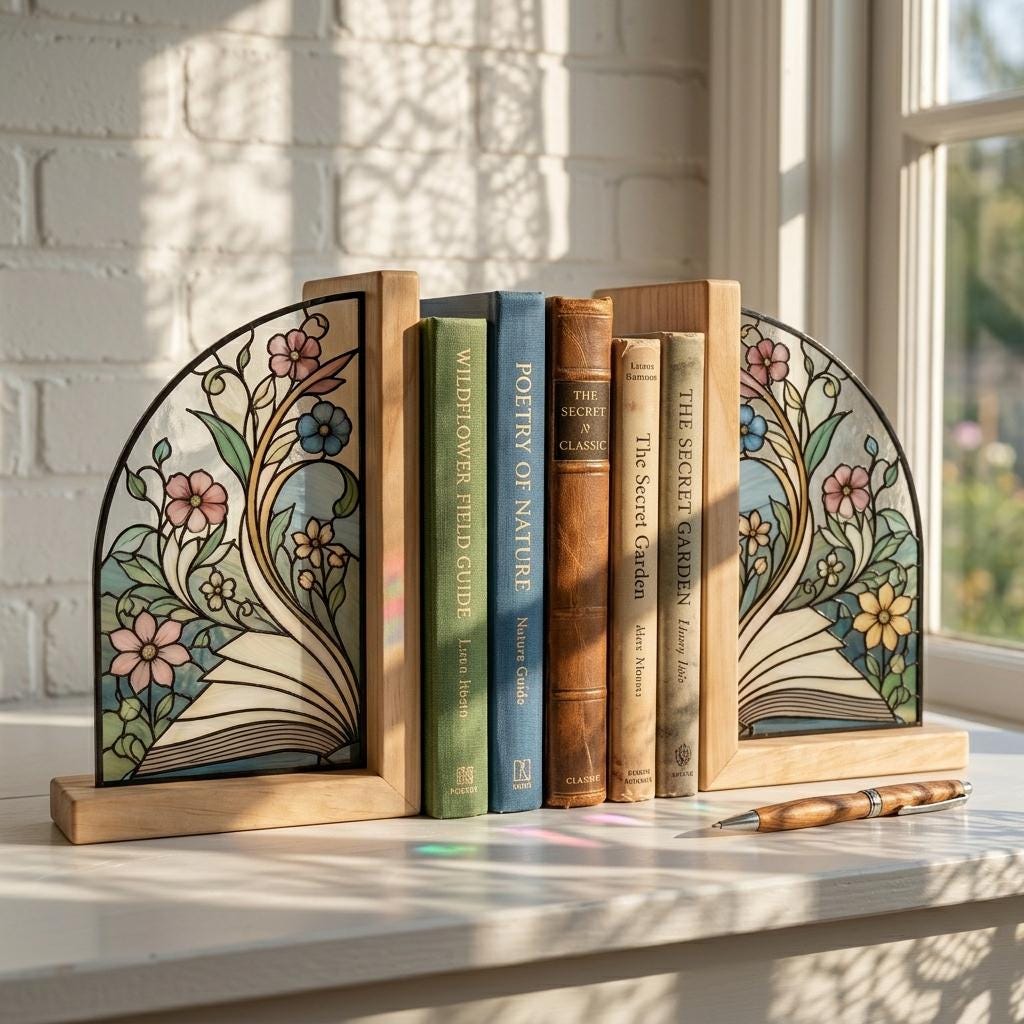
Your design sets the tone for the entire project. Popular themes include geometric patterns, nature motifs like butterflies or flowers, art deco lines, or abstract color gradients. For bookends, symmetry matters most because each piece should mirror the other when placed on a shelf. If your pattern includes directional elements like wings or stacked books, flip one side to create a true mirror image.
Scale Your Pattern to Fit the Base
Always verify your design size before cutting any glass. Many pre-made wooden blanks measure 4.5 x 6.5 inches with grooves for glass inserts, while standalone designs often range from 6 to 8 inches tall. Print your pattern on cardstock and test-fit it inside the blank. Adjust the scale in your printer settings if needed. For reusable templates, print on transparency film or laminate the paper to protect against spills.
Gather Essential Tools and Materials
Core Supplies for Stained Glass Work
You’ll need specific materials to build durable, polished bookends:
- Stained glass sheets (colored or iridescent)
- Copper foil tape, 3/16 inch wide for fine lines
- Solder (leaded or lead-free)
- Flux, preferably Ruby Fluid for clean joints
- Patina solution (black, copper, or silver) to finish solder lines
- Cleaning agents like Kwik Clean or vinegar-water mix, plus Clarity wax for shine
Mounting Components for Stability
Two mounting methods exist, so choose based on your base type:
- Window mastic (butyl seal tape) works best for grooved wooden blanks. It stays pliable, never dries out, and allows for future removal.
- Strong adhesive suits attaching a separate wooden or metal base to the back of a standalone panel.
Pre-made blanks with grooves cost around $12 per pair and simplify assembly significantly.
Required Tools for the Job
Make sure you have these tools ready before starting:
- Glass cutter (high-quality for clean scoring)
- Running pliers and grozing pliers for breaking and shaping
- Glass grinder to smooth edges and perfect fits
- Soldering iron with temperature control
- Fume extractor or well-ventilated workspace
- Bone folder for burnishing foil
- Razor blade to trim excess tape
- Safety gear including goggles, gloves, and a mask for grinding
Optional but helpful: a Cricut machine for cutting vinyl templates, which works great for intricate designs.
Cut Glass to Match Your Pattern Precisely
Transfer the Design onto Glass
Use one of three reliable methods to get your pattern onto glass:
- Transparency method: Trace the shape on clear film, cut it out, place on glass, and retrace.
- Direct tracing: Lay glass over a printed pattern and trace visible lines.
- Vinyl template: Use a Cricut to cut the design into vinyl for a precise, reusable stencil.
Label each piece lightly on the foil rather than the glass to avoid confusion during assembly, especially with iridescent or similarly colored pieces.
Score and Break With Steady Control
Score along traced lines using firm, single passes with a glass cutter. Never go over the same line twice. Break the glass with running pliers by applying even pressure on both sides of the score. For tight curves or small sections, use grozing pliers to nibble away excess material.
Grind for a Seamless Fit
Use a glass grinder to smooth sharp edges and adjust shapes until they fit perfectly within the pattern. Dry-fit all pieces frequently to check alignment. Make micro-adjustments as needed. Overheating can cause breakage, so work steadily and let pieces cool if they feel warm.
Foil, Flux, and Solder With Care
Wrap Edges With Copper Foil
Clean each glass piece thoroughly before foiling. Center the copper tape along the edge, pressing it evenly with your fingers. Overlap the ends slightly and seal the joint. Use a bone folder to burnish the foil, which ensures strong adhesion and prevents lifting during soldering. Trim excess with a razor blade.
For iridescent glass, handle gently because this type chips easily. Never write directly on it; use external labels instead.
Arrange and Tack Pieces Securely
Lay out all foiled pieces on your work surface following the pattern. Use small pieces of tape or repositionable adhesive to hold them in place. Double-check orientation, especially for mirrored bookends. Once aligned, apply flux (Ruby Fluid) to all foil seams.
Dab solder at key joints to “tack” pieces together. This prevents shifting during full soldering. Work on a heat-resistant surface and keep a fire extinguisher nearby just in case.
Create Smooth Solder Beads
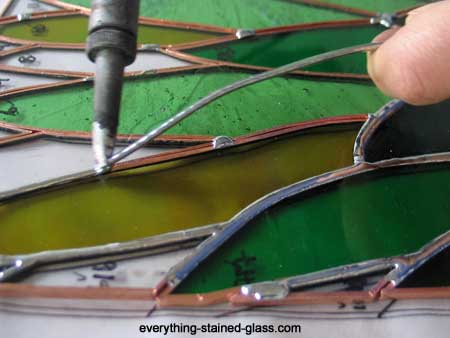
Heat your soldering iron and apply solder slowly along each seam. Aim for a slightly rounded bead that looks neither flat nor lumpy. Move steadily, letting the solder flow naturally. If the glass starts to feel hot, pause and let it cool to avoid thermal shock.
After completing the front, flip the piece. Brush flux on the back seams and re-solder. Some solder may seep through; use the iron to smooth it. The second side often splatters more due to trapped air, so wear gloves and work slowly.
Apply Patina and Polish for a Professional Finish
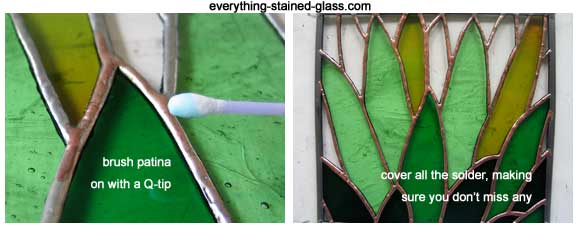
Change Solder Color With Patina
Once both sides are soldered and cooled, clean off flux residue with Kwik Clean or a vinegar-water solution. Dry completely.
Apply patina (Super Brite) with a Q-tip or paper towel to darken or color the solder. Black patina is most common because it hides imperfections and gives a professional look. Cover all sides evenly and let it set for several minutes.
Restore Shine With Wax
After patina dries, clean again with Kwik Clean to remove any residue. Buff with fine steel wool or a polishing cloth. Apply Clarity finishing wax with a soft cloth to enhance shine and protect the metal. This final step brings out the glass’s brilliance and seals the solder.
Repeat cleaning and waxing after patina for a flawless finish.
Mount Glass Into a Wood Base
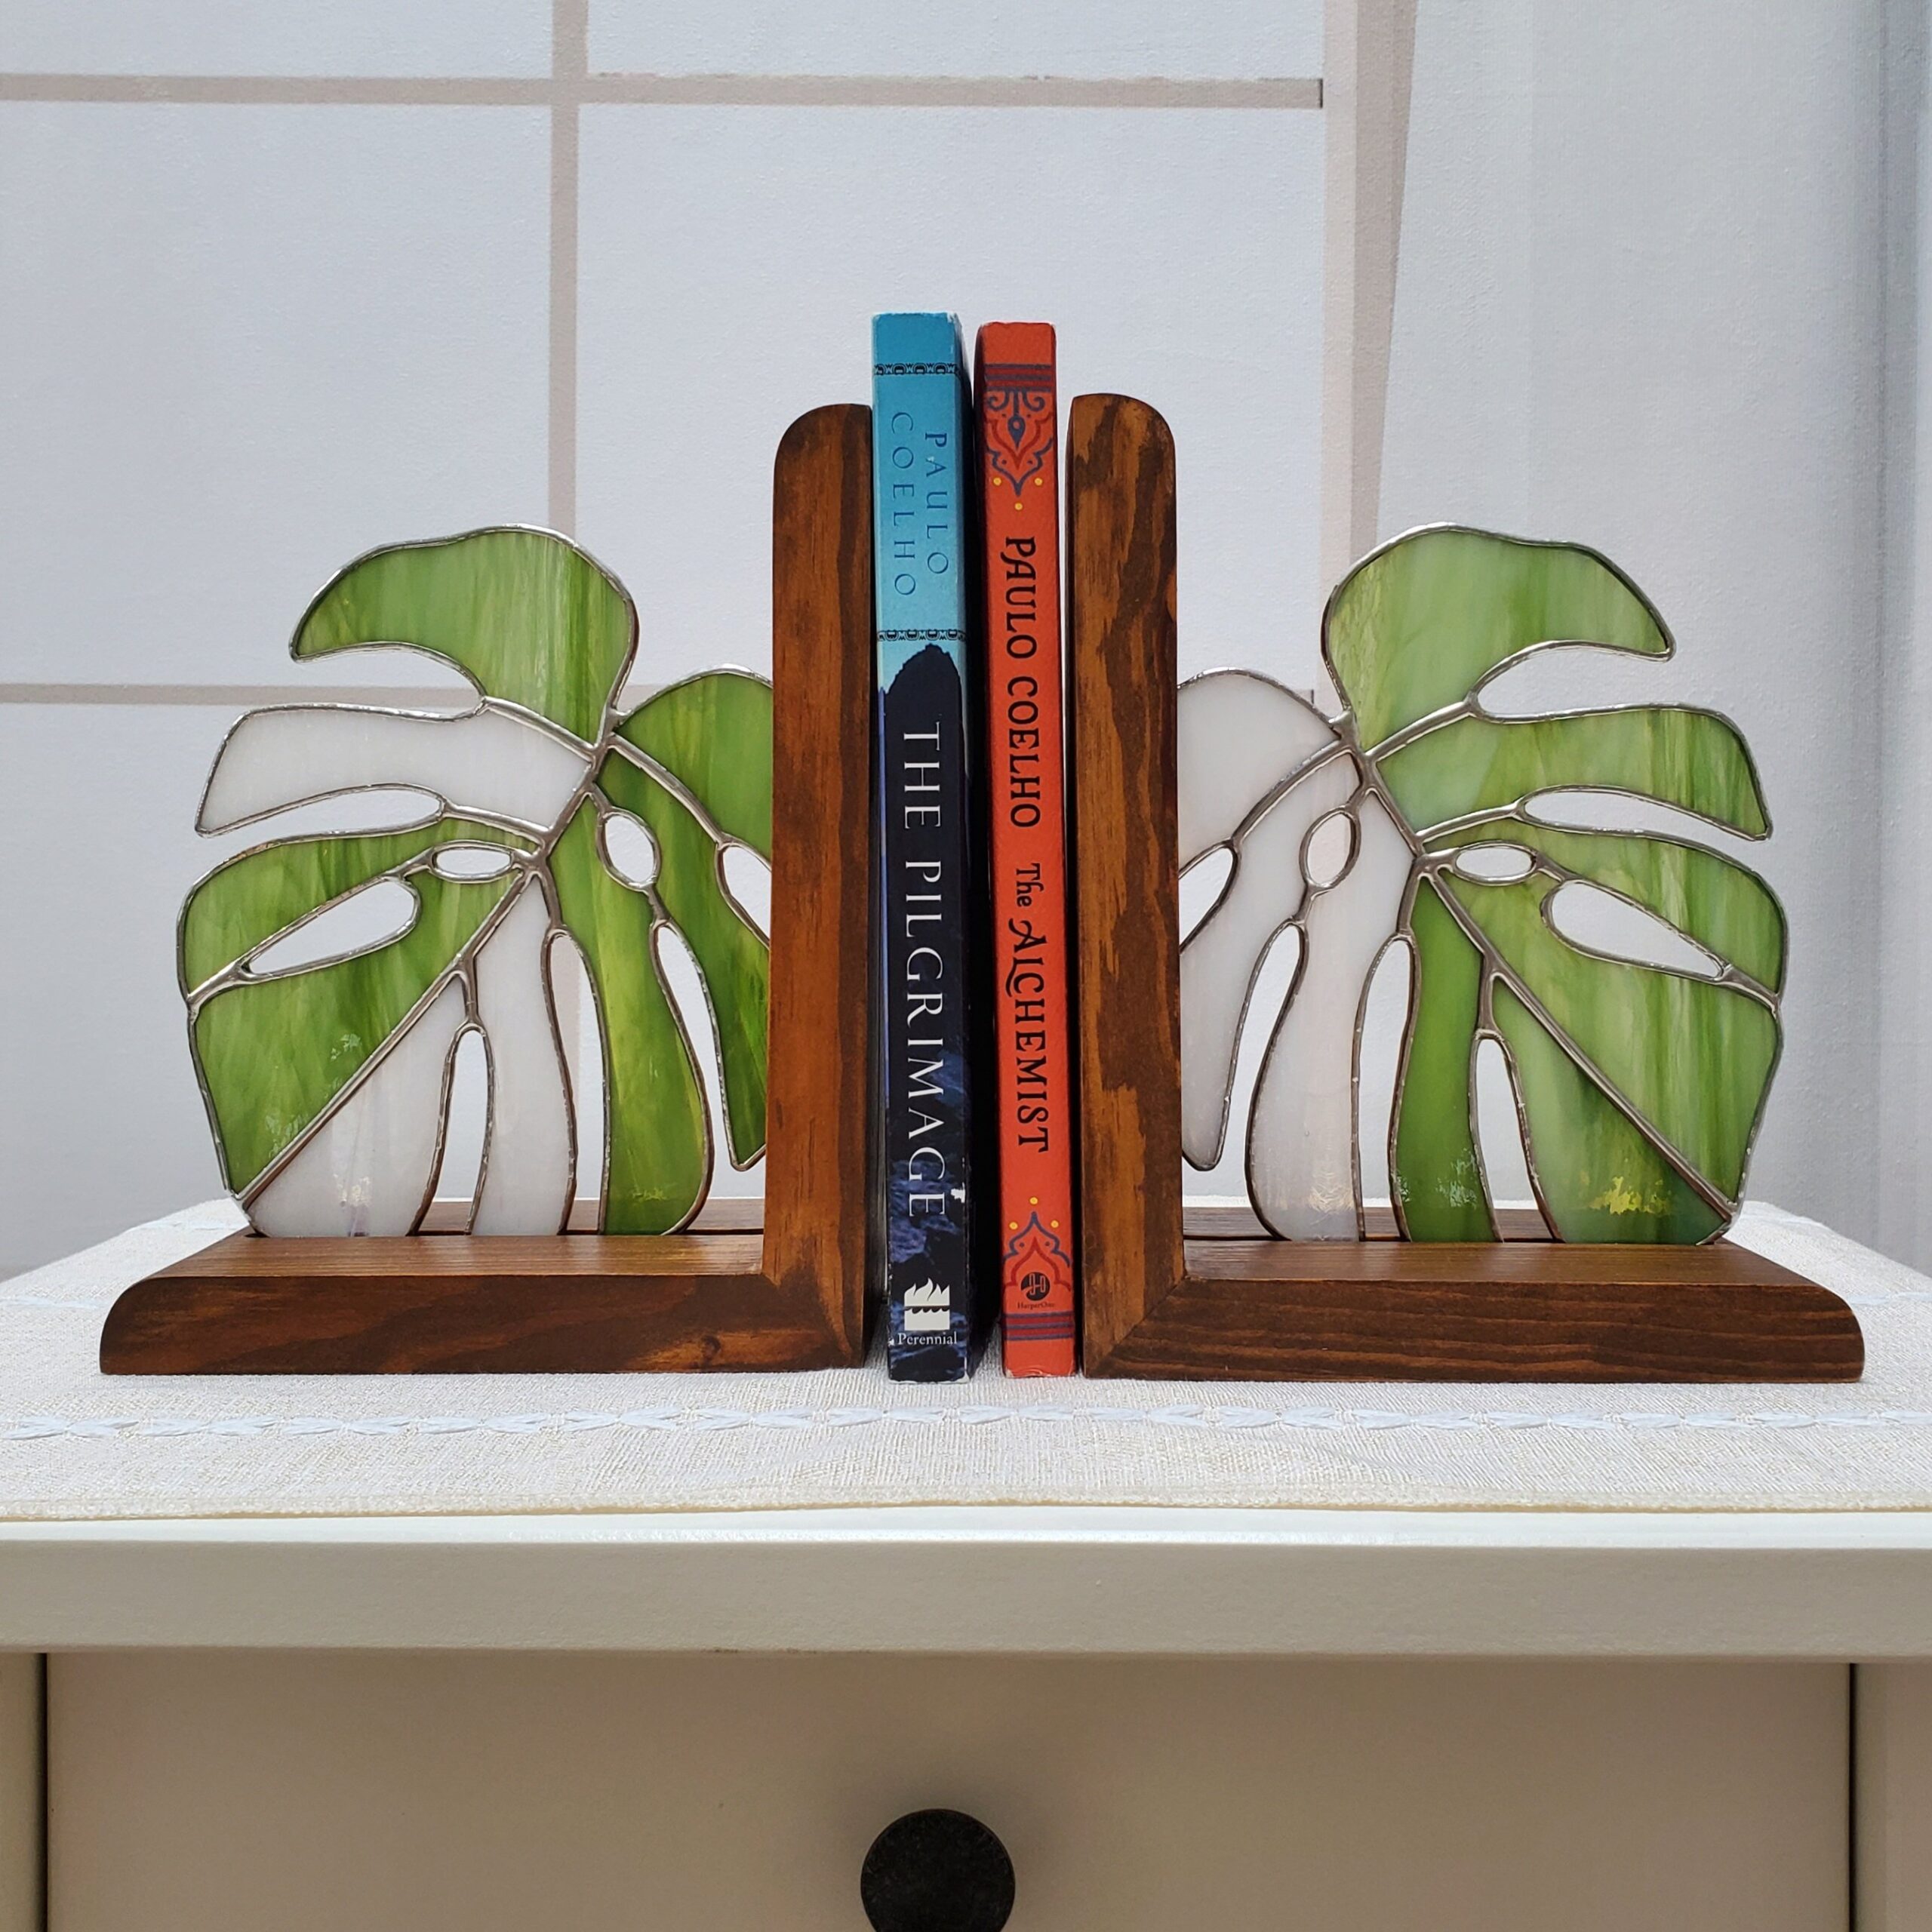
Use Window Mastic for a Reversible Hold
For grooved wooden blanks, window mastic is the best mounting method. It stays sticky and pliable, never hardening, so you can remove or reposition the glass later if needed.
Cut a 2 to 3 inch section of mastic (about 3/4 inch thick). Stretch it like bubble gum to halve its thickness. Press small dabs into the top and bottom corners of the groove. Add more along the inner edges if needed.
Gently press the stained glass panel into the groove. The mastic grips the glass securely, preventing rattling without permanent bonding. The weight of the glass helps hold it in place.
Attach a Sturdy Base Permanently
If you’re building standalone bookends without grooves, glue a heavy wooden or metal base to the back. Use a strong wood-to-glass adhesive rated for vertical loads. Ensure the base is wide enough to counterbalance books, typically at least 2 inches deep. Clamp or tape in place while drying.
For DIY wooden bases, use oak or hardwood, stain it (English Chestnut works beautifully), and apply 3 to 4 coats of clear satin polyurethane for durability.
Handle Iridescent Glass the Right Way

Match Shine With Proper Mirroring
Iridescent glass has a reflective coating on one side only. If both bookends use the same pattern without adjusting orientation, the shine will face opposite directions, ruining visual consistency.
To fix this, flip the glass pieces for one bookend so the iridescent side faces the correct direction. For example, if the first bookend has the shiny side up, the second should have it down (or vice versa), depending on final placement. This ensures the rainbow effect appears on the outward-facing side of both units when displayed.
Prevent Chipping and Smudges
Iridescent glass is fragile and shows fingerprints easily. Wear gloves when handling. Cut and grind slowly to avoid chipping. Clean with a soft, damp cloth and avoid abrasive cleaners.
Never write on the surface. Instead, label pieces with numbered tags or a diagram.
Avoid Common Mistakes
Don’t Overheat the Glass
Small stained glass projects like bookends heat up fast. Continuous soldering can cause thermal stress, leading to cracks or breakage.
Work in short passes. Solder a few seams, then pause for 30 to 60 seconds to let the glass cool. Touch the panel gently to monitor temperature.
Fix Solder Seepage Early
Tiny gaps in foil may let solder leak through. This is normal and easy to correct.
While still molten, use the soldering iron to pull excess back into the bead. If solidified, reheat and reflow. Don’t sand, as this damages foil.
Ensure Symmetry Before Soldering
Once soldered, reversing a piece is difficult. Double-check that both bookends are mirror images before tacking.
Lay both patterns side by side and use a ruler to confirm alignment. Take a photo and flip it digitally to test symmetry.
Maintain and Display Your Bookends Safely
Clean Without Damaging the Finish
Dust regularly with a soft, dry cloth. For smudges, use a slightly damp microfiber cloth. Never spray liquid directly on the piece.
Avoid abrasive cleaners or steel wool on patina. Reapply Clarity wax every few months to maintain luster.
Test Stability Before Loading Books
Place books gradually to test balance. If the bookend tips, the base may be too narrow or light. Reinforce with a heavier back plate or wider wood.
If using mastic and the glass feels loose over time, remove and reapply fresh dabs.
Store Properly When Not in Use
Keep bookends in a dry, padded area. Wrap in soft cloth or bubble wrap to prevent scratches. Store upright to avoid pressure on edges.
Frequently Asked Questions About Stained Glass Bookends
What is the best glass for beginner stained glass bookends?
Standard colored stained glass works best for beginners because it’s more forgiving and less expensive than iridescent varieties. Iridescent glass chips easily and shows fingerprints, making it better suited for crafters with some experience.
How thick should the glass be for bookends?
Most stained glass sheets come in standard thicknesses suitable for bookend projects. The exact thickness matters less than ensuring all pieces in a single project match, so the solder beads look consistent.
Can I make stained glass bookends without a glass grinder?
A glass grinder makes fitting pieces much easier, but you can achieve decent results with grozing pliers alone for simpler designs. Intricate patterns with tight curves really benefit from grinding equipment.
How do I prevent the glass from cracking during soldering?
Work in short passes and let the glass cool between soldering sessions. Small pieces heat up quickly, so pause for 30 to 60 seconds if the panel feels warm. This prevents thermal shock and breakage.
Is window mastic strong enough to hold heavy glass?
Yes, window mastic grips glass securely through friction and tackiness. The weight of the glass actually helps hold it in place. It never hardens, so you can remove and remount the glass anytime without damage.
How long does it take to make a pair of stained glass bookends?
Most crafters complete a pair in 8 to 12 hours spread across several sessions. Cutting and grinding take the most time, while soldering and finishing move faster once you develop a rhythm.
Key Takeaways for Crafting Beautiful Stained Glass Bookends
Learning how to make stained glass bookends rewards you with functional art that lasts for generations. Focus on three essentials: clean cuts, smooth soldering beads, and proper mounting. Symmetry ensures both pieces look balanced on your shelf, while window mastic provides a reversible hold that protects your work long-term.
Start with a simple geometric pattern if you’re new to stained glass, then progress to nature motifs or iridescent designs as your skills grow. Gather quality tools upfront because they save significant time and frustration. Ready to begin? Print your pattern, lay out your materials, and enjoy the process of turning colorful glass into a treasured keepsake.