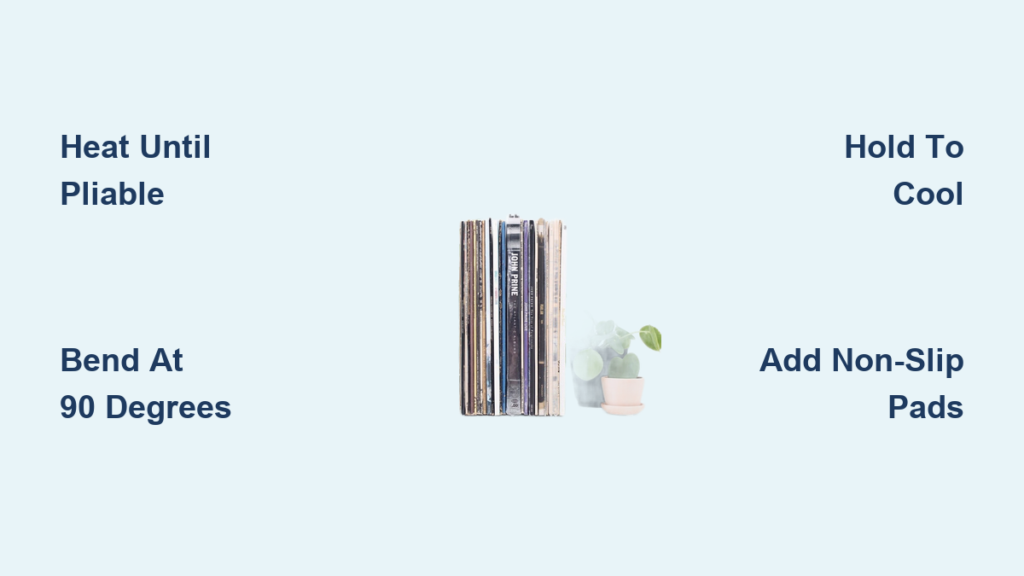
Got a stack of old records gathering dust in a closet? Scratched, warped, or just outdated? Here is a smart way to give them new life by learning how to make vinyl bookends. This DIY project transforms forgotten 12-inch or 45 RPM records into stylish, retro bookends that hold your books upright while showcasing vintage album art. The process uses the thermoplastic nature of vinyl: when heated, it becomes pliable and bends into a perfect 90-degree angle. Once cooled, it hardens into a sturdy L-shape ideal for supporting books on any shelf.
No need for advanced tools or crafting skills. Whether you use boiling water, an oven, a hair dryer, or a heat gun, you can complete a pair in under 10 minutes. With costs as low as $0.20 per record (often free from thrift stores), this is an affordable, eco-friendly decor upgrade. In this guide, you will learn every method, safety tip, and pro trick to make durable, attractive vinyl bookends, plus how to avoid common mistakes like cracking or warping. Let us get shaping.
Choose the Right Vinyl Record for Bookends
Pick Unplayable or Low-Value Records
Start by selecting records that are scratched, warped, or no longer played. These are ideal candidates for upcycling. Avoid rare, collectible, or high-value vinyl, even if you do not listen to them, because they might be worth more intact. Focus on records with damaged sleeves, unappealing music, or visible surface wear. The goal is functional reuse, not devaluing a potential collector’s item.
Prefer 45 RPM or Thick Vinyl
While standard 12-inch LPs work well, 45 RPM records are denser and hold their shape better after bending. Their thicker vinyl resists warping over time and provides a sturdier base. If you are unsure, test with a 12-inch first, but for long-term durability, go for 45s when available.
Match Aesthetics for Visual Impact
Since the record label becomes the front-facing feature, choose designs with bold colors, vintage logos, or iconic band art. Picture discs or colored vinyl add a unique pop to shelves. For a matched pair, use two identical records or complementary albums like a double LP set. This ensures symmetry and a polished look when placed back-to-back on your bookshelf.
Gather Tools by Heating Method
Boiling Water Setup Essentials
This beginner-friendly method requires minimal tools:
- Kettle or pot for boiling water
- Heat-safe bowl or container large enough to submerge half the record
- Tongs or heat-resistant gloves for safe handling
- Cutting board or flat wood surface for shaping
- Towel or oven mitt for grip
Ensure the container will not crack from thermal shock. Glass or ceramic works if pre-warmed.
Oven Method Supplies
For even, dry heating:
- Oven preheated to 200°F (93°C)
- Baking sheet lined with parchment paper to prevent sticking
- Oven mitts for safe removal
- Metal ruler or flat edge to sharpen the bend
Avoid aluminum foil because it can stick to hot vinyl.
Hair Dryer Equipment List
Ideal for no-water zones:
- Hair dryer on highest heat setting
- 1×4 wooden board or straight edge
- Table with a clean edge to align the bend
No gloves needed, but the vinyl gets hot so handle carefully.
Heat Gun Tools for Precision
Fastest method, but requires caution:
- Digital heat gun set to approximately 800°F
- Metal concentrator nozzle for focused heat
- Two scrap wood blocks and clamps (or bolt and wing nut)
- Heat-resistant gloves
Keep away from flammable surfaces and skin.
Heat and Bend Vinyl Records Step by Step
Boiling Water Technique
Best for even softening and beginner success.
- Boil water and pour into a heat-safe container.
- Submerge half the record (label side up) for 2 to 3 minutes.
- Remove with tongs and work quickly before it stiffens.
- Place on cutting board and align edge at 90 degrees.
- Press down firmly with another board or your hand to form a sharp L-shape.
- Hold for 1 to 2 minutes until fully cooled.
Pro Tip: Use a second flat surface to clamp the bend for a crisper angle.
Oven Heating Method
Ideal for consistent results without moisture.
- Preheat oven to 200°F.
- Place record on parchment-lined baking sheet.
- Heat for 3 to 5 minutes and watch for slight drooping as a sign of pliability.
- Remove with oven mitts.
- Fold 4 to 5 inches at the edge into a 90-degree angle.
- Use a metal ruler to press and sharpen the crease.
- Hold until cool (1 to 2 minutes). Reheat if needed.
Warning: Never exceed 200°F because higher temperatures can warp or melt the vinyl.
Hair Dryer Approach
Great for quick, low-risk shaping.
- Lay record over table edge with half hanging off.
- Place 1×4 wood flush with the edge to mark the bend line.
- Blow hot air along the edge for 4 to 6 minutes, moving evenly.
- Once soft, fold the overhanging side down to 90 degrees.
- Hold in place until cooled.
Note: Rotate the record occasionally for uniform heating.
Heat Gun Process (Fastest)
For precision and speed, takes about 5 minutes total.
- Clamp record between two wood blocks, leaving 1 to 2 inches exposed at the bend line.
- Set heat gun to 800°F with concentrator tip.
- Pass heat gun back and forth over the exposed edge 12 to 15 times.
- When pliable, remove clamps and bend sharply to 90 degrees.
- Hold or clamp in position for 2 minutes to set.
Caution: Keep the nozzle moving. Staying in one spot can burn or bubble the vinyl.
Ensure a Perfect 90-Degree Angle
Use a Square Tool for Accuracy
After bending, verify the angle with a carpenter’s square, protractor, or even a hardcover book corner. A true 90-degree angle ensures the bookend stands straight and supports weight evenly. If it is off, reheat and adjust before the vinyl fully cools.
Sharpen the Crease with a Ruler
A soft fold looks amateurish. For a clean, professional edge, press a metal ruler or wood block along the bend while cooling. This flattens the curve into a sharp corner, improving both appearance and structural integrity.
Match Both Bookends Exactly
For a symmetrical pair, bend both records using the same method and timing. Place them side-by-side during cooling to ensure identical angles. Even a 5-degree difference can make one bookend lean, affecting stability.
Prevent Cracking and Warping
Heat Until Fully Pliable
The most common cause of cracking is bending too soon. Wait until the vinyl droops slightly under its own weight or bends easily with light pressure. If it resists, keep heating. Records with deep scratches at the bend line are more prone to splitting, so inspect carefully before starting.
Avoid Overheating
Melting or bubbling means the vinyl got too hot. This weakens the structure and ruins the surface. Use recommended temperatures:
- Oven: 200°F max
- Heat gun: Keep moving, no more than 15 passes
- Boiling water: 2 to 3 minutes only
If fumes appear, stop immediately and ventilate the area.
Cool Completely Before Release
Let the vinyl harden fully before removing pressure. Releasing early can cause the angle to revert or warp. Hold for at least 1 to 2 minutes and touch the bend to confirm it is cool and rigid.
Add Stability and Finish
Attach Non-Slip Base Pads
Smooth vinyl can slide on shelves. Prevent slipping by gluing felt pads, rubber bumpers, or sandpaper to the bottom edge. Cut small squares and use strong adhesive or hot glue. This also protects delicate shelf surfaces from scratches.
Customize with Paint or Decals
Make your bookends unique:
- Spray paint the back for a bold color pop
- Apply stickers or stencils like stars or band logos
- Use decoupage with paper cutouts and white craft glue
- Add glitter or metallic markers for detail
Tip: Sand the surface lightly and prime before painting for better adhesion.
Clean and Maintain Properly
Dust with a soft, dry cloth. For smudges, use a damp cloth and dry immediately. Never soak. Avoid harsh cleaners or abrasives that can scratch the glossy surface.
Avoid Heat and Sunlight Damage
Keep Away from Direct Sunlight
Prolonged exposure to UV rays can soften vinyl. Never place bookends on windowsills or sunlit shelves. Ambient heat above 150°F to 160°F may cause the bend to relax, leading to collapse.
Do Not Place Near Heat Sources
Keep away from radiators, fireplaces, or heating vents. Even moderate heat over time can deform the angle. Store indoors at room temperature for long-term stability.
Troubleshoot Common Bookend Issues

Fix Cracked or Broken Bends
If the record cracks during bending, it was likely too cold or had a pre-existing flaw. Small cracks may still hold books, but large splits require starting over. Reheat and try again with a fresh record, ensuring full pliability first.
Correct Reverting Shapes
If the angle slowly opens up, the vinyl was not held long enough during cooling. Reheat and rebend, this time holding for 2 or more minutes. A sharper, more defined crease helps lock the shape.
Fix Uneven or Wobbly Bends
An uneven bend usually comes from inconsistent heating. Rotate the record during heating, especially with hair dryers or heat guns. Use a straight edge to apply even pressure when folding.
Stop Bookends from Slipping
Even with a perfect bend, smooth vinyl can slide. Felt or rubber pads solve this instantly. Alternatively, glue a small strip of non-slip shelf liner to the base.
Final Tips for Best Results
Work Quickly After Heating
Vinyl hardens fast, so have your shaping tools ready before heating begins. Delaying even 10 seconds can make bending difficult.
Test with a Cheap Record First
If you are new to this, practice on the least attractive record. Learn your tool’s heat output and timing before using a visually appealing one.
Display with Pride
Place your vinyl bookends back-to-back to showcase both labels. They make great gifts for music lovers, retro decor fans, or eco-conscious friends.
Frequently Asked Questions About Vinyl Bookends
What Type of Vinyl Record Works Best for Bookends?
Standard 12-inch LPs work well, but 45 RPM records are denser and hold their shape better after bending. Their thicker vinyl resists warping over time and provides a sturdier base for long-term use.
How Long Does It Take to Make a Pair of Vinyl Bookends?
Most methods take under 10 minutes per pair. The boiling water method takes 5 to 7 minutes per record, while the heat gun method is the fastest at about 5 minutes total for both records.
Can I Use Valuable or Collectible Records for This Project?
No. Avoid rare, collectible, or high-value vinyl because they might be worth more intact. Focus on records that are scratched, warped, or no longer playable for upcycling purposes.
What Temperature Should I Use to Heat Vinyl?
For oven methods, stay at 200°F (93°C) maximum. For heat guns, set to approximately 800°F and keep the nozzle moving. Boiling water reaches 212°F (100°C) and requires only 2 to 3 minutes of soak time.
Will Vinyl Bookends Slip on Smooth Shelves?
Smooth vinyl can slide on smooth surfaces. Adding felt pads, rubber bumpers, or non-slip shelf liner to the bottom edge prevents slipping and protects delicate shelf surfaces from scratches.
How Much Weight Can Vinyl Bookends Hold?
A properly bent vinyl bookend can typically hold a row of hardcover books weighing 10 to 15 pounds without reverting, provided the angle is sharp and the vinyl was not overheated to the point of thinning.
Key Takeaways for Making Vinyl Bookends Successfully

Making vinyl bookends is a simple, satisfying way to upcycle old records into functional art. With the right heat method, careful bending, and a few finishing touches, you will have durable, eye-catching bookends in minutes. Whether you are a DIY novice or a crafting pro, this project delivers big style for almost no cost.
Just remember three critical points: heat the vinyl until fully pliable before bending, hold the 90-degree angle for 1 to 2 minutes until completely cool, and never use a valuable record. Now grab those old LPs and start shaping your own retro bookends today.