
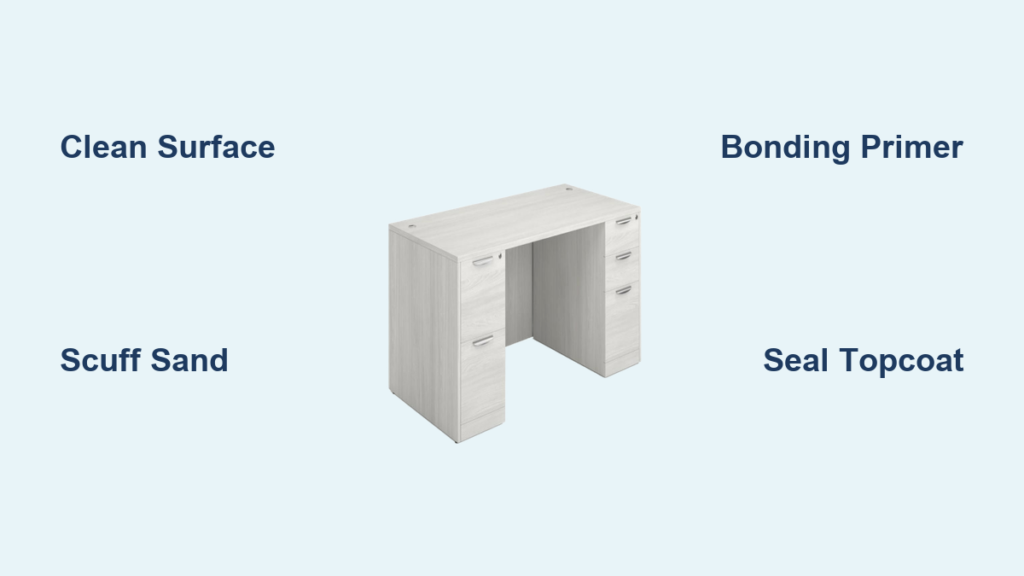
You’ve found a sturdy laminate desk, but its shiny, dated surface doesn’t match your modern workspace. Instead of replacing it, you can transform it with paint, saving money and reducing waste. Painting laminate is doable, but it requires the right prep, primer, and topcoat to last. Laminate’s smooth, non-porous surface resists paint adhesion, so skipping steps leads to peeling and chipping. This guide walks you through every critical stage, from cleaning and sanding to choosing durable paints and sealants.
Disassemble the Desk Before Painting
Before any prep begins, take apart the desk completely. This ensures full access to edges, corners, and hard-to-reach areas.
Remove Drawers, Legs, and Hardware
Pull out drawers and set them aside. Unscrew legs, shelves, or brackets if possible. Label each part with tape to avoid confusion during reassembly. Work on flat panels separately for even sanding and painting. Use a screwdriver to remove all knobs and pulls, then store screws and pieces in labeled bags. Consider upgrading to new knobs or metal legs after painting for a fresh look.
Pro Tip: Laying components flat prevents drips and allows consistent brush or roller application.
Clean the Surface Thoroughly
Dirt, oils, and wax residues block paint from bonding. Cleaning is non-negotiable, even on new laminate that has factory coatings repelling adhesion.
Use a Degreasing Cleaner
Mix warm water with dish soap or use a TSP substitute. Scrub the entire surface with a non-scratch sponge, focusing on high-touch areas like edges and drawer fronts. After rinsing with a damp cloth and drying completely, wipe down with isopropyl or denatured alcohol using a lint-free cloth. This removes invisible oils left by hands and cleaning products.
Warning: Skipping this step is the number one cause of paint failure. Any residue equals weak adhesion.
Scuff Sand for Paint Adhesion

Laminate is slick and glossy, and paint will not stick without texture. Sanding creates tooth so primer can grip.
Choose the Right Grit and Tools
Use 120 to 150 grit sandpaper and sand the entire surface evenly, including edges and corners. The goal is removing shine, so the surface looks uniformly dull. Do not gouge the material, just lightly abrade the top layer. A palm orbital sander speeds up large desktops, while a hand sanding block gives better control on edges. Avoid aggressive sanding because laminate is thin and can wear through.
Visual Cue: If light reflects unevenly, you have sanded properly. No glossy patches should remain.
Remove All Dust After Sanding
Vacuum the surface with a brush attachment. Wipe with a damp microfiber cloth, then finish with a tack cloth to grab fine particles.
Apply a Bonding Primer
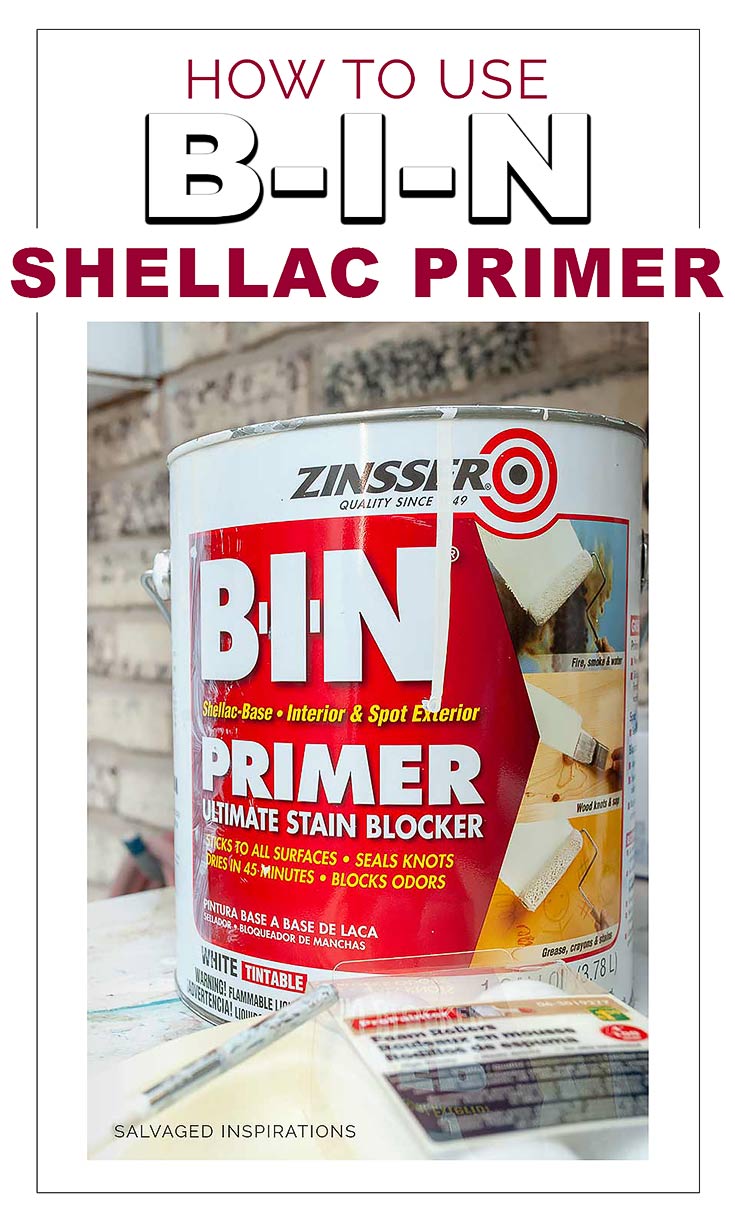
Primer is the bridge between slick laminate and paint. Use only shellac-based or oil-based formulas because water-based primers fail on this surface.
Top Primer Choices for Laminate
Zinsser B-I-N is shellac-based, dries fast, and offers excellent adhesion. It is available in spray or brush-on formulas. Kilz Original provides strong hold and blocks stains. BM STIX is a high-performance bonding primer for laminate, tile, and metal. Sherwin-Williams Extreme Bond seals tough surfaces without sanding in some cases.
Apply Two Thin Coats
Use a foam brush or mohair roller for a smooth finish. Spray primer gives the most even coverage with zero brush marks. Let the first coat dry one to two hours, then apply the second. Tint the primer to match your topcoat color, especially for dark paints, to reduce the number of paint layers needed.
Sand the Primed Surface
Even the best primer can leave brush strokes or raised fibers. Smoothing ensures a flawless paint finish.
Use Fine Grit Sandpaper
Lightly sand with 320 to 400 grit sandpaper or a fine sanding sponge. The goal is a glass-smooth surface ready for paint. Wipe clean with a damp cloth, then a tack cloth.
Check: Run your hand over the surface. If it feels rough or bumpy, keep sanding.
Paint with Durable Enamel

Choose paint built for high-wear furniture. Standard latex will not survive daily use on a desk.
Best Paints for Laminate Desks
| Paint | Why It Works |
|---|---|
| Sherwin Williams Emerald Urethane Enamel | Extremely durable, chip and chemical resistant |
| ProClassic Waterborne Acrylic Enamel | Smooth finish, low odor, oil-like hardness |
| Rust-Oleum Cabinet Coat | Urethane enamel that dries to a hard, scratch-resistant shell |
| Valspar Cabinet and Furniture Paint | All-in-one formula, no separate primer if prep is solid |
| Fusion Mineral Paint | Self-leveling, low VOC, popular for vintage styles |
Apply Thin, Even Coats
Use a 1.5-inch angled brush for edges and a mohair roller for flat areas. Apply two to three thin coats, letting each dry four or more hours before the next. Lightly sand with 400-grit between coats if needed.
Avoid Thick Coats: They lead to drips, bubbles, and longer drying times.
Seal with a Protective Topcoat
Even durable paints benefit from extra protection, especially on writing surfaces.
Recommended Topcoats
General Finishes High Performance Water Based Topcoat is clear, non-yellowing, and fast-drying, perfect for white or light colors. Minwax Polycrylic is affordable with easy cleanup, available in satin, semi-gloss, and gloss. Oil-based polyurethane is more durable but yellows over time, best for dark finishes.
Apply Two to Three Coats
Use a foam brush or fine roller. Lightly sand with 400-plus grit between coats and wipe with a tack cloth before each new layer.
Note: Urethane enamels like Emerald may not need a topcoat, but adding one boosts scratch resistance.
Cure Fully Before Use
Drying is not curing. Paint feels dry in hours but takes days to harden fully.
Curing Times by Product
| Paint | Full Cure Time |
|---|---|
| Emerald Urethane Enamel | 7 to 14 days |
| ProClassic Waterborne | 7 to 21 days |
| Valspar Cabinet Paint | 7 days |
| Polycrylic Topcoat | 7 to 14 days |
Wait at least seven days before placing laptops, books, or writing pads on the desk. Early use leaves permanent marks or dents.
Pro Tip: Set up a temporary workspace or cover the desk with a moving blanket during cure time.
Reassemble and Upgrade
Now that the paint is rock-solid, put it all back together.
Reattach Hardware and Consider Updates
Screw in knobs, pulls, and legs. Use leftover paint to touch up any scratches from handling. Swap plastic knobs for brass, ceramic, or black iron for a designer look. Replace basic legs with tapered wood or hairpin metal.
Safety First: Anchor tall desks to the wall with anti-tip brackets, especially in kids’ rooms.
Maintain the Finish
A painted laminate desk can last five to ten years with proper care.
Care Guidelines
Wipe with a damp microfiber cloth and avoid harsh cleaners like bleach or ammonia. Never use abrasive scrubbers. Use a desk pad, placemat, or adhesive film where you write or type to prevent scratches, water rings, and ink stains. Reapply topcoat every one to two years in high-traffic areas. Keep leftover paint in a sealed container for touch-ups.
Troubleshoot Common Problems
Even with care, issues can arise. Here is how to fix them.
Paint Peeling
Cause: Poor cleaning or wrong primer. Fix: Strip paint, clean, sand, and re-prime with Zinsser B-I-N or BM STIX.
Brush Marks Visible
Cause: Thick paint or low-quality brush. Fix: Sand smooth with 400-grit, then reapply with a mohair roller.
Bubbling or Wrinkling
Cause: High humidity or too-thick coat. Fix: Sand flat, ensure dry environment, apply thinner layers.
Edges Chipping
Cause: Weak adhesion at high-contact points. Fix: Reinforce with extra primer and topcoat, and use a desk pad.
Prevention: Always seal edges and corners thoroughly because they take the most abuse.
Alternative: No-Paint Options
If you want a change without permanent work, consider these alternatives.
Adhesive Vinyl Wrap
Peel-and-stick film comes in wood, marble, or solid colors. It is easy to apply and replace, though it risks bubbling or peeling over time.
Desk Pads or Mats
Leather, rubber, or felt mats protect the surface and provide an instant style upgrade. They may shift unless weighted or gripped.
Contact Paper
This budget-friendly option is removable, but edges can lift with frequent use.
Best For: Rented spaces or temporary updates.
Frequently Asked Questions About Painting Laminate Desks
Can I paint laminate without sanding?
Sanding is strongly recommended for best adhesion. Some specialty primers claim no-sand formulas, but skipping this step often leads to peeling, especially on high-use surfaces like desks.
What type of primer works best on laminate?
Shellac-based primers like Zinsser B-I-N or oil-based primers like Kilz Original provide the best adhesion. Water-based primers typically fail on laminate because they cannot bond to the slick surface.
How long does a painted laminate desk last?
With proper prep, primer, paint, and topcoat, a painted laminate desk lasts five to ten years. The key factors are thorough cleaning, scuff sanding, using a bonding primer, and allowing full cure time before heavy use.
Do I need to seal the paint with a topcoat?
Yes, a topcoat is recommended for desk surfaces. Even durable urethane enamels benefit from extra scratch protection. Use a water-based polyurethane like General Finishes High Performance or Minwax Polycrylic.
When can I use my desk after painting?
Wait at least seven days before light use. Full cure takes seven to twenty-one days depending on the paint type. Place laptops, books, or writing pads only after the curing period ends.
Can I use chalk paint on a laminate desk?
Chalk paint can work but requires a topcoat for durability. Without sealing, chalk paint chips and wears quickly on desks. For lasting results, use a durable enamel paint instead.
Key Takeaways for Painting Your Laminate Desk
Painting a laminate desk is a smart, sustainable way to refresh your workspace. Success hinges on three things: cleaning thoroughly, sanding to create tooth, and using the right primer. Skip any one of these steps, and the paint will fail. But follow the full process, especially using a shellac-based primer like Zinsser B-I-N and a durable topcoat like General Finishes High Performance, and you will get a finish that looks custom and lasts for years.
Whether you are upgrading an IKEA desk or giving new life to a thrift store find, this project delivers big impact for little cost. With proper curing and a desk pad for protection, your painted laminate desk will stand up to daily work, study, or creative sessions, looking better than ever. Keep leftover paint for touch-ups and reapply topcoat every one to two years in high-use areas for maximum longevity.


