
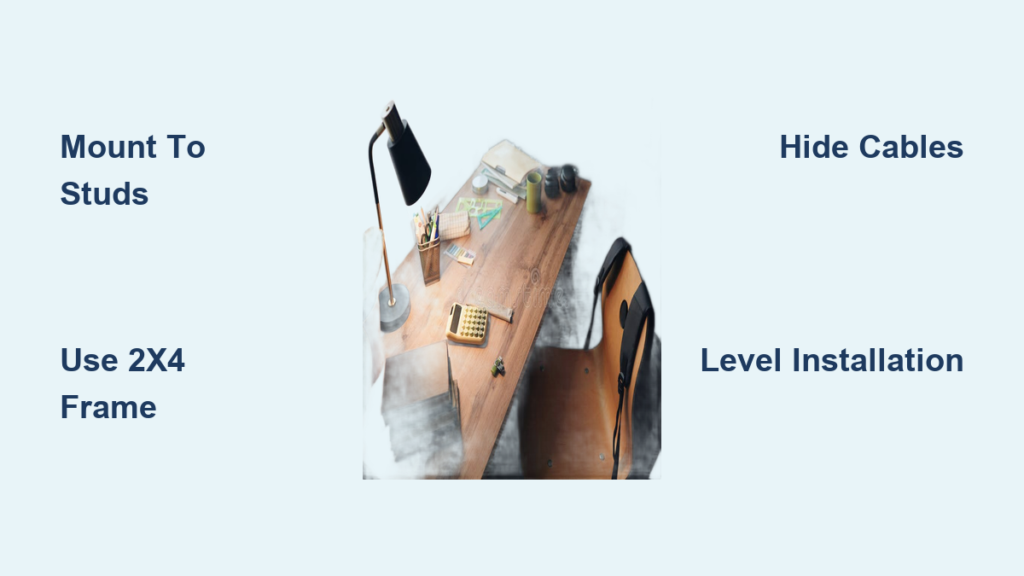
Imagine a sleek, modern desk that appears to float mid-air, with clean lines, no legs, and maximum floor space. A hanging desk delivers exactly that, combining minimalist design with smart functionality. Whether you are working in a small apartment, crafting in a basement, or building a kid-friendly workstation, how to make a hanging desk is a DIY project that saves space, boosts aesthetics, and supports heavy daily use when built correctly. This guide walks you through every phase, from frame construction and desktop selection to cable management and finishing, with precision, safety, and real-world tested methods.
Build a Sturdy 2×4 Support Frame

The hidden support structure is the backbone of most floating desks. Using 2×4 lumber creates a frame capable of holding 150 to 200 pounds when properly mounted. This includes the desktop, two monitors, a computer, and peripherals. The frame also provides a built-in cavity for routing cables, keeping your workspace clean and organized.
Cut and Assemble the Frame
Start by measuring your desired desk dimensions. Standard width ranges from 68.5 to 80 inches, depth is typically 24 inches for full use or 15 to 20 inches for compact setups, and height should be 28 to 30 inches for adults or 24 inches for children.
Cut two 2×4s to the full width for your back and front rails. Then cut vertical braces to match the desk depth minus material thickness, such as 21 inches for a 24-inch desk. Space braces every 16 to 24 inches for even load distribution, and use seven braces in high-traffic or child-safe builds.
Assemble the rectangular frame using Kreg pocket-hole screws from below. Drill pocket holes in the bottom of the front and back rails, apply wood glue to joint ends, and attach vertical braces with 2.5-inch pocket screws. Reinforce corners with 2×4 blocking for rigidity. Clamp and let dry for one hour before wall mounting.
Mount Frame to Wall Studs
Never mount into drywall alone. Use a stud finder to locate studs spaced 16 inches on-center and mark stud centers clearly.
Set your desired desk height using this calculation: Final height equals frame height plus desktop thickness. For example, for a 29-inch desk with a 1.5-inch top, mount the frame at 27.5 inches.
Hold the back rail at the marked height and transfer stud positions onto the wood. Pre-drill holes, then secure the frame with 3-inch deck screws, two per stud. Keep the frame perfectly level using a laser or bubble level, and have a helper hold it during installation.
Choose and Prepare the Desktop
The desktop is the visible centerpiece of your hanging desk. Selecting the right material affects both aesthetics and durability. Popular options include butcher block at 1.5 inches thick, which is pre-finished and durable, solid hardwood slabs like walnut, oak, or maple for a custom look, IKEA countertops for budget-friendly builds, and pine boards for light use only.
Select a Pre-Made or Custom Top
For custom solid wood tops, joint and plane boards to uniform thickness. Arrange boards with alternating grain directions to prevent warping. Label boards A, B, C, and so on to maintain order during assembly.
Glue and align boards with half-inch biscuits every 8 to 12 inches. Clamp every 8 inches and cure for 24 or more hours before proceeding.
Shape Desktop to Fit the Wall
Use a track saw or circular saw with a straight edge to cut both long sides square. For irregular walls, create a cardboard template of the wall contour, transfer the shape to the desktop, cut with a jigsaw, and sand flush until it fits perfectly.
Add a waterfall edge for visual impact by gluing a vertical board to the front and sanding smooth. For a modern 45-degree mitered edge, cut bevels on adjacent boards and glue with Domino joinery or splines.
Attach Desktop to Frame
Use Hidden Pocket Screws
Drill Kreg pocket holes into the top of the 2×4 frame from underneath. Position the desktop on the frame and screw upward through the holes, leaving no visible fasteners.
Alternatively, use laminated hardwood brackets such as three-quarter-inch walnut with lag bolts and washers for high-end builds. Recess bolt heads with a Forstner bit, attach brackets to wall studs with 3 to 4-inch lag screws, and secure the desktop to brackets with wood screws. This method is nearly invisible and supports heavy monitors or dual setups.
Hide the Frame with Cladding

Cover the raw 2×4 frame for a clean, finished look using one-quarter-inch birch plywood for the front, sides, and bottom.
Install Plywood Enclosure Panels
Cut panels to fit, adding plywood thickness to outer dimensions for front and sides, and cutting bottom panels to exact inner frame size. Apply wood glue to the frame supports, position panels, and clamp with 2×3s. Let dry for 30 minutes.
Add Removable Bottom Panel
Secure the bottom panel with construction screws instead of glue. This allows future access for cable changes, monitor arm installation, or repairs. For a modern finish, install half-inch white shiplap fascia along the front edge, fill screw holes with paint-matched filler, and roll on a smooth coat.
Integrate Cable Management
The space between the wall and front of the desk, formed by the 2×4 depth, acts as a built-in cable trough. Route power strips, surge protectors, and device cords behind the desk for a zero-visible-wire appearance.
Create a Hidden Wire Channel
Use adhesive clips or Velcro straps to bundle wires neatly. Install a power strip on the back wall inside the cavity. Label all cables before closing up to prevent future frustration when accessing or modifying your setup.
Route a Channel in the Desktop
Use a router with a three-quarter-inch straight bit to cut a groove on the underside near the back edge. This allows cords to drop down neatly from monitors or laptops. Make the channel slightly oversized to accommodate future devices.
Finish for Durability and Beauty
Sand with Progressive Grits
Sand the entire desktop starting with 80-grit to remove mill marks. Progress through 120, 180, 220, 400, and finally 2000-grit for ultra-smooth poly finishes. Draw pencil lines across the surface and sand until they are uniformly gone. Wipe with tack cloth and compressed air before finishing.
Apply Stain and Protective Topcoat
Choose finish based on use. Danish oil enhances grain and allows easy touch-ups, ideal for walnut and oak. Wipe-on polyurethane provides durable, warm tone, great for butcher block. Matte polycrylic is non-yellowing and perfect for birch plywood. Epoxy resin is self-sealing and ultra-durable for live-edge or river desks.
Apply pre-stain conditioner on softwoods if desired. Use foam applicator pads to spread stain, wiping off excess after one minute. Apply two to three coats of wipe-on poly, sanding lightly with 2000-grit between final coats. Final wipe with mineral spirits-dampened rag to remove white dust.
Adapt to Challenging Spaces
Fit Desk in Unsquared Rooms
Walls are rarely perfectly square. Measure both ends independently. Cut the desktop to the longer dimension, then scribe and trim the shorter side using a cardboard template. Hold the template against the wall, trace the gap, transfer to the desk, and cut with a jigsaw. Sand until flush.
Handle Sloping Floors
If the floor slopes, adjust mounting height at each end. Use shims or tapered supports under the frame. Ensure the desktop is level side-to-side and front-to-back, as this is what matters for ergonomics and appearance.
Maximize Strength and Safety
Distribute Weight Across Studs
A properly mounted 2×4 frame can hold 150 to 200 pounds when anchored correctly. Mount across at least three studs using 3-inch or longer screws. For heavy loads, upgrade to lag bolts with washers.
Reinforce High-Use Desks
For gaming, crafting, or homes with children, add L-brackets or steel corner braces. Increase the number of vertical braces, for example, seven instead of three. Use Festool Domino joints in laminated wood brackets for professional-grade strength.
Optimize for Real-World Use
Design for Longevity
With proper build and care, your hanging desk can last 10 or more years. Real-world feedback shows one desk survived toddlers climbing on it, another lasted five years before upgrade, and epoxy tops resist scratches, heat, and chemicals.
Perform annual maintenance by re-tightening screws, inspecting lag bolts every two to three years, cleaning with damp cloth and mild soap, and reapplying oil or recoating urethane as needed.
Balance Aesthetics and Function
Walnut and oak add warmth to any space, while white shiplap brightens small areas. Hidden fasteners enhance the floating illusion. Always dry-fit everything before final assembly to prevent costly mistakes.
Estimate Cost and Build Time
Budget for Materials
The total cost for a mid-range hanging desk typically ranges from $200 to $300. Two-by-four lumber costs $8 to $12 each. A butcher block countertop runs $100 to $150. One-quarter-inch birch plywood costs $30 to $40. Fasteners, glue, and finish add $45 to $70. High-end builds using walnut, epoxy, or Domino joinery can exceed $500.
Plan Your Build Schedule
Design and measurement takes one to two hours. Frame building requires three to five hours. Desktop glue-up needs six to 12 hours plus 24 hours of cure time. Finishing takes two to three days to allow for drying. Installation requires two to three hours. Spread over several days, the total build time is three to seven days.
Frequently Asked Questions About Making a Hanging Desk
Can a hanging desk support a heavy monitor setup?
Yes, a properly built 2×4 frame anchored into wall studs can support 150 to 200 pounds. This easily accommodates two monitors, a computer tower, and peripherals. For extra heavy loads like dual large monitors or gaming equipment, reinforce with additional braces and lag bolts.
What tools do I need to build a hanging desk?
Essential tools include a stud finder, laser or bubble level, Kreg jig for pocket holes, miter saw, circular saw or track saw, and clamps. A router helps with cable management channels, and a random orbit sander prepares surfaces for finishing. Advanced builds may benefit from a biscuit joiner or Festool Domino.
How do I make my hanging desk fit an uneven wall?
Create a cardboard template of the wall contour, transfer it to the desktop, and cut with a jigsaw. Sand until the desktop fits flush against the wall. This scribing technique works for walls with bows, curves, or out-of-plumb conditions.
Is it safe to mount a hanging desk in drywall only?
No. Never mount into drywall alone. Drywall anchors will fail under load and cause the desk to collapse. Always anchor into wood or metal studs using 3-inch deck screws or lag bolts. This is the non-negotiable rule for safety.
How do I hide the cables on a hanging desk?
Use the space between the wall and desk front as a hidden cable channel. Install a power strip inside this cavity, route cords through a router-cut groove on the desktop underside, and bundle wires with adhesive clips or Velcro straps. Leave the bottom panel removable for future access.
Key Takeaways for Building Your Own Hanging Desk
Building a hanging desk is a rewarding project that blends form and function. By anchoring securely into studs, integrating cable management from the start, and choosing the right finish, you create a durable, space-saving workstation that looks like it is floating. Whether you use basic 2x4s or advanced joinery techniques, prioritize safety, precision, and customization.
The most critical step is proper wall mounting. Always locate and anchor into wall studs, using minimum 3-inch screws or lag bolts. This non-negotiable requirement ensures your desk supports daily use without risk of collapse. Plan cable management during construction rather than as an afterthought, and choose finishes based on your specific use case. With the right tools and patience, even a beginner can build a professional-grade floating desk that lasts a decade or more.


