
Nothing beats the satisfaction of crafting your own desk calendar, a functional and personalized piece that adds character to any workspace. Whether you are making one for your home office, as a heartfelt gift, or to sell at a craft fair, how to make a desk calendar is a rewarding project that blends creativity with practicality. This guide walks you through every step, from selecting materials to adding beautiful finishing touches like gold embossing and watercolor gradients.
You will learn how to choose the best calendar type for your skill level, gather the right supplies, print and cut pages with precision, build sturdy stands, and add decorative elements that make your calendar truly unique. With tips on troubleshooting and reusability, you will create a calendar that lasts and looks amazing on any desk.
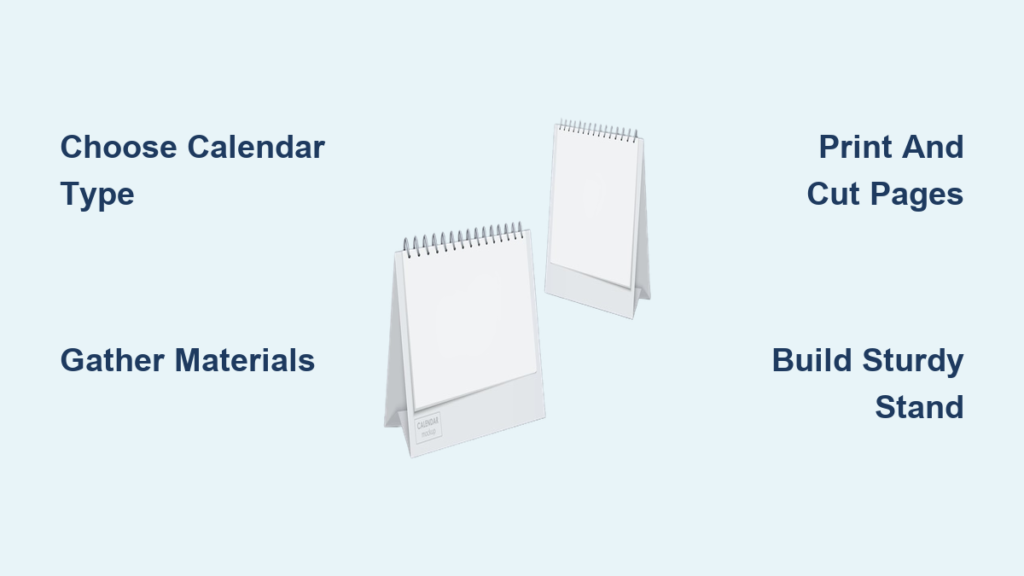
Choose Your Calendar Type

The first step in making a desk calendar is selecting the right design for your needs. Each type offers unique benefits in terms of reusability, visual appeal, and ease of assembly.
Flip-Style Bound Calendar
This classic design features daily or monthly pages bound along one edge and attached to a foldable base. Pages flip forward like a notepad, keeping your desk clutter-free.
• Ideal for minimalists and office use
• Compact and easy to store when folded
• Durable with reinforced binding
• Best made with 200 GSM cardstock and wire coils or cinch binding
Perfect if you want a clean, professional look with smooth page-turning action.
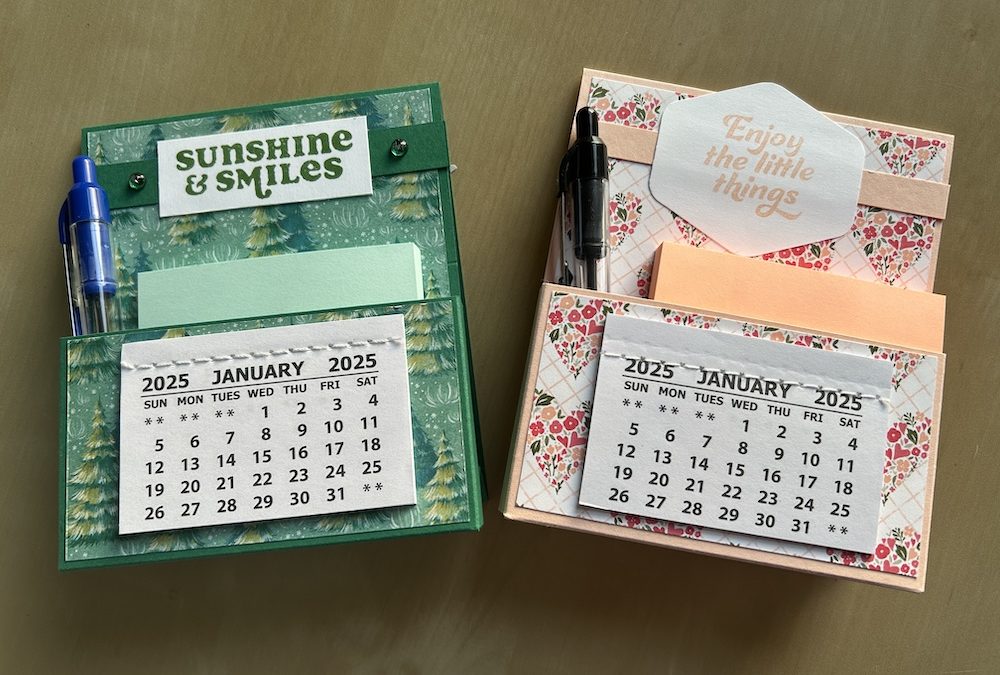
Stacked Layered Calendar
Twelve individual cards are stacked vertically, with the top card showing the current month. Artwork flows across all layers, creating a unified visual effect.
• Art spans all months and stays balanced no matter which is on top
• Reusable by repositioning date grids for a new year
• Uses 8″ × 8″ or 4″ × 7″ cards cut from patterned paper
• Supported by a triangular or M-hinge stand
Great for showcasing seasonal themes or family photos throughout the year.
Rotating Tag-Based Calendar
A clever, interactive design using hanging tags for month, tens, and units of the date.
• 12 double-sided month tags (jan/feb, mar/apr, etc.)
• 2 first-digit tags (0/1, 2/3)
• 5 second-digit tags (0–9)
• Tags hang from C-hooks inside a small box
• Change daily by rotating tags (e.g., “apr” + “0” + “5” = April 5)
Fully reusable year after year, ideal for classrooms or eco-conscious crafters.
Accordion-Fold Calendar
Made from a single A4 sheet, this compact design folds like a fan and opens for viewing.
• Scored at 8.5 cm, 17 cm, 18.5 cm, and 20 cm
• Forms a three-panel base with a foldable back tab
• Closes with tear-and-tape adhesive
• Lightweight and mail-friendly
Best for beginners or as an affordable, portable option.
Gather Essential Materials
Before starting, collect all necessary supplies. Most items can be found at craft stores or online.
Select the Right Paper and Cardstock
Paper choice affects both appearance and durability. Use this reference guide when shopping.
| Type | Use Case | Recommended Weight |
|---|---|---|
| Matte Photo Paper | Stacked calendar cards | 110 lb (~216 gsm) |
| 200 GSM Cardstock | Flip calendar pages | ~200 gsm |
| 300 GSM Cardstock | Stands and bases | ~300 gsm |
| Patterned Paper | Decorative covers | 12″ × 12″ sheets |
| Designer Series Paper | Gilded finishes | Metallic options |
Cut sizes to remember include flip pages at 4.25″ × 5.5″, stacked cards at 4″ × 7″, and backing sheets at 15 cm × 15 cm.
Stock Up on Adhesives and Fasteners
Use the right bond for each part of the build.
• Double-sided tape for invisible seams
• Craft glue (acid-free) for assembling bases
• Liquid glue for attaching sentiments and tabs
• Tear and tape for closing accordion calendars
• Binder rings (38 mm) for binding pages
• Eyelets (4 mm white) to reinforce hole areas
• C-hooks for mounting rotating tags
Prepare Your Tools
Having the right tools ensures precision and ease throughout the build.
• Printer with color inkjet for high-quality output
• Scissors and craft knife for detailed cuts
• Ruler and pencil for marking folds
• Bone folder for creasing folds without tearing
• Paper trimmer for 12″ × 12″ sheets
• Heat tool for melting embossing powder
• Hole punch for aligning holes across pages
• Cinch binding tool for crimping wire ends
Design With Style and Flair
Make your calendar stand out with creative decoration techniques.
Create Art Nouveau Covers
Add elegance with vintage-inspired embellishments. Enlarge Art Nouveau tiles to 140% and arrange six tiles along the top and bottom edges of the cover. Trace edges with embossing ink, sprinkle gold embossing powder, then heat to melt. Repeat on the title element for a matching effect.
Use Canva.com to design a custom title by setting canvas to A4, using an Art Nouveau outline font at 85.5 size for large display.
Paint Ombré Watercolor Tags
Add soft color gradients to rotating tag calendars. Load your brush with pigment and paint a thick stripe at the bottom of the tag. Rinse, wipe lightly, and apply a water-only stroke above. Repeat upward to create a fade from dark to light. Let dry, then repeat on the reverse side to flatten any curl.
Practice on scrap tags first because water control takes trial and error.
Apply Rub-On Lettering
Use rub-on alphabet transfers for crisp, no-mistake labeling. Group tags into six for months (jan/feb, mar/apr), two for first digit (0/1, 2/3), and five for second digit (0–9). Align carefully and burnish with a bone folder for clean transfer.
Construct a Sturdy Stand
A wobbly stand ruins even the prettiest calendar. Build one that lasts using these methods.
Build M-Shaped Hinge Stand
Ideal for Art Nouveau and flip-style calendars. Score a 12″ × 12″ piece of 300 GSM cardstock at 15 cm and fold in half. Score the hinge piece at 2.5 cm intervals three times to form an M shape. The final inch should be marked for cutting (not scored) to allow folding into the stand. Apply double-sided tape to outer flaps and glue inside the base, aligning edges precisely.
Assemble Folded Cardstock Stand
For stacked 8″ × 8″ calendars, use a primary stand piece of 300 GSM cardstock cut to 8″ × 21.6 cm. Score at 8″, 9.5″, and 11″. Create a secondary support piece of 8″ × 8.5″ scored at 8″ along the shorter side. Fold to form a triangular support, securing with glue.
Use No-Score Triangular Base
Perfect if you lack a scoring tool. Download the no-score version from JenniferMaker Design #793, which uses dashed cut lines instead of scored folds. Cut with a fine-point blade, fold along dashed lines to form three panels, and glue the tab to form a triangular tube.
Print and Cut Calendar Pages
Accuracy here ensures professional results.
Source Calendar Grids
Choose from free downloads, retail calendars purchased post-year at discount, or custom templates. JenniferMaker Design #793 includes 12 high-res PNGs (one per month), SVG files with blank grids for any year, and DXF files for Silhouette cutting machines.
Print With Precision
Set your printer to Photo Matte paper type and Best quality. Turn bleed off and enable System Dialog for driver control. Print two 13.4 cm grids per A4 sheet and cut to size.
Cut Using Cricut
For flawless edges and alignment, upload PNGs to Design Space and resize to 4″ width (height auto-adjusts). Add the dates.svg file, ungroup, and position labels and grids. Align all labels to Bottom and grids to Top. Center each within its card, then flatten each card plus label plus grid for print-then-cut.
Use Medium Cardstock setting (216 gsm) with Premium Fine-Point Blade and More pressure for matte photo paper. Use Heavy Cardstock setting (270 gsm) for heavy cardstock stands.
Bind Pages Securely
Choose a method that matches your design and durability needs.
Use Cinch Binding
Mark hole positions on all pages and stand, then punch holes. Thread 3.25-inch wire through holes and use the cinch tool to crimp and secure. This method provides smooth flipping and a professional finish.
Attach With Binder Rings
Punch holes in 12 sheets of 8″ × 8″ paper and insert calendar grids beneath each. Thread onto 38 mm metal rings and close them. This method allows easy page replacement next year.
Reinforce With Eyelets
Prevent tearing at stress points by punching a hole, inserting a 4 mm white eyelet, and setting with a tool. This adds a polished look and extends the calendar’s lifespan.
Assemble Your Final Calendar
Follow this sequence for the best results.
General Assembly Order
Complete all decorations first (embossing, painting, stenciling). Print and cut calendar pages, then construct and reinforce the stand. Bind pages to the stand and attach the cover with final embellishments.
Finish Stacked Calendar
Fold the stand along scored or dashed lines and glue the tab to form a triangular tube. Attach to the inside of the final panel. Stack 12 cards in chronological order and place on the stand. The top card shows the current month.
Customize by replacing the top section with family photos or AI-generated art.
Customize and Gift Creatively
Make it personal and meaningful.
Personalize With Themes
Match the recipient’s favorite colors in paper selection or watercolor. Use Canva to create custom fonts and numerals. Incorporate thematic motifs like floral, vintage, geometric, or seasonal designs. Add inspirational quotes or inside jokes. Replace the top section with family images layered across the months.
Why It Makes a Great Gift
Handmade calendars lay flat for mailing, especially accordion and ring-bound versions. They are cost-effective since multiple calendars can be made from one A4 sheet. The high perceived value comes from the handmade appearance. Perfect for New Year gifts, teacher appreciation, client thank-yous, and craft fair sales.
Fix Common Problems Fast
Avoid frustration with these quick solutions.
Misaligned Print-Then-Cut
Recalibrate your Cricut using official calibration patterns available at jennifermaker.com/svgs.
Ink Smudging
Let ink dry fully before handling and avoid touching the printed surface.
Poor Mat Adhesion
Use a brayer with a protective copy paper layer and ensure the mat is clean and sticky.
Incomplete Cuts
Increase pressure, use a fresh blade, or run a second pass.
Paper Curling (Watercolor)
Paint both sides of the paper to balance moisture and prevent curling.
Weak Stand
Use 300 GSM cardstock and add internal reinforcement layers for extra strength.
Extend Calendar Life and Sell Your Creations
Make your calendar reusable and eco-friendly.
Reusability Tips
For stacked calendars, re-upload the dates SVG and adjust grids for the new year. Tag-based calendars are fully reusable annually. Flip calendars allow you to replace pages while keeping the base. Accordion calendars need only the tab replaced and reattached with liquid glue.
Selling Your Creations
JenniferMaker Design #793 allows commercial use with attribution. Review the full terms at jennifermaker.com before selling. This is ideal for crafters selling on Etsy or at local markets.
Frequently Asked Questions About Making a Desk Calendar
What is the easiest desk calendar to make for beginners?
The accordion-fold calendar is the easiest option for beginners. It uses a single A4 sheet scored at four points and folds like a fan. The no-score stacked calendar version from JenniferMaker is also beginner-friendly because it uses dashed cut lines instead of requiring a scoring tool.
Can I reuse my desk calendar from year to year?
Yes, depending on the design. Stacked and rotating tag calendars are fully reusable. For stacked calendars, simply re-upload the dates SVG file and reposition the grids for the new year. Flip calendars allow you to keep the base and binding while replacing only the pages.
How long does it take to make a desk calendar?
Assembly time varies by complexity. Simple accordion-fold calendars take about 1-2 hours. Flip-style calendars with basic decoration take 3-4 hours. Elaborate Art Nouveau designs with gold embossing and multiple decorative techniques can take 6-8 hours.
What materials do I need to make a desk calendar?
You need paper or cardstock (200-300 GSM), adhesives (craft glue, double-sided tape, tear and tape), binding supplies (binder rings, wire coils, or eyelets), and tools (printer, scissors, bone folder, hole punch). Decorative materials like embossing powder, watercolor paints, or patterned paper add personal flair.
How do I get calendar grid templates?
Free calendar templates are available from sources like Tina’s Printables and JenniferMaker. JenniferMaker Design #793 provides 12 monthly PNGs, SVG files with blank grids for any year, and cutting files for Cricut machines. Some resources require newsletter signup or free account creation.
Can I sell desk calendars I make using online templates?
It depends on the template license. JenniferMaker Design #793 permits commercial use with proper attribution, but you must review and follow the specific terms. Always check the licensing for each template or design source before selling your creations.
Key Takeaways for Making Your Own Desk Calendar
Creating a desk calendar by hand is more than a craft project. It brings beauty, order, and personal touch to everyday life. Start with the calendar type that matches your skill level and purpose. Use high-quality materials like 300 GSM cardstock for stands to prevent sagging. Follow precise cutting and assembly steps, and do not skip the finishing touches like eyelets for reinforcement or gold embossing for elegance.
Whether you choose a simple flip calendar or an artistic layered design, this guide gives you everything needed to succeed. Share your creations online with #DIYDeskCalendar or tag the craft community to inspire others. Now that you know how to make a desk calendar, it is time to start crafting, one beautiful page at a time.


