
You sit down at your desk, lean forward to type, and ouch that sharp edge digs into your arm again. You are not alone. Millions of people work at desks with unforgiving corners that cause discomfort, minor injuries, and even pose risks in homes with kids. The good news is fixing sharp edges on a desk is easier than you think. Whether your desk is made of solid wood, laminate, particle board, or MDF, there is a solution that is safe, effective, and often inexpensive.
This guide walks you through proven methods from quick fixes to professional upgrades so you can eliminate sharpness without damaging your furniture. You will learn which tools work best for each material, how to avoid common mistakes, and how to choose a permanent or temporary fix based on your needs.
Identify Your Desk Material First
Before grabbing sandpaper or a router, know what you are working with. The wrong method can ruin your desk.
Solid Wood vs. Composite: Spot the Difference
You can identify your desk material using simple observations and tests.
• Solid wood: Feels heavy, grain runs through the edge, can be sanded or routed freely.
• Particle board: Light, grain looks chipped, soft core exposed when sanded, high risk of damage.
• MDF: Smooth, uniform, no visible grain, can be sanded lightly but swells if wet.
• Laminate (e.g., Formica): Hard plastic surface over particle board, peels easily if sanded across grain.
• Veneer: Thin wood layer on top, looks like wood but sanding too deep exposes the core.
Test tip: Lightly sand a hidden corner. If it turns to dust or shows a gray core, it is not solid wood.
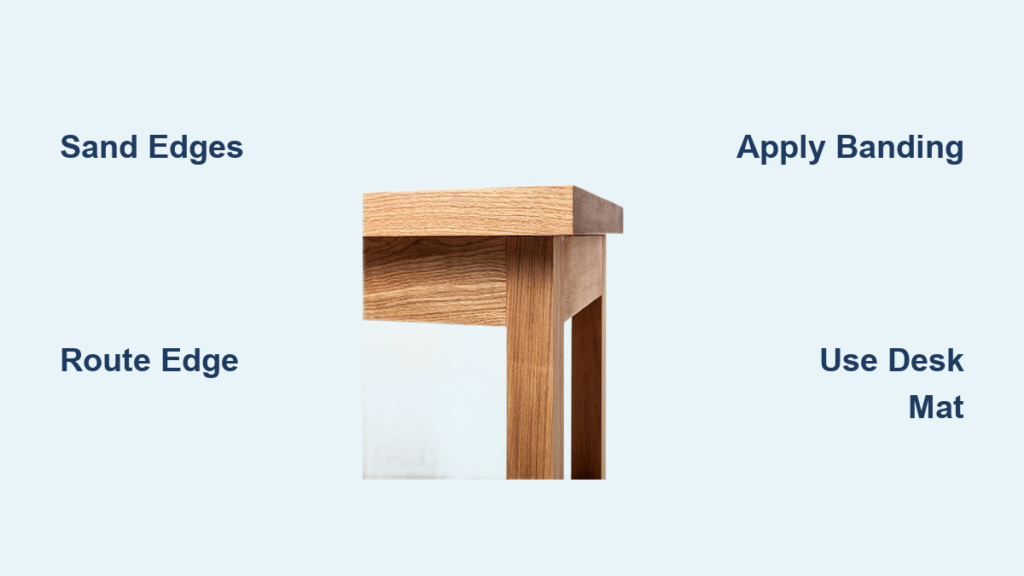
Sand Edges Smooth (Wood & MDF Only)
Sanding is the most accessible way to knock down sharpness without special tools. This method works best on solid wood and light MDF touch-ups.
Tools You Will Need
Gather these items before starting your project.
• 120 to 220 grit sandpaper
• Sanding block or sponge
• Cork pad for even pressure
Step-by-Step Sanding Process
Follow these steps for the best results.
- Wrap sandpaper around a block. Never use fingers alone to avoid uneven pressure and potential splinters.
- Hold at a 45-degree angle and make 3 to 5 long strokes along the edge.
- Switch to 180 to 220 grit for a smooth finish.
- Wipe away dust and test with your forearm.
Pro tip: A neoprene-backed sanding block prevents over-sanding and gives consistent results.
Avoid on: Particle board (exposes ugly core), laminate (can delaminate), veneer (risks peeling).
Route a Rounded Edge (Permanent Fix)
A router with a roundover bit gives the cleanest, most professional edge. This is the best permanent fix for solid wood desks.
Tools and Materials
• Trim router
• 1/8-inch or 1/4-inch roundover bit
• Edge guide
• Scrap wood for test cuts
How to Route Safely
- Clamp the desk securely before starting.
- Test the bit on scrap wood first to check the result.
- Set depth for a small radius. One-eighth inch is subtle and natural-looking.
- Cut end grain first, then long grain to prevent splintering.
- Make light passes. Do not force the router through the wood.
User result: One person used a 1/8-inch bit and reported that edges look smooth and factory-made.
Add an Undercut Bevel (Aesthetic Upgrade)
Want your desk to look lighter and more modern? An undercut bevel removes bulk from the underside while maintaining strength.
How It Works
• Cut a 45-degree or curved bevel from the bottom edge.
• Leaves only about 7/16 inch of thickness visible, even on a 3/4-inch board.
• Creates a floating, minimalist effect that reduces perceived thickness by 30 to 50 percent.
Tools Needed
• Router plus 5/8-inch roundover bit
• MDF template (18 inches long)
• Double-stick tape
• Safety goggles
Installation Steps
- Attach template to underside edge with tape.
- Guide router along template carefully.
- Start at corners, work inward for best control.
- Sand lightly for smooth transition between bevel and surface.
Design tip: Works best on Shaker-style or light-colored desks where the slim profile is visually appealing.
Apply Self-Adhesive Edge Banding
When sanding is not safe, edge banding covers sharp edges with a soft, protective layer. This is ideal for laminate, particle board, and MDF desks.
Recommended Product
U-shape TPE edge banding (25mm, 5 meters, self-adhesive) is flexible, collision-proof, and available in beige or black.
Installation Steps
- Clean the edge with rubbing alcohol to remove oils and dust.
- Peel backing and press banding into place firmly.
- At corners, cut a V-notch in the end to allow clean wrapping.
- Trim excess with a utility knife for a flush finish.
User-tested: One person said it takes 10 minutes, looks clean, and there are no more ouch moments.
Use Tape as a Quick Fix
Electrical or duct tape is a fast, removable solution for immediate relief. This works well for rental furniture where you cannot make permanent modifications.
How to Apply
- Use wide tape (2 inches or more) for better coverage.
- Wrap so half covers the top surface and half covers the side.
- At corners, cut a 45-degree V-notch in the tape end for smooth wrapping.
- Press seams firmly to prevent lifting.
Caution: Tape may leave residue over time. It is not ideal for long-term use on finished surfaces.
Install a Desk Mat with Overhang
A neoprene desk mat with a sewn edge that hangs over the desk softens contact points without any tools or modifications.
Benefits
• No tools required, no damage to furniture.
• Cushions arms and elbows during long work sessions.
• Hides sharp corners naturally.
• Easy to remove or replace when you want a different look.
Bonus: You can swap it out for different colors or styles to match your workspace.
Try the Pool Noodle Hack (Budget Option)
Cut a pool noodle lengthwise, slit one side, and slip it over the desk edge. This is a popular budget solution for kids desks and temporary baby-proofing.
Pros
• Super cheap and widely available.
• Removable when no longer needed.
• Good for protecting corners in childrens spaces.
Cons
• Can look bulky and informal.
• May shift or sag over time with use.
User note: One parent used it on their toddlers desk and reported no more bumps or injuries.
Use a Block Plane for Wood Edges
A block plane gives precise control for chamfering solid wood edges. This is a traditional woodworking technique that works well for quick refinements.
Technique
- Set blade for light cuts to avoid removing too much material.
- Hold at 45 degrees and make 3 to 4 passes.
- Refine with finer strokes for a smooth result.
Warning: Requires practice. There is tear-out risk on end grain if you press too hard or use the wrong angle.
File or Dremel Delicate Edges
For laminate, tight spaces, or metal trim, files and Dremel tools offer precision control.
Plastic-Specific File
Use on Formica or laminate surfaces. Hold at 45 degrees and file slowly to prevent chipping the hard surface.
Dremel Tool
• Attach sanding drum or grinding bit for the task.
• Ideal for small areas or metal edges.
• One user said it was kind of fun and the edge is way smoother now.
Seal Exposed Edges (Post-Sanding)
Sanding exposes porous core material on particle board and MDF. You must seal it to prevent swelling and moisture damage.
Steps
- Apply wood filler with a putty knife, working it into all gaps.
- Let dry for 2 to 4 hours depending on product instructions.
- Sand smooth with 220 grit for a even surface.
- Wipe clean and allow to fully cure before use.
Result: A smooth, sealed edge that resists moisture and looks consistent.
Safety First: Prevent Injuries
Sharp edges are not just annoying. They are a real hazard in any home or office environment.
Risks Include
• Cuts and bruises from accidental contact.
• Snagged clothing or fabric.
• Serious injury risk for children and elderly family members.
One user recalled: My kid ran into the desk and ended up with a forehead bump. They fixed it that same night.
Prevention Tips
• Soften edges in high-traffic areas first.
• Use radiused edges on future furniture purchases.
• Add corner guards in homes with children for added protection.
Design Smarter: Choose Better Edges
When shopping for new furniture, look for features that prevent sharp edge problems before they start.
Look for Radiused Edges When Buying
• Radiused means the edge has a rounded profile (e.g., 1/8-inch radius).
• Feels better to touch, looks modern, and resists damage.
• Ask Are the edges softened? before purchasing any desk or table.
Visual Lightness Matters
An undercut or beveled edge makes a thick desk look slim and elegant. This design technique reduces perceived thickness by nearly half while maintaining structural strength.
Builder insight: A 3/4-inch top with undercut looks half as thick, perfect for small spaces and minimalist offices.
Quick Decision Guide by Desk Type
| Desk Material | Best Fix | Risk Level |
|---|---|---|
| Solid Wood | Sand, route, plane | Low |
| Particle Board | Edge banding, tape, desk mat | High |
| MDF | Light sand plus filler, edge trim | Medium |
| Laminate/Veneer | Edge banding, plastic file, desk mat | Medium |
| Glass/Metal | Silicone guards, professional mod | High |
Final Tips for Success
These best practices will help you achieve the best results regardless of which method you choose.
• Test first: Always try your method on a hidden area before committing.
• Cut end grain first: Prevents splintering during routing or planing.
• Use a jig: A tenoning jig acts as a tall fence for large bevels.
• Glue wood strips: Attach semi-circular wood (same thickness) with wood glue and screws, then sand smooth.
• Upgrade surface: Apply countertop coating after edge work for a full refresh.
Best Permanent Fix by Goal
| Goal | Recommended Solution |
|---|---|
| Fast and easy | Self-adhesive TPE edge banding |
| Professional look | Router with 1/8-inch roundover bit |
| Aesthetic upgrade | Undercut bevel with router template |
| No damage allowed | Neoprene desk mat with overhang |
| Kid-safe | Edge banding or pool noodle hack |
Frequently Asked Questions About Fixing Sharp Desk Edges
Can I sand sharp edges on a particle board desk?
Sanding particle board is risky because it exposes the ugly core material and can cause swelling. Instead, use edge banding, tape, or a desk mat to cover sharp edges without sanding.
What is the fastest way to fix a sharp desk edge temporarily?
Electrical tape or duct tape applied with V-notched corners at bends provides immediate relief. This takes less than 5 minutes but is not a long-term solution.
Is routing better than sanding for rounding desk edges?
Routing produces a smoother, more even edge than sanding and is faster for larger areas. However, it requires a router tool and more skill. Sanding is better for beginners or very small touch-ups.
How do I know if my desk is solid wood or veneer?
Lightly sand an inconspicuous area like the bottom edge. If it sands to dust or shows a gray core, it is not solid wood. Solid wood will show consistent grain that continues through the edge.
Can I use a Dremel to smooth laminate desk edges?
Yes. A Dremel with a sanding drum works well for small areas and precision work on laminate surfaces. Go slowly to avoid melting or chipping the laminate.
What should I seal edges with after sanding MDF?
Apply wood filler to fill pores and seal the surface. Let it dry completely, then sand smooth with 220 grit before applying paint or finish.
Key Takeaways for Fixing Sharp Desk Edges
You do not need to live with sharp desk edges. Whether you want a 5-minute tape fix or a router-finished upgrade, there is a method that fits your desk material, skill level, and budget. Start by identifying your desk material accurately, then choose the appropriate method from our comprehensive guide. Solid wood desks respond well to sanding, routing, and planing, while composite materials like particle board and laminate are best handled with edge banding or non-permanent solutions like desk mats. For the most professional result on solid wood, a router with a roundover bit cannot be beaten. And next time you shop for furniture, look for radiused edges. Your arms and your family will thank you.


