
Imagine needing a workspace for your laptop and notes, but your apartment barely fits a bed and a chair. You fold down a sleek, sturdy desk from the wall, perfect height, no wobble, and when you’re done, it tucks away like a hidden panel. That’s the power of a collapsible desk. Whether you’re in a dorm, RV, rental, or just tight on space, building your own fold-away desk gives you a custom, durable solution without sacrificing style or function. This guide walks you through every step, from choosing the right design and materials to assembling a rock-solid, space-saving desk that opens in seconds and disappears when not in use.
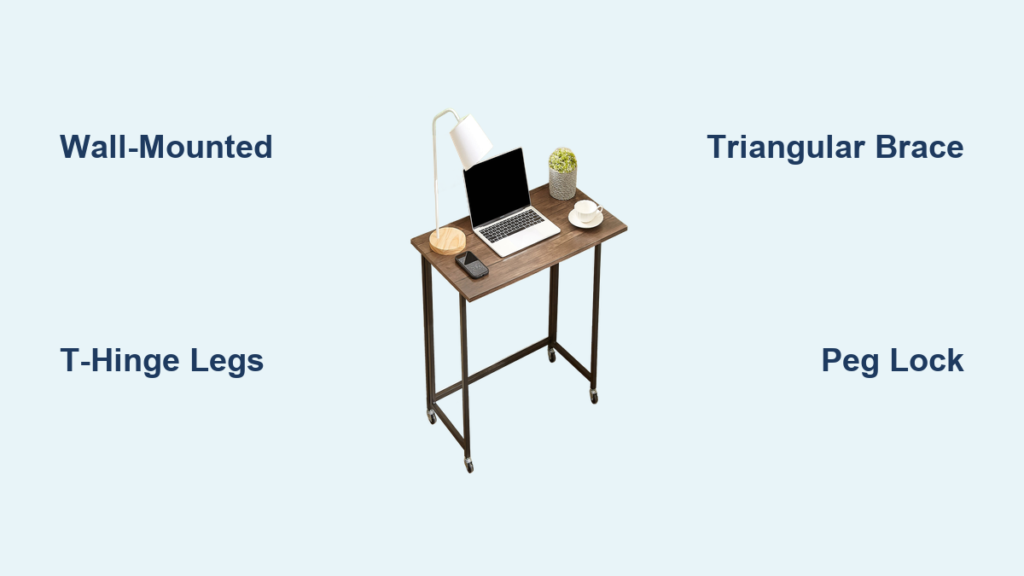
You’ll learn how to build a collapsible desk tailored to your room, budget, and skill level using proven techniques from real DIYers who’ve tested their builds under daily use. We cover three distinct designs, from beginner-friendly wall-mounted units to advanced dual-hinge systems, plus all the tools, materials, and troubleshooting tips you need for professional-grade results.
Wall-Mounted Murphy Desk Build
The wall-mounted Murphy desk is the gold standard for small-space workstations. It stays flush against the wall when folded up and drops down into a full-sized desk in seconds. This design maximizes floor space without compromising stability, making it perfect for home offices, studio apartments, or units behind sofas.
Find the Right Height and Locate Studs
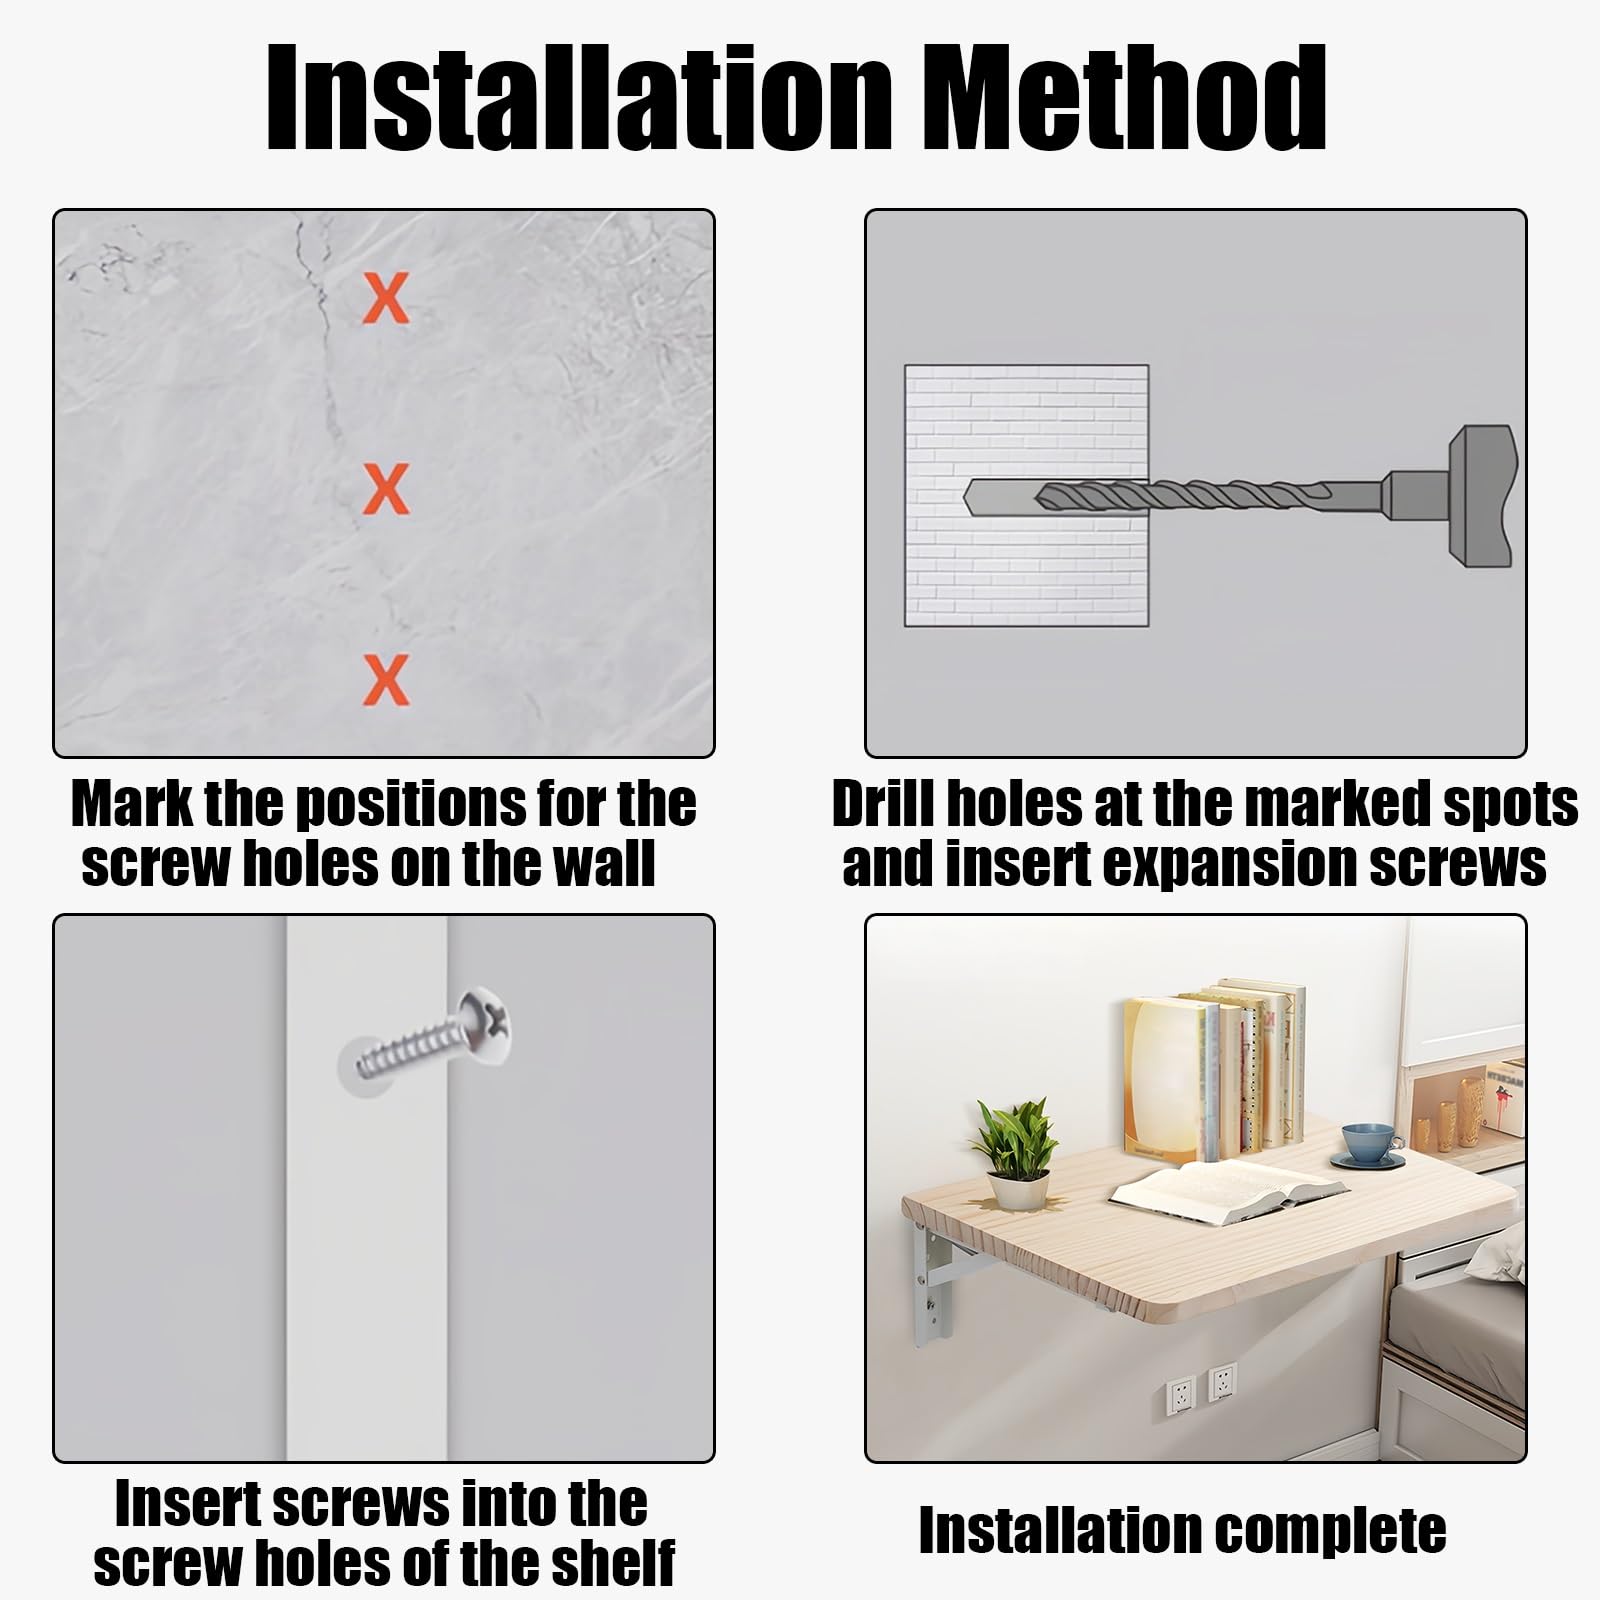
Start by marking your ideal desk height, which is 32″ to 34″ from the floor, for ergonomic comfort. Use a stud finder to locate wall studs, as the entire load depends on secure anchoring. Mark a level pencil line across the wall at your chosen height. Ensure no baseboards, outlets, or doors interfere with the desk’s swing. If you’re in a rental, confirm with your landlord before drilling, but many builders use this method in rentals thanks to clean patchability.
Build the Support Frame
Cut a 36″ 1×4 board to serve as the horizontal base. Attach two 14″ 1×2 boards to its ends, forming a long H shape. This frame distributes weight and connects directly to wall studs. Pre-drill holes to prevent splitting, then secure with 2.5″ wood screws driven into at least two studs. For extra strength, reinforce corners with metal L-brackets screwed into both frame and wall.
Attach the Desktop with Hinges
Use a single 36″×20″ pine board at ¾” thick. Cut a 3″ deep strip along one edge, which becomes the wall-mounted base. The remaining 33″×20″ is your desktop. Sand all edges smooth and optionally round the corners with a jigsaw. Install three 3″ hinges underneath the seam where desktop meets base. Position them evenly and screw into both pieces. Test the fold: the desktop should swing down flat and stay level.
Install L-Brackets for Support
Cut two 14″ 1×2s and one 17.5″ 1×2, mitering the ends at 45° to form a right-angle L-bracket. Assemble with wood glue and 1¼” screws. Mount two of these brackets under the desktop so they rest on the wall base when the desk is folded up. Leave 1″ clearance above the hinges to ensure smooth folding. These brackets act as stops and prevent sagging under load.
Freestanding Folding Desk with T-Hinges
Need a desk you can store under the bed? This portable, detachable design uses T-hinges and folding legs to create a flat-pack workstation you can set up in under 30 seconds. It’s ideal for temporary workspaces, guest rooms, or anyone who needs a desk only occasionally.
Assemble the Leg Frame
Cut two 19″ leg tops from 2×4s. Round the front edges for a clean look. Cut two 25.5″ back legs and two 29.1″ angled legs, cutting at 22.5° on both ends. Use a Kreg pocket-hole jig to drill two holes in each leg end. Attach back legs to leg tops flush at the rear. Then attach angled legs to meet the back legs at the corner. Secure with 2½” pocket screws and wood glue. Repeat for the second leg assembly.
Build the Desktop
Join four 1×6 boards at 43″ long edge-to-edge. Apply wood glue between boards, clamp flat, and drill pocket holes along the edges. Use 1¼” pocket screws to fasten them into a solid 43″×11″ desktop. Sand smooth with 120-220 grit paper.
Connect with T-Hinges and Catches
Attach a 37″ 2×4 desk back to the top of the leg frame using a T-hinge, with the long leaf on the leg. Install a second desk back 5″ up from the bottom of the legs, with the T-hinge reversed, long leaf on the back piece. This creates a Z-fold mechanism that collapses flat. With the desktop upside down, position the leg frame centered underneath with 1½” overhang on each side. Install four lockable draw catches, two on top of the back legs and one on each side leg. When closed, the catches pull the desktop tight against the legs for secure storage.
Wall-Fold Desk with Triangular Support Brace

This advanced design mimics high-end IKEA builds with a dual-hinge system and locking brace. It’s ideal for RVs, rental units, or rooms with sliding doors where you need maximum stability and minimal wall intrusion.
Install the Wall T-Brace
Mount a vertical scrap wood brace to the wall directly behind the desk’s centerline. This forms the upright of a T and anchors the folding support. Ensure it’s plumb and secured into studs.
Build the Folding Triangle Brace
Construct a right triangle from three separate wood pieces. The vertical leg attaches to the wall T-brace. The horizontal leg connects to the desktop underside. The diagonal joins the other two. Use ¾” scrap pine, cut precisely and joined with wood glue and screws. Multi-piece construction allows better alignment than attempting a single cut.
Hinge the Dual System
Attach the vertical end of the triangle to the wall T-brace with a hinge for left-right swing. Attach the horizontal end to the desktop underside with a second hinge for up-down motion. This lets the brace fold completely flat when the desk is closed.
Add the Wood Peg Lock
Drill a hole in the top of the triangle brace and insert a 1″ diameter dowel halfway with wood glue. Drill a matching hole in the desktop underside so the peg drops in when the desk is open. This self-aligning lock stops lateral movement and adds rigidity without requiring any tools.
Material and Tool Requirements
Essential Materials List
You need lumber including 1×4, 1×2, 2×4, and 1×6 boards in pine or hardwood. The desktop requires a ¾” thick board like pine, plywood, or melamine. Hinges include 3″ standard hinges at three per desk and T-hinges at four per portable build. Fasteners needed are 1¼” and 2½” pocket screws plus 1″ and 2.5″ wood screws. You’ll need scrap wood for L-brackets and the triangle brace, a 1″ diameter dowel at 6″ length for the locking mechanism, four lockable draw catches, and wood glue plus optional polyurethane finish. Total cost runs approximately $60, with wood at $30 and hardware at $30.
Must-Have Tools
A miter saw or hand saw with miter box handles angled cuts. A jigsaw rounds corners. A Kreg pocket-hole jig creates strong, invisible joints. A cordless drill and driver with bits handles drilling and driving. Clamps at 6″ minimum hold pieces during assembly. An orbital sander or sandpaper from 80-220 grit smooths surfaces. You also need a tape measure, framing square, and stud finder. A Kreg Jig and quality drill are worth the investment because they make joints stronger and assembly faster.
Step-by-Step Assembly Tips
Pre-Drill Every Joint
Pine splits easily. Always pre-drill holes before driving screws, especially near ends. Use a bit slightly smaller than your screw diameter.
Glue All Joints
Even screw-only joints benefit from wood glue. It fills gaps and increases strength by up to 30%. Wipe excess with a damp cloth.
Test Fit Before Final Assembly
Dry-fit all parts. Check hinge alignment, brace movement, and clearance. Make adjustments before gluing or fully tightening screws.
Sand and Finish Smoothly
Progress from 80 to 120 to 220 grit sandpaper. Wipe dust with a tack cloth. Apply stain or paint, then 2-3 coats of polyurethane for durability. Round all sharp corners to prevent injury.
Optimize for Stability
Add 10″ under-desk braces near the front edge to reduce flex. Ensure all hinges are level and evenly spaced. For wall-mounted units, never rely on drywall anchors. Use only stud screws.
Customization and Upgrades
Add Cable Management
Drill a ½” hole near the back edge for cords. Install adhesive cable clips underneath to route power and USB neatly.
Integrate LED Lighting
Attach a battery-powered LED strip under the front edge for ambient lighting. This works great for evening use without overhead lights.
Build a Monitor Shelf
Install a 4″ deep ledge above the desk. Use a grommet mount to secure a monitor arm, freeing desktop space.
Dual-Tone Staining
Use a dark stain on the frame and light stain on the desktop to create visual contrast. This matches well with modern or rustic décor.
Performance Testing and Troubleshooting
Load and Stability Test
Place 25 lbs, representing a laptop, monitor, and books, on the desk. There should be no visible sagging, with 1/8″ deflection or less being acceptable. Lean lightly on the front edge. There should be no wobble or creaking.
Fix Common Issues
If the desk wobbles, add under-braces or tighten all screws. If hinges stick, sand hinge contact points or realign screws. If the brace won’t lock, re-drill peg holes for better alignment. If legs don’t fold flat, check T-hinge orientation and screw tightness. If the desktop isn’t level, adjust hinge placement or sand mounting points.
Deployment Speed
Wall-mounted desks open in under 10 seconds. Portable versions fully deploy in 30-60 seconds once practiced. Ensure smooth operation with regular hinge lubrication using silicone spray, not oil.
Use Case Recommendations
For Small Apartments
Choose the Murphy desk. It’s always ready, takes zero floor space, and supports daily use.
For RVs or Campers
Use the wall-fold desk with triangular brace. It’s compact, secure during travel, and resists movement.
For Dorm Rooms
Any collapsible design works. Prioritize portability and easy setup. The T-hinge model is ideal.
For Craft Rooms
Build a portable version with a melamine top. This resists glue, paint, and solvents.
For Rental Units
Opt for the wall-fold desk with ledge. It minimizes damage, and you can patch mounting holes when moving out.
Cost, Time, and Skill Estimates
| Build Type | Time Required | Cost Range | Skill Level |
|---|---|---|---|
| Murphy Desk | 4-6 hours | $40-$70 | Beginner |
| Portable Desk | 6-8 hours | $50-$90 | Intermediate |
| Wall-Fold with Brace | 8-12 hours | $80-$150 | Advanced |
Most builders complete their project in one day, with an extra half-day for finishing. Even beginners succeed with careful measuring and pre-drilling.
Frequently Asked Questions About Building a Collapsible Desk
What is the best height for a collapsible desk?
The optimal height is 32″ to 34″ from the floor. This range allows your forearms to parallel the ground when typing, reducing strain on your wrists and back.
Can I build a collapsible desk in a rental apartment?
Yes. Wall-mounted designs use screws into studs, which leave small, patchable holes when you move. Always check with your landlord first, and use spackle or wood filler to repair mounting spots before leaving.
How much weight can a collapsible desk support?
Properly braced designs support 20-30 lbs, which covers a laptop, monitor, keyboard, and books. Adding under-desk braces and using proper joinery increases this capacity.
Do I need special tools to build a collapsible desk?
A Kreg pocket-hole jig and quality cordless drill are highly recommended investments. Beyond that, standard tools like a miter saw, jigsaw, and stud finder handle most cuts and installations.
How long does it take to build a collapsible desk?
Beginner-friendly Murphy desk builds take 4-6 hours. Intermediate portable desks require 6-8 hours. Advanced wall-fold designs with dual hinges take 8-12 hours. Most people finish in one to two days including finishing time.
Key Takeaways for Building Your Collapsible Desk
Building a collapsible desk isn’t just about saving space. It’s about creating a workspace that fits your life, whether you mount it to the wall or fold it under the bed. Your DIY desk will be stronger, smarter, and more personal than anything off the shelf. Choose your design based on your space constraints, skill level, and how often you need to deploy the desk. The Murphy desk works best for permanent installations, while the portable T-hinge design offers maximum flexibility. With under $100, basic tools, and one weekend, you can build a functional, beautiful desk that disappears when you need it to. Now you know how to build a collapsible desk, so grab your saw, find those studs, and start building.


