A bare shelf with leaning paperbacks is a problem most readers know too well. Wooden bookend ideas solve that issue while doubling as personal decor, turning functional supports into expressions of taste. From rustic reclaimed stacks to sleek geometric forms, handcrafted wooden bookends offer unmatched customization for nurseries, home offices, and libraries alike.
This guide walks through the most inspiring wooden bookend designs, construction techniques, and finishing tips. You will learn how to choose the right wood, build sturdy L-shaped supports, and add themed details that reflect your personality. Whether you are a beginner with scrap lumber or an experienced woodworker chasing vintage Art Deco aesthetics, there is a project here for you.
Nature-Inspired Wooden Bookend Ideas
Rustic Reclaimed Wood Stack Designs
Salvaged lumber and driftwood create bookends with raw, organic character. Cut four to six uneven blocks between five and eight inches tall from weathered planks, then sand them smooth to reveal natural grain patterns. Arrange the pieces in a staggered L-shape and glue layers together with wood glue, clamping for 24 hours. The irregular edges add texture that suits cabin-style interiors or cozy reading nooks. For extra weight under heavy books, glue steel washers between layers or use dense oak scraps as the base.
Live Edge Bark Bookends
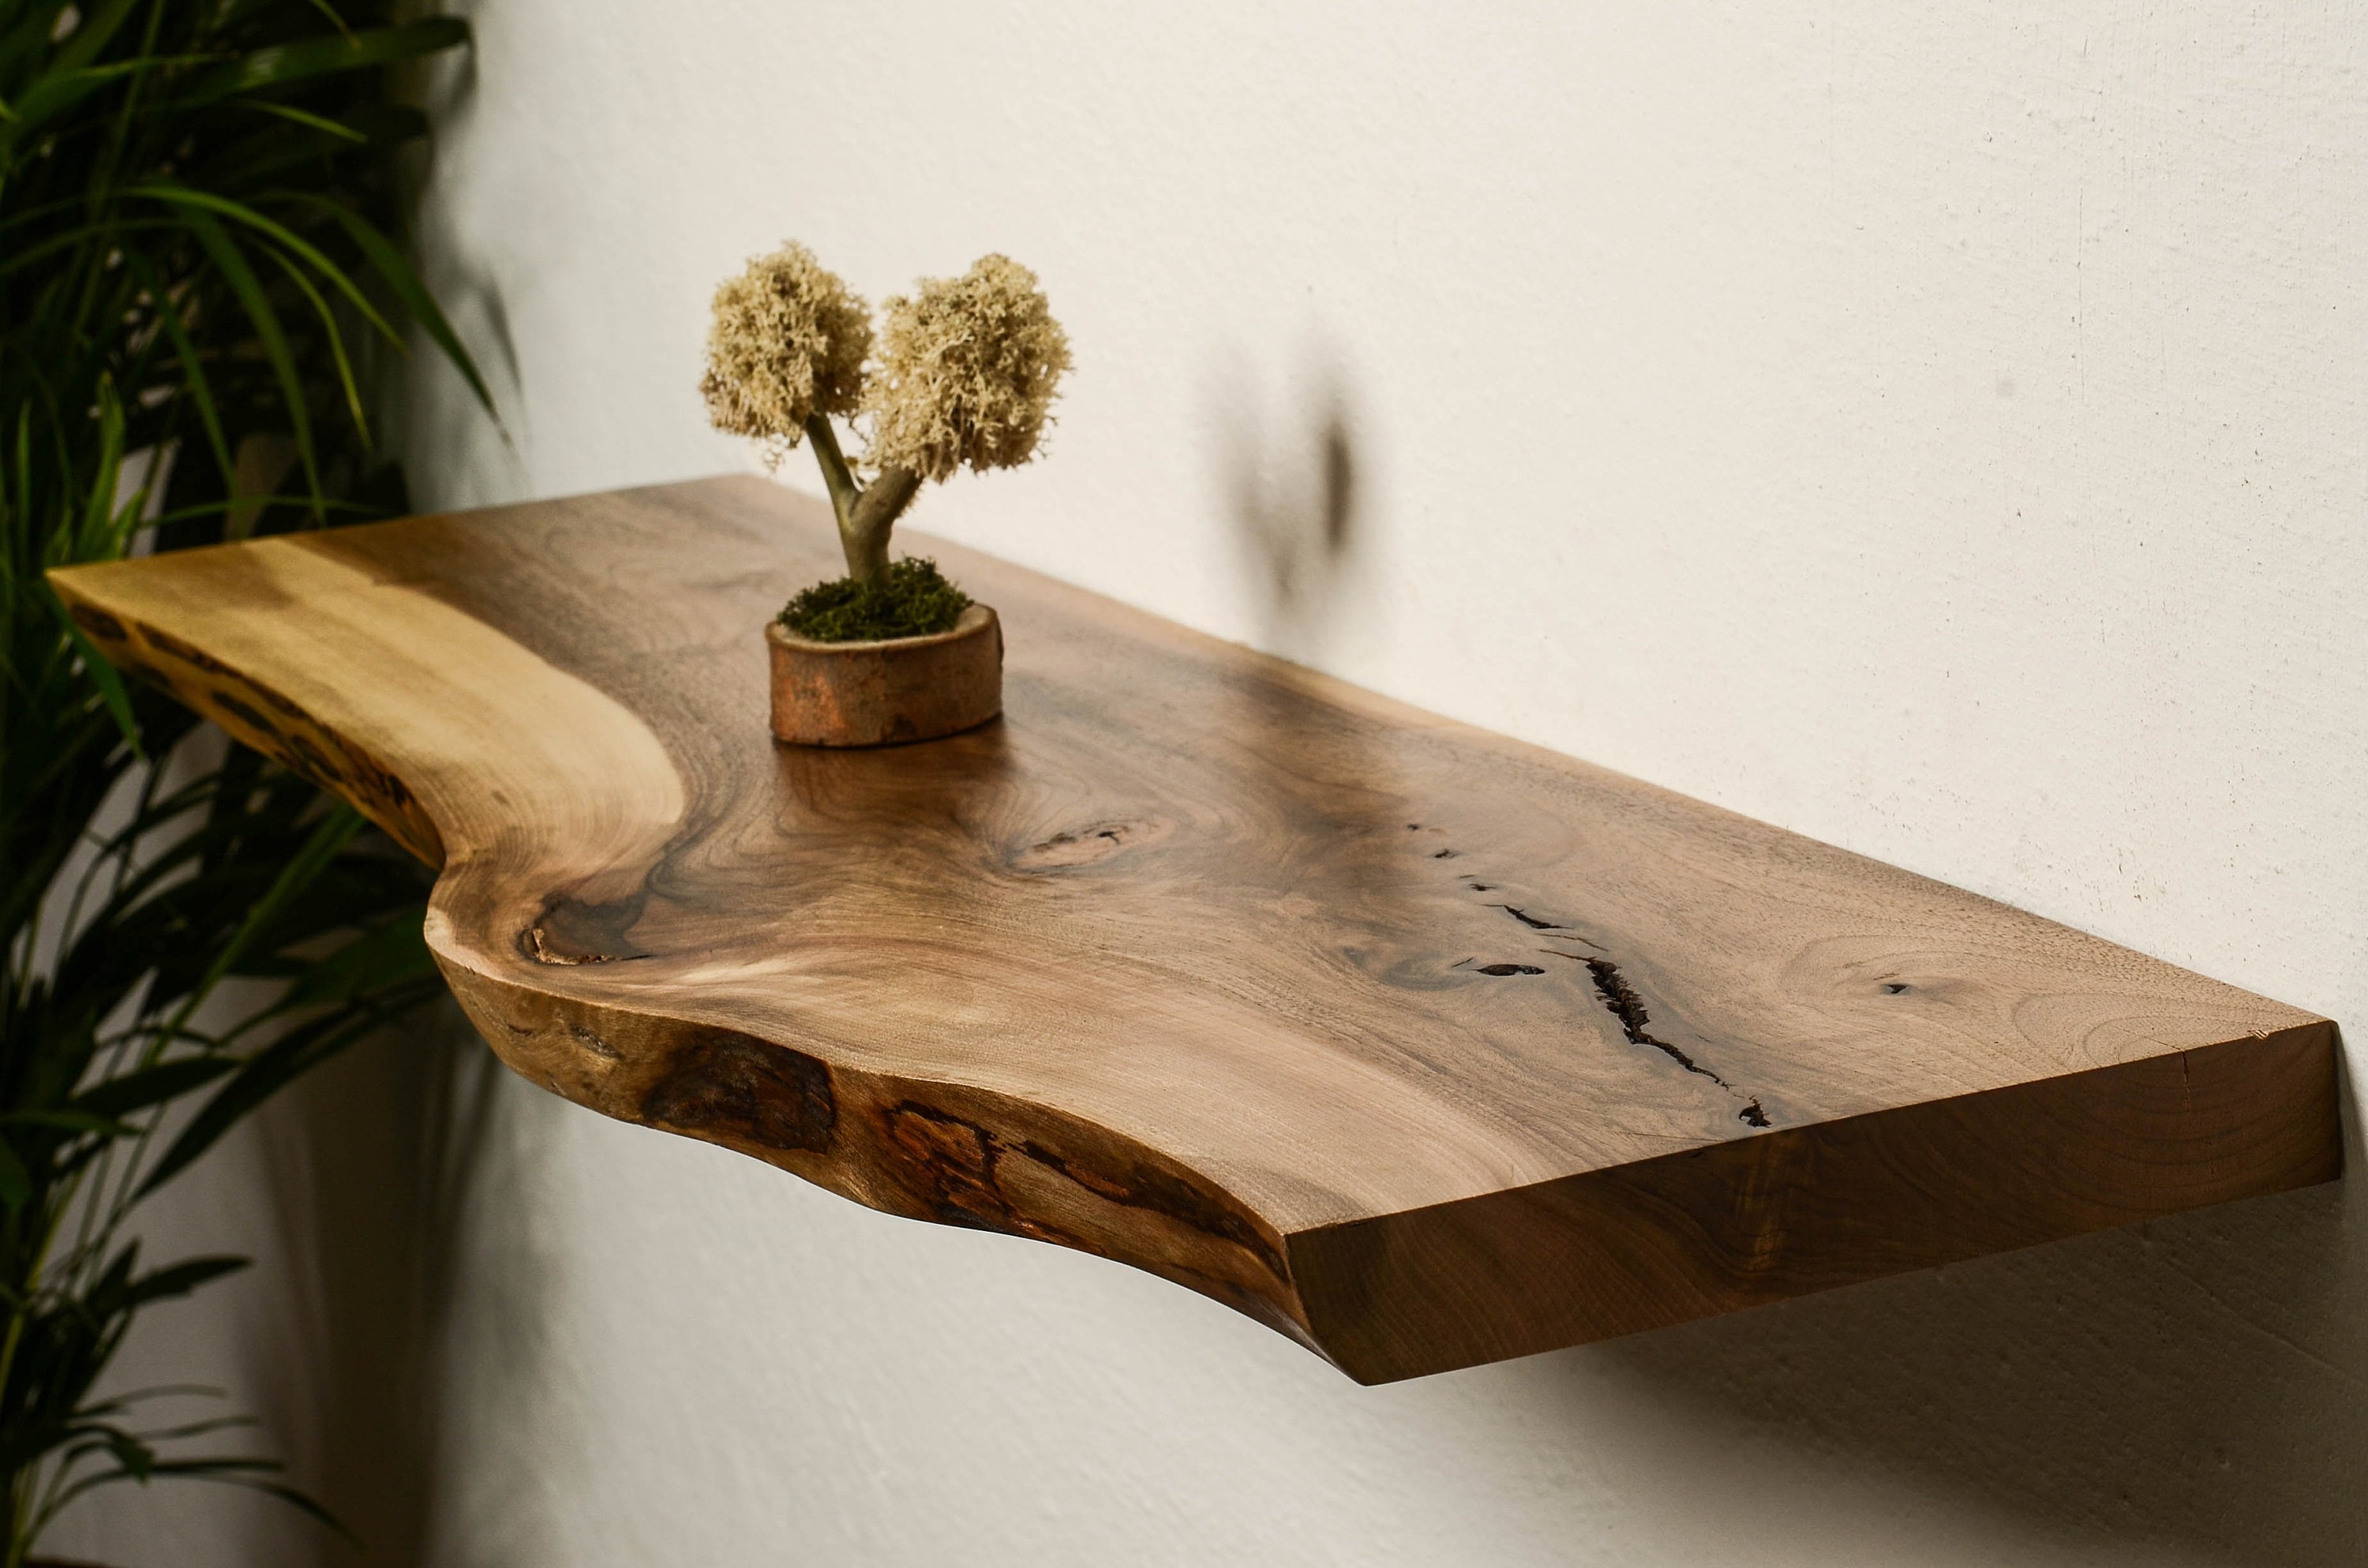
Preserving the natural curve and bark of a tree slice brings woodland charm to mantels and study shelves. Select a thick branch or slab at least two inches deep with intact bark, cut it into six to eight inch lengths, and seal with matte polyurethane. These work best as single vertical supports paired with a flat backer board. Sand only the inner face for stability while keeping the rugged outer silhouette intact.
Mountain Silhouette Bookends
Mountain shapes cut from three-quarter inch plywood make stunning wooden bookend ideas for nurseries and adventure-themed rooms. Trace a jagged mountain range onto wood, cut it out with a jigsaw, then stain the base brown and dry-brush the top quarter white for snow-capped peaks. Layer multiple peaks for depth and mount them on a base at least five inches deep to prevent tipping under heavy books.
Cactus and Sunflower Theme Bookends
Hand-painted cactus and sunflower designs brighten kids’ rooms and boho spaces. Cut cactus shapes from 1×6 pine, round the edges, and paint in soft greens with pink blooms. Sunflowers can be layered with yellow petals around a brown center using contrasting wood types. Seal with non-toxic polyurethane for durability. These lightweight wooden bookend ideas work best with children’s books or decorative displays.
Animal-Shaped Wooden Bookend Ideas

Bunny and Rabbit Designs
Wooden bunny bookend ideas rank among the most popular choices for nurseries. Cut a rabbit silhouette six to seven inches tall from three-quarter inch poplar using a scroll saw, sand smooth, and paint in neutral or pastel tones. The long ears and crouching posture naturally provide balance. For a sleeping bunny version, shape the back into a gentle curve that supports books softly. Add felt pads to the bottom to protect shelves.
Owl Bookends from Scrap Wood
Scrap wood owls combine charm with stability. Cut two identical owl shapes from 4×4 lumber or thick plywood, paint with bold eyes and feather details, and mount them on a shared base. For an Art Deco twist, use geometric cuts in teak or walnut. These make excellent gifts and shelf decor for readers of all ages.
Whale, Fish, and Sailboat Motifs
Marine-themed wooden bookend ideas bring nautical flair to coastal decor. Cut whale silhouettes from solid wood, paint in gray-blue tones, and add a white foam wave effect with acrylic paint. Fish shapes can be paired as bookends or hung as wall art. Sailboats cut from 1×4 pine can double as napkin holders when placed on a dining table. Seal with waterproof finish if the bookends sit near moisture.
Cat, Dog, and Wildlife Profiles
Animal silhouettes like cats, deer, and foxes offer elegant simplicity. A crouching cat’s low center of gravity makes it inherently stable. Cut from oak or maple for durability, then stain to match existing furniture. For kids, add playful touches like a cat chasing a bird. Elephants and dinosaurs are favorite themes for children’s rooms. Paint in bright colors and round all edges for safety.
Geometric and Modern Wooden Bookend Ideas
Triangle and Angular Wood Supports
Simple triangle bookends suit minimalist interiors beautifully. Cut two right-angled triangles six to eight inches tall from three-quarter inch plywood, sand edges smooth, and finish with black or natural stain. Attach to a four-inch deep base with screws and glue. The sharp lines contrast nicely with soft book spines, creating a modern architectural accent.
Hexagon and Cube Bookends
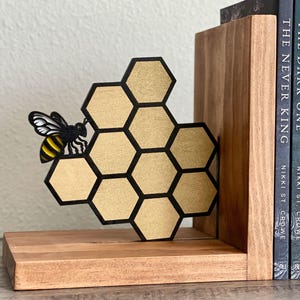
Polygonal bookends use geometric precision for contemporary appeal. Cut hexagons or cubes from 1×6 boards, sand all faces, and paint in bold colors like navy, emerald, or matte black. For polka dot patterns, use a coin as a stencil and paint random white circles on a dark base. Finish with polyurethane for a durable, wipeable surface.
Crisscross Dowel Construction
Crisscross dowel bookends recycle scrap wood into sculptural forms. Cut six to eight equal dowel lengths between six and eight inches, arrange them in an X or grid pattern, and glue at intersections. Use wood glue and clamps until set, then stain or paint the entire piece for cohesion. This lightweight design benefits from sand-filled holes in the base if supporting heavy books.
Personalized Wooden Bookend Ideas
Music Note and Instrument Shapes
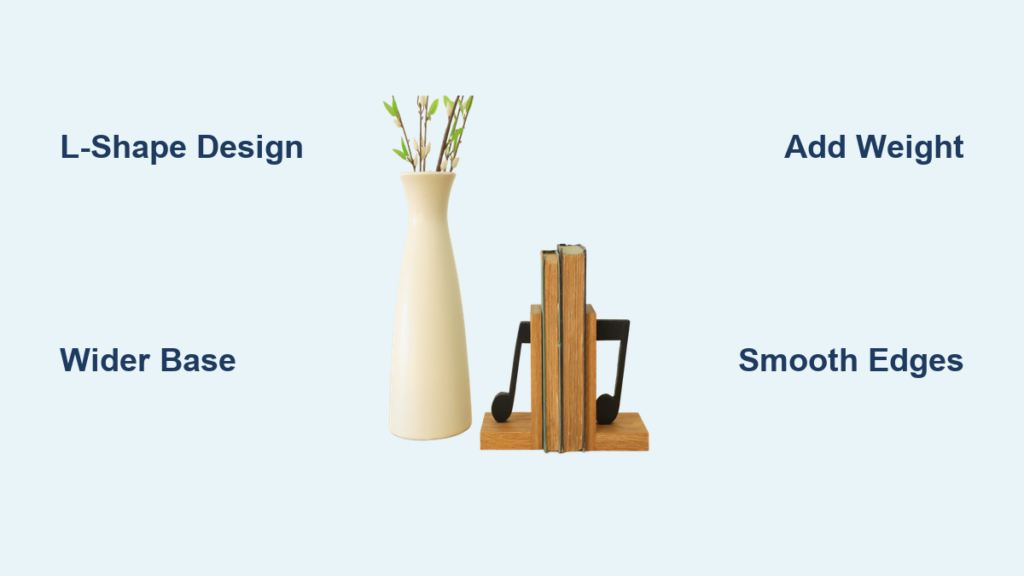
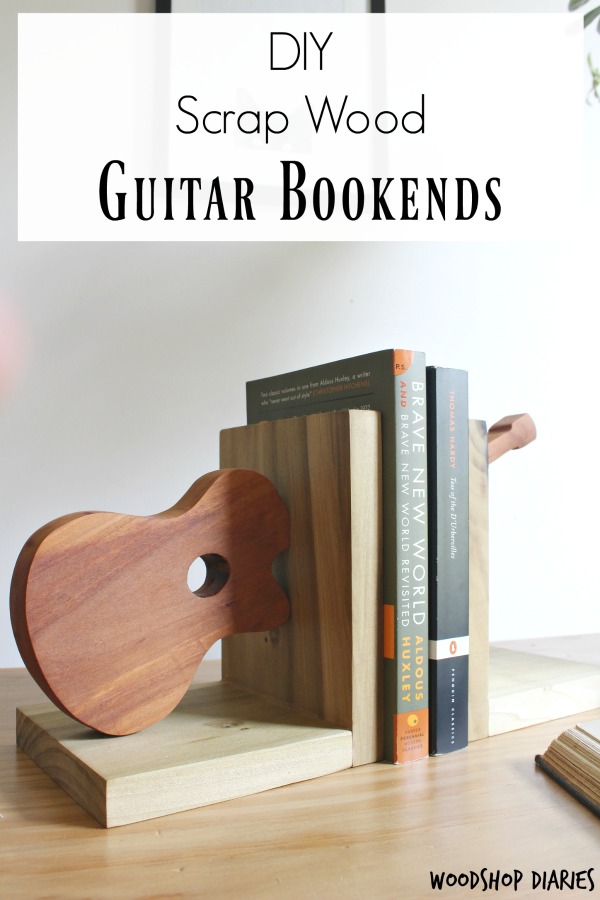
Music lovers will adore note-shaped wooden bookend ideas. Print a treble clef or eighth note template, trace it onto 1×12 pine, and cut with a jigsaw. Paint black for contrast and mount on a stained oak base. Guitar-shaped bookends work similarly and make ideal gifts for musicians. Use poplar for easy cutting and smooth paint finish.
Monogram and Letter Bookends
Custom letter bookends make meaningful gifts for graduations and housewarmings. Cut initials from three-quarter inch MDF or hardwood using a bandsaw, sand edges, and paint in metallic gold or soft pastel. For a neon effect, wrap the edges in colored string or LED wire. Concrete-filled MDF letters offer extra weight for holding thick reference books.
Sports and Hobby-Themed Designs
Baseball, car, and travel-themed bookends reflect personal interests. For baseball, cut a circular base, decoupage with vintage ball cards, and glue a real baseball on top. Car silhouettes can be painted in team colors or classic models. Literary destination bookends use broken wood pieces labeled with city names like Paris or Tokyo, painted gray-brown for an aged look.
Vintage and Classic Wooden Bookend Ideas
Art Deco Teak Owl Bookends
Art Deco designs feature bold geometry and rich wood tones. Use teak or walnut to cut angular owl shapes with symmetrical wings and eyes, then finish with a warm oil to enhance grain. These vintage-style pieces pair well with mid-century furniture and leather-bound books.
Chess Piece Bookends
Large wooden chess pieces, especially knights or rooks, function as stately bookends. Source unfinished chess sets or carve your own from dense maple. Their weight and classic shape provide excellent stability on library shelves.
Antique Rosewood Reproductions
Recreate Edwardian or Barbola-style bookends using rosewood or walnut. These often feature carved details, brass inlays, or turned legs. While advanced, they offer heirloom quality. For a simpler version, use laser-cut templates and stain to mimic antique finishes.
Build Strong L-Shaped Wooden Bookends

Standard L-Shape Dimensions
The classic L-shape remains the most functional design. Cut a vertical piece six to eight inches tall, allowing one-quarter inch clearance above your tallest books, and a base four to six inches deep. Use three-quarter inch thick pine or poplar for ease. The base should be sixty to seventy percent of the vertical height for balance. For heavy books, extend the base or use oak.
Assembly with Glue and Screws
Start by dry-fitting the pieces to verify alignment. Apply wood glue to the joint, align at ninety degrees using a square, and clamp securely. Drill pilot holes to prevent splitting, then drive one and one-quarter inch screws through the base into the vertical piece. Let the assembly cure for 24 hours before finishing. Avoid oil finishes before gluing since water-based glue will not adhere properly.
Add Weight for Heavy Books
Light woods like pine may tip under encyclopedias or coffee table books. Drill one-inch holes in the base, fill with lead shot or sand, then plug with matching wood. Alternatively, glue a steel plate under the base. For honey bear bookends, keep them filled since honey’s weight and natural preservation make it ideal.
Finishing Techniques for Wooden Bookend Ideas
Sanding for Smooth Results
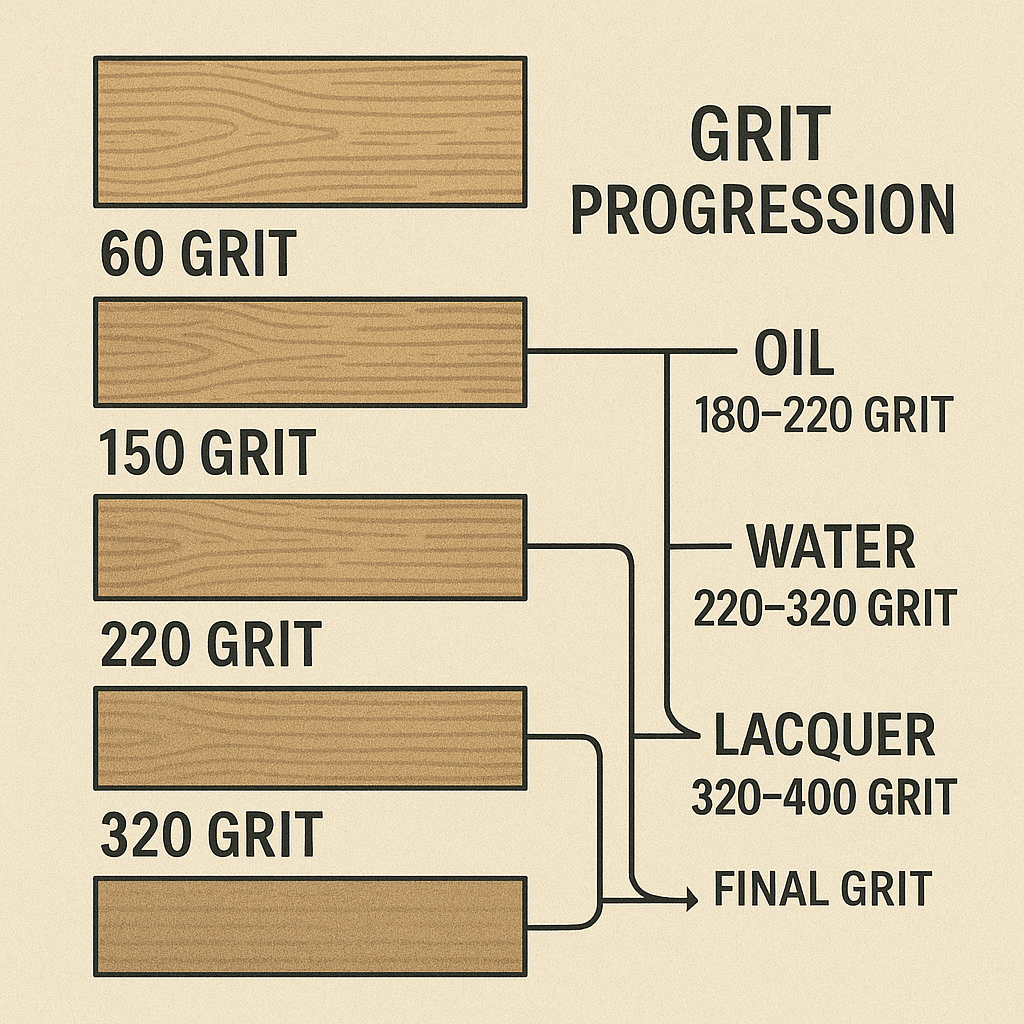
Sanding ensures a professional finish on any wooden bookend project. Start with 120-grit sandpaper to remove saw marks, progress to 180-grit, then finish with 220-grit. Always sand with the grain direction. Use a tack cloth to remove dust before staining. For curved edges, wrap sandpaper around a dowel for better control.
Stain Versus Paint Options
Stain enhances natural grain. Use walnut or chestnut on oak or maple for rich tones. For paint, spray enamel gives a smooth coat on silhouettes. Acrylics allow hand-painted details like polka dots or animal faces. Condition pine before staining to prevent blotchy absorption.
Seal with Durable Coatings
Protect your work with two to three coats of polyurethane, sanding lightly between coats. For a natural feel, use Danish oil or Walrus Oil finish. These penetrate wood but require full gluing before application. Outdoor or plant-adjacent bookends need waterproof sealant to prevent moisture damage.
Enhance Wooden Bookends with Mixed Media
Diorama Forest Scenes
Create a miniature forest on a wooden base for storytelling appeal. Glue down faux grass, pebbles, and tiny trees using tacky glue mixed with water. Use blue acrylic or Scene-A-Rama water gel for a stream effect. Mount the scene on a thick wood block with a vertical backer. This becomes a centerpiece on a child’s shelf.
Rope, Lace, and Fabric Wraps
Add texture by wrapping bookends in neon string, jute rope, or lace. Spray gold over lace, let dry, then peel away to leave a delicate pattern. Hot glue secures fabric or rope edges. These tactile designs work well in bohemian or craft-focused spaces.
Decoupage and Hidden Compartments
Apply printed images like maps, sheet music, or vintage ads with decoupage medium. For hidden storage, design a lift-off top on a hollow bookend to stash bookmarks or notes. A sliding panel adds mystery and function to the design.
Troubleshoot Common Wooden Bookend Problems
Fix Tipping with Wider Bases
If bookends tip forward, the base is too shallow. Redesign with a deeper footprint or add weight inside the structure. Never place heavy books on narrow, tall designs without reinforcement.
Prevent Rough Jigsaw Edges
Jigsaw cuts can leave ragged edges. Use a fine-tooth blade, cut slowly, and sand thoroughly. For curves, a scroll saw delivers cleaner results.
Avoid Glue Squeeze-Out
Excess glue creates bumps on finished surfaces. Wipe joints immediately with a damp cloth. If dried, sand lightly after curing.
Frequently Asked Questions About Wooden Bookend Ideas
What Is the Best Wood for Beginner Bookend Projects?
Pine and poplar are ideal for beginners because they cut easily and accept paint well. Pine costs less but dents more easily, while poplar offers a smoother surface for staining. Both work for simple L-shaped or themed wooden bookend ideas.
How Do I Keep Lightweight Bookends from Tipping?
Widen the base to at least sixty percent of the vertical height. For extra stability, drill holes in the base and fill with sand or lead shot, then plug with wood. Dense hardwoods like oak also help prevent tipping under heavy loads.
Can I Make Bookends Without Power Tools?
Yes. Use a hand saw or back saw for straight cuts and a coping saw for curves. Pre-cut scrap wood from lumber yards or pallet wood reduces the need for tools. Sanding by hand with progressive grits also works for small projects.
What Finish Is Safest for Children’s Bookends?
Use non-toxic acrylic paint and water-based polyurethane for children’s wooden bookend ideas. Avoid oil-based finishes in nurseries or kids’ rooms. Always seal painted surfaces to prevent chipping.
How Tall Should Bookends Be for Standard Hardcovers?
Standard hardcovers need bookends between six and eight inches tall. This allows one-quarter inch clearance above the tallest books while supporting fifteen to twenty pounds comfortably per bookend.
Key Takeaways for Crafting Your Own Wooden Bookends
Wooden bookend ideas offer endless creativity within a small footprint. The most successful projects balance proper proportions with personal style. Choose a base depth that reaches sixty to seventy percent of the vertical height, select wood suited to your skill level, and finish with a sealant that matches the intended environment.
Start your first project this weekend by gathering scrap lumber and basic tools. Cut two L-shaped supports, sand them smooth, and apply a stain or paint that complements your shelves. Once you master the classic shape, experiment with themed cutouts, mixed media, or personalized monograms to create bookends that truly reflect your taste.