
You rely on your desk fan for cool, steady airflow, especially during hot months. But if it has been months or even years since you last cleaned it, that breeze might be carrying dust, allergens, and germs right into your face. A dirty fan does not just circulate stale air. It runs less efficiently, makes more noise, and wears out faster. The good news? Cleaning a desk fan is quick, easy, and requires only basic household supplies. With just 20 to 30 minutes, you can restore peak performance, improve indoor air quality, and extend your fan is lifespan.
This guide walks you through every step, from safety preparation to troubleshooting post-cleaning issues. Whether you have a standard fan with removable blades, a bladeless model, or a tower fan, you will find the right method here.
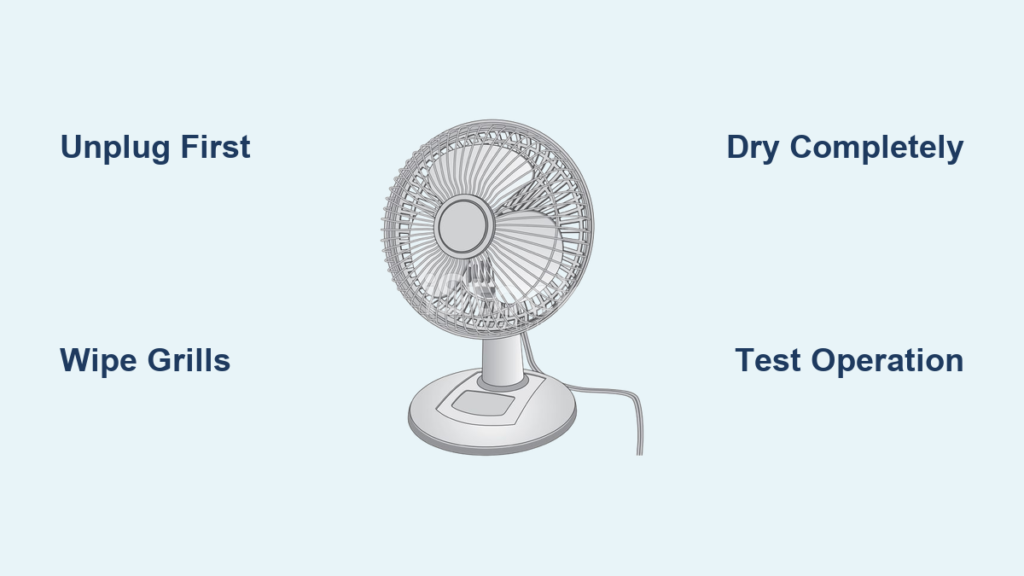
Safety First: Unplug and Prepare
Before touching any part of your fan, follow these essential safety steps to prevent electric shock or device damage.
Before cleaning, unplug the fan from the wall. Never clean a plugged-in device. Remove batteries if using a handheld or rechargeable model. Let the fan cool down if it was recently running. Work on a clean, dry surface covered with a towel or newspaper to catch dust and moisture. Avoid water near the motor or electrical components, as moisture can cause short circuits. Do not use harsh chemicals like bleach or ammonia, which can damage plastic and leave harmful residues. Check the user manual, as some fans are sealed or bladeless and are not meant to be disassembled.
Skipping safety steps risks electric shock, device damage, or voiding your warranty. Always start here.
Gather Your Cleaning Tools
You do not need specialty products. Most of these items are already in your home.
Gather these supplies before you begin. Microfiber cloths are lint-free and non-abrasive. Mild dish soap mixed with warm water works well. A soft-bristled brush like an old toothbrush is perfect for crevices. Use a handheld vacuum or one with a brush nozzle. Keep a compressed air canister handy for tight spaces. Have a screwdriver, usually Phillips-head, ready. A spray bottle, white vinegar, kitchen wet wipes, a bowl or sink for soaking, and a drying rack or clean towel complete your toolkit.
Keeping everything nearby before you begin prevents mishaps and speeds up the process.
Clean a Standard Desk Fan With Removable Blades

Most traditional desk fans let you remove the grills and blades for deep cleaning. Follow these steps for the best results.
Remove Front and Rear Grills
Turn off and unplug the fan. Use a screwdriver to remove screws around the outer cage. Gently pull off the front grill. Some models allow rear grill removal too. Set screws aside in a container to avoid losing them.
Take Off the Fan Blades
Look for a central nut, cap, or clip holding the blades to the shaft. Carefully remove the blade assembly. Handle with care, as edges can be sharp. If blades do not come off easily, do not force it. Your model may not support full disassembly.
Wash the Grills
Soak front and rear grills in warm, soapy water for 10 to 15 minutes. Use a soft brush to scrub between wires, especially where dust builds up. Rinse thoroughly and air-dry completely, which takes 2 to 4 hours. If labeled dishwasher-safe, place grills on the top rack using a no-heat dry cycle to prevent warping.
Wipe Down the Blades
Dip a microfiber cloth in soapy water and wring it out well. Wipe each blade surface gently. Use a toothbrush for stubborn grime. Never soak blades or use abrasive pads. Dry immediately with a clean cloth.
Clean the Motor Housing
Never use water or sprays near the motor. Use compressed air or a vacuum with a narrow nozzle to blow or suck out dust from vents, shaft, and casing. Wipe exterior housing with a damp cloth. For disinfecting, use an antibacterial wipe.
Reassemble and Test
Ensure all parts are 100 percent dry before reassembly. Slide blades back onto the shaft and secure with the nut or cap. Reattach grills and tighten screws. Plug in and test at all speed settings. Listen for unusual noise or vibration.
Clean a Fan With Fixed or Non-Removable Grills
Some fans have sealed cages. No disassembly is needed. Just use smart cleaning techniques.
Vacuum First
Use a vacuum with a brush attachment to remove loose dust from the grill surface. Gently insert the nozzle between slats to reach deeper dust. This step removes 80 percent of debris before wet cleaning.
Wipe with a Damp Cloth
Mix mild soap and water or vinegar and water in a 1:1 ratio in a spray bottle. Spray only the cloth, not the fan. Wipe each section of the grill, angling the cloth to clean crevices. Rotate blades slowly by hand to clean each one individually.
Use Compressed Air
Blast dust from tight spaces using short bursts. Hold the can upright to avoid propellant residue. This method is ideal for fans you cannot take apart.
Clean a Bladeless Fan Safely
No blades does not mean no dust. These fans still clog with debris on the air intake and internal impeller.
Wipe the Exterior
Use a damp microfiber cloth on the outer casing. For disinfecting, lightly spray a multi-surface cleaner onto the cloth, never directly into vents.
Clear the Air Intake
Locate the intake grille at the base. Use a vacuum nozzle or compressed air to remove dust buildup. Do not insert tools or wet cloths inside, as you could damage the impeller.
Maintain the Air Filter If Applicable
Some bladeless fans have built-in HEPA or carbon filters. Remove and rinse under water if washable. Air-dry completely, which takes 24 hours, before reinserting. Replace if damaged or past its lifespan.
Clean a Tower Fan Without Damage

Tower fans trap dust in narrow slats and internal blades. Use these methods to clean safely.
Dust the Outer Casing
Wipe with a dry microfiber cloth or feather duster. Avoid water unless the manual allows it.
Vacuum Between Slats
Use a narrow vacuum nozzle to suction dust from vertical gaps. Go slowly, as dust builds up deep inside.
Open for Deep Cleaning If Possible
Some models let you unscrew the front panel. Wipe internal blades and housing with a damp cloth. Never spray water directly.
Use Compressed Air
This is one of the safest methods for non-invasive cleaning. Blow dust out from top to bottom.
Clean a Handheld Fan Thoroughly
These fans pick up oils, sweat, and germs from frequent handling. Keep them hygienic with proper care.
Remove Power Source
Unplug or take out batteries before cleaning.
Clean the Grille and Blades
If removable, clean like a standard fan. If not, use a clean toothbrush or makeup brush to sweep out dust. Compressed air works well for internal debris.
Disinfect the Handle and Buttons
Wipe with an antibacterial wipe. Pay attention to crevices where grime collects. Avoid soaking, as handheld fans are highly sensitive to moisture.
Best Cleaning Solutions and What to Avoid
Using the right cleaning agents protects your fan. Using the wrong ones causes damage.
Safe to use includes dish soap plus warm water, which is gentle and effective. White vinegar plus water in a 1:1 ratio disinfects and cuts grease. Non-abrasive multi-surface cleaners work well. Antibacterial wipes are great for touchpoints.
Never use bleach, ammonia, or acetone, as these damage plastic and electronics. Avoid excessive water or submersion, which risks motor failure. Skip steel wool or scrubbing pads that scratch surfaces. Do not use high-pressure sprays that force water into sensitive parts. Never use heat to dry, as it warps plastic components.
Dry Completely Before Reassembly
Moisture is the number one cause of post-cleaning fan failure.
Air-dry all parts for 2 to 4 hours in a well-ventilated area. Use a fan or open window to speed drying, but never use a hairdryer. Reassemble only when bone dry to prevent rust or electrical issues.
How Often Should You Clean Your Desk Fan
Cleaning frequency depends on your environment and usage.
Clean every 2 to 4 weeks for regular household use. Clean every 1 to 2 weeks in homes with pets, smokers, or allergy sufferers. Clean every 2 to 3 months for light or seasonal use. Clean before and after storage to prevent dust buildup and odors.
If you see dust on blades or grills, it is time to clean.
Why Cleaning Improves Performance
A clean fan works better in measurable ways. Dust on blades and grills blocks airflow, reducing cooling power by up to 30 percent. Clean fans run quieter because balanced blades reduce vibration. The motor strains less when free of dust, so it runs cooler and lasts longer. Efficient motors consume less energy. Cleaning also removes musty smells from mold and mildew in damp storage.
Users often say their fan feels like new after cleaning, because it essentially is.
Health Benefits of a Clean Desk Fan
Your fan does not filter air. It recirculates what is in the room.
Cleaning prevents it from blowing dust mites, pollen, pet dander, mold spores, and bacteria and germs. This is crucial for people with allergies, asthma, or respiratory sensitivities. Pair your fan with a HEPA air purifier for maximum air hygiene.
Troubleshoot Common Post-Cleaning Issues
Fan won not turn on. This is usually caused by moisture in the motor or a loose connection. Let it dry for 24 hours and check reassembly.
Unusual noise or vibration. This comes from wet blades, misalignment, or debris. Dry thoroughly, rebalance blades, and clean the motor housing.
Reduced airflow. The grill may not be secured or might be blocked. Reattach grills and check for obstructions.
Wobbling. Loose screws or unbalanced blades cause this. Tighten screws and ensure even blade seating.
Final Checklist: Clean Like a Pro
Before finishing, verify each task is complete.
Unplugged the fan. Removed grills and blades if possible. Vacuumed or used compressed air. Washed grills with soapy water. Wiped blades with damp cloth. Cleaned motor housing with dry methods only. Air-dried all parts completely. Reassembled securely. Tested at all speeds.
Frequently Asked Questions About Cleaning a Desk Fan
Can I use water to clean the inside of my desk fan?
Never spray water directly into the motor or internal components. Use a damp cloth for exterior cleaning and dry methods like vacuuming or compressed air for internal areas. Excess moisture causes short circuits and motor damage.
How do I clean a desk fan without taking it apart?
For fans with fixed grills, vacuum first to remove loose dust. Then wipe the grill with a damp cloth wrung out well. Use compressed air to blow dust from tight spaces. This method works for tower fans and bladeless models.
Why does my desk fan smell bad after cleaning?
Musty smells usually come from mold or mildew in damp parts. Ensure all components are completely dry before reassembly. If the smell persists, the fan may need deeper cleaning or have mold inside that requires professional service.
Can I put desk fan blades in the dishwasher?
Only if the manufacturer labels them dishwasher-safe. Use the top rack with a no-heat or low-heat cycle. Plastic blades can warp in high heat. When in doubt, hand wash with mild soap and air dry.
How do I reduce dust buildup on my desk fan after cleaning?
Apply an anti-static duster spray to the blades and grills after cleaning. This creates a protective layer that repels dust. Regular cleaning every 2 to 4 weeks also prevents heavy accumulation.
What should I do if my desk fan still wobbles after cleaning?
Check that all screws are tight and blades are properly seated on the shaft. Imbalance can also result from bent blades. Inspect each blade for damage and replace if necessary.
Key Takeaways for Cleaning Your Desk Fan
Cleaning a desk fan is a simple, high-impact habit that takes less than half an hour. It delivers stronger airflow, quieter operation, and healthier air. Always unplug before cleaning and keep water away from the motor. Use mild soap, vinegar, or approved cleaners, and avoid harsh chemicals. Air-dry all parts completely before reassembly. Clean every 2 to 4 weeks for regular use, or more often in homes with pets or allergies. Whether you have a basic model or a sleek bladeless fan, the right method keeps it running like new for years. Make it part of your routine, and your comfort and health will thank you.


